Research
The aurora effect, or aurora borealis/aurora australis, occurs when charged particles from the sun collide with gases in the Earth's atmosphere near the poles, creating colorful light displays. These collisions excite molecules in the atmosphere, causing them to emit light of varying colors depending on the type of gas involved.
Artificial auroras can be created in laboratories or controlled environments using specialized equipment such as plasma chambers or particle accelerators. These devices simulate the interaction between charged particles and gases in the atmosphere to produce similar light emissions seen in natural auroras.
The image to the right is the Artificial Aurora Over Virginia created by NASA:
Clearly it is impossible for student like me to re-create the aurora the same way as the scientists. So I started to look into some existing products on the market.
Aurora simulators available on the market typically utilize a combination of light-emitting diodes (LEDs) or other light sources, along with programmable controllers and diffusers, to mimic the visual appearance of natural auroras. These simulators can project patterns and colors onto walls or ceilings, creating immersive experiences similar to witnessing the aurora in the night sky.
Light effect by a product on the market
Key components
Ideation
After studying this product. I started my own experiments.
Epoxy resin
Line laser module
Clear acrylic
I first laser cut a piece of clear 3/8” acrylic, then lightly brushed a layer of epoxy resin and gently stir it with a wooden stick to create a random pattern which will defuse the laser. Since the epoxy resin take a long time to harden, I had to stir it every 30 minutes for the first hour, and then every 10 minutes in the last 40 minutes.
third stir
Fourth stir
Second stir
First stir
It took me several times to get it right but the result was promising. The epoxy resin pattern on the acrylic plate can defuse the laser line and create a gentle and elegant light effect.
After the success of my little proof-of-concept experiment, I began designing the physical model for the aurora simulator.
I wanted this aurora simulator to be fun so I decided to design something that users don’t know by first sight. The device can be opened and closed by simply twisting the body. The light effect should be moving and changing so I need a simple circuit involving at least two lasers with different colors and a motor that can help neither the defuser plate or the lasers rotate slowly.
Prototyping
The Defuser Plate
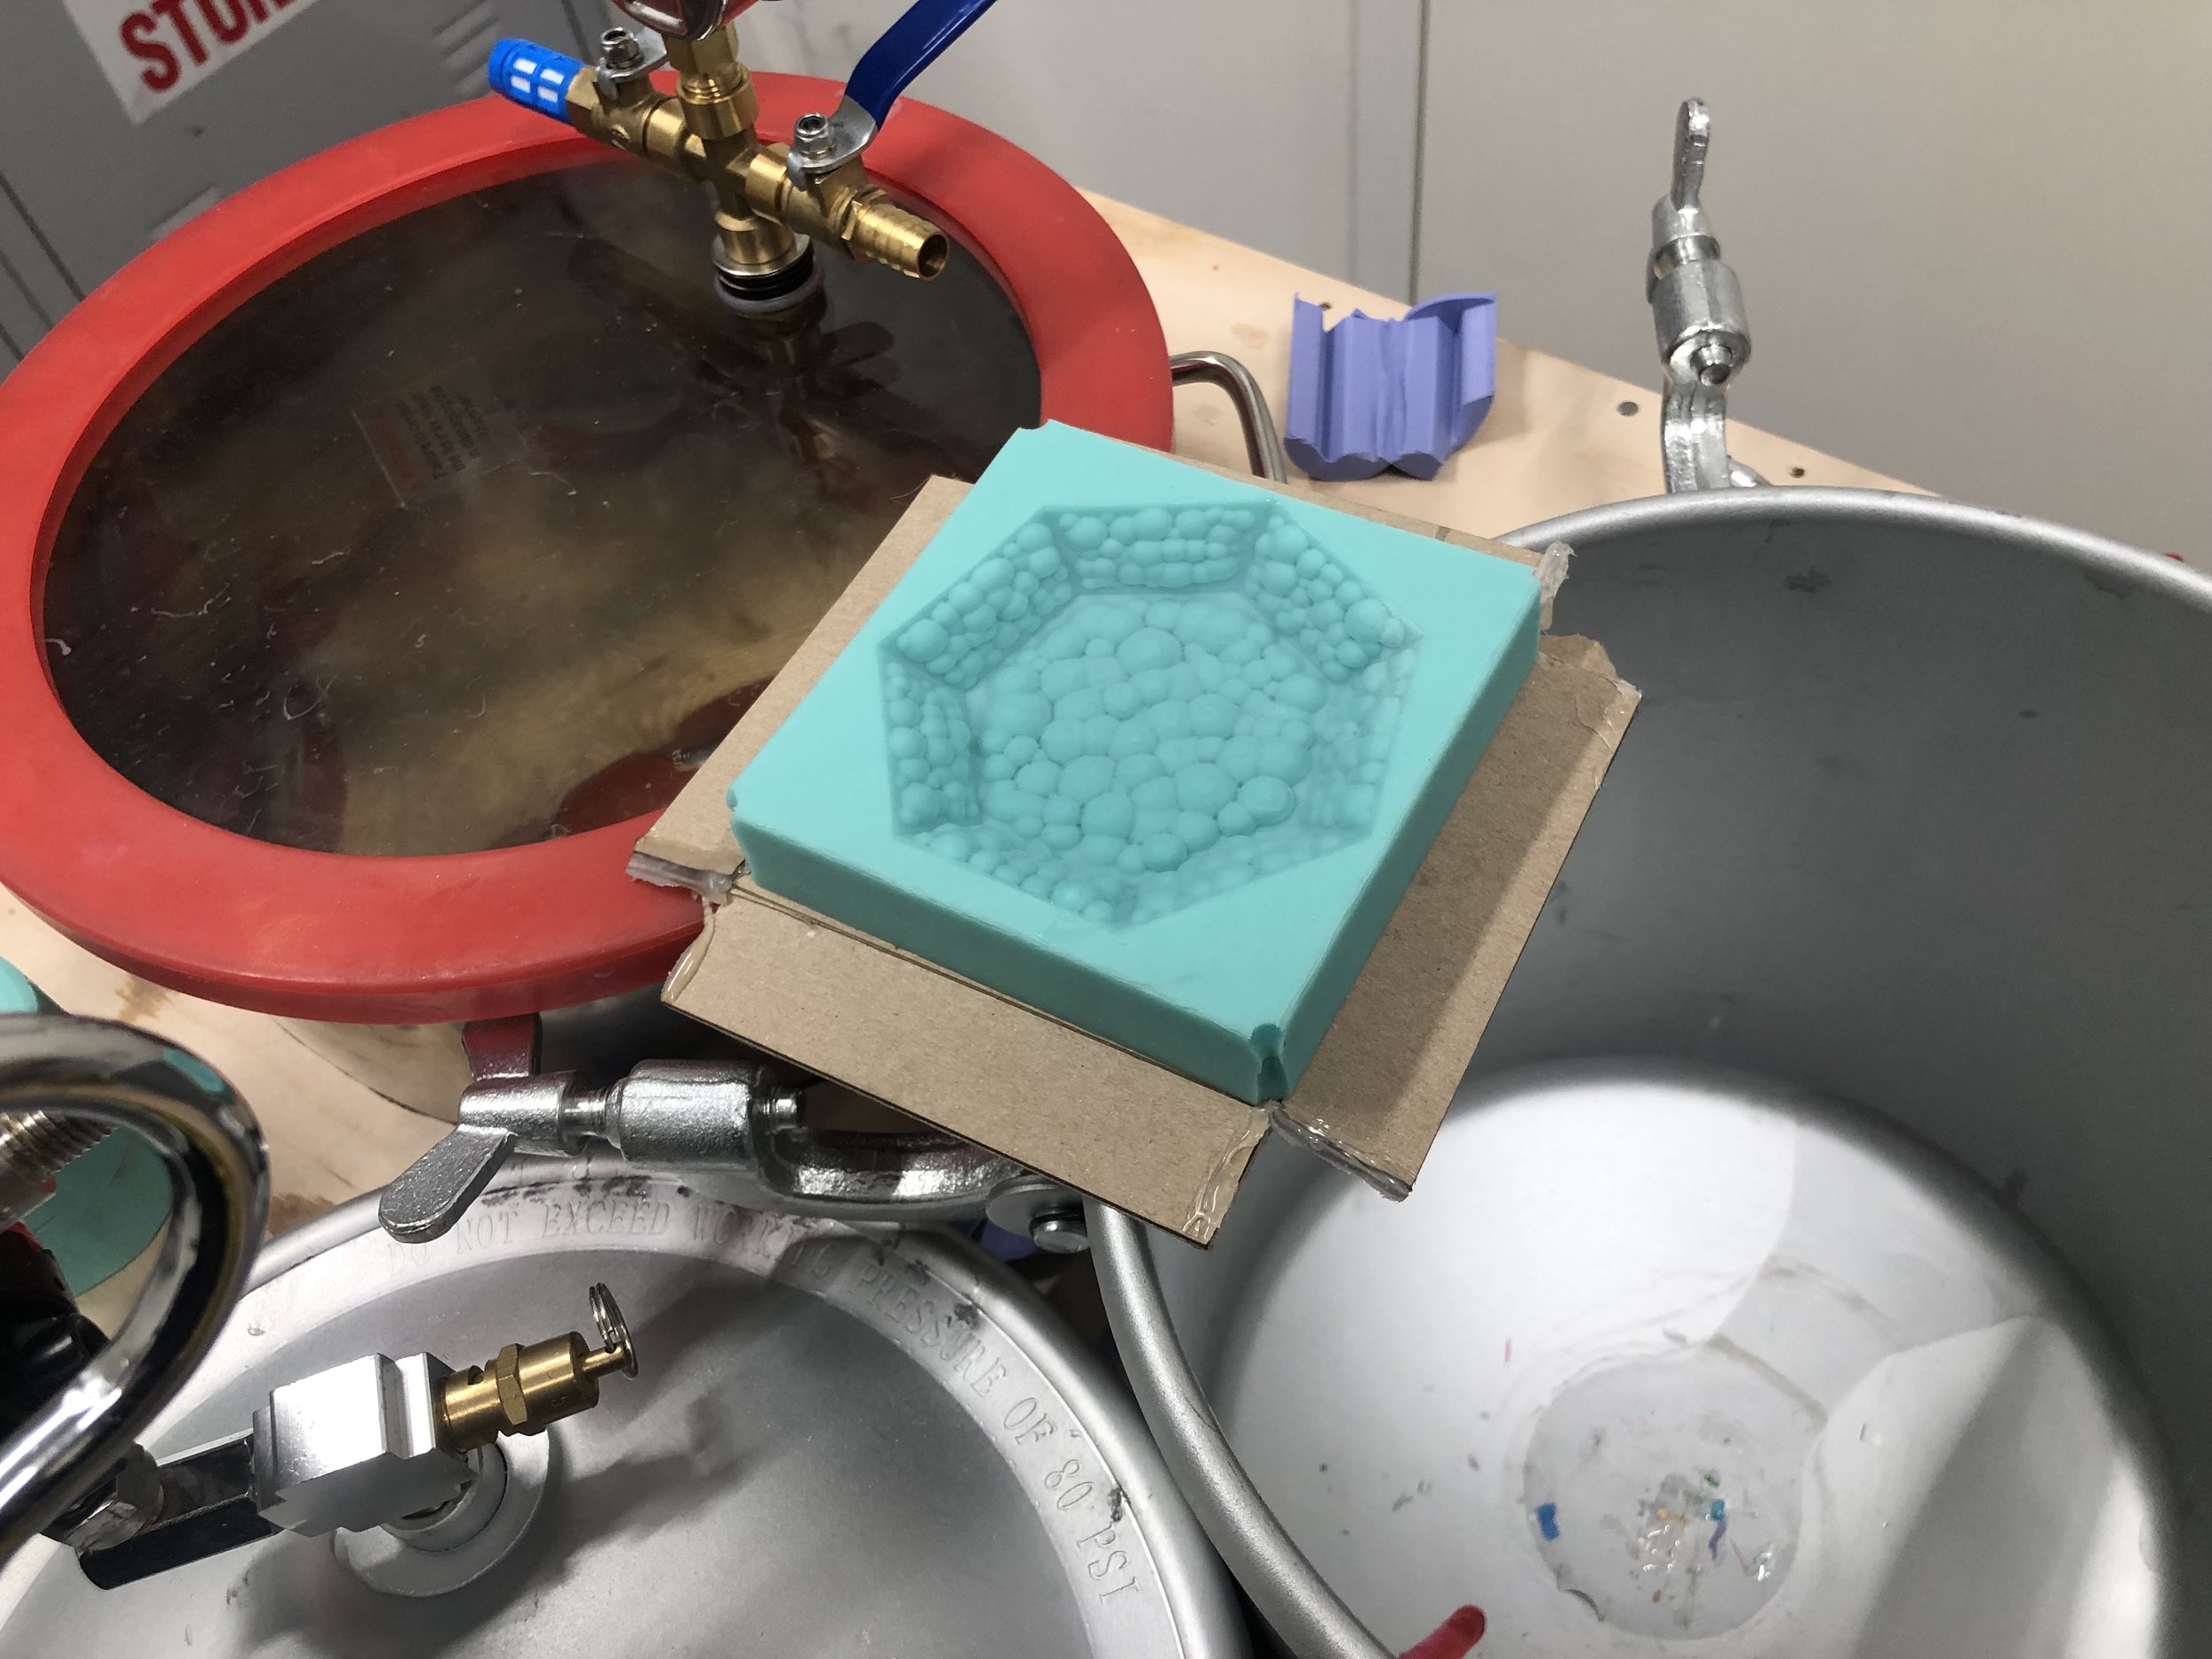
The first thing I did was to create a better plate to defuse the line laser because the light effect in the experiment was a little too hard and too sharp. I believed if I increase the thickness of the plate, I could generate a softer and more defused light effect. This time I modeled the plate in Rhino first, then I 3D printed the plate to form a silicone mode which can be used to form a clear epoxy resin plate.
The plate modeled in Rhino
3D printed mode for forming silicone mode
Forming the silicone mode
Silicone mode
Forming epoxy resin plate
Final epoxy resin plate
As we can see in the short video here. The line laser was defused in a much softer and gentler way.
I also noticed that there are a lot of air bubbles inside the epoxy resin plate. That’s because I did not cast the plate in a pressure tank.
To best explore how different patterns and forms can affect the line laser light, I decided to make another plate that was inspired by diamonds. I followed the same process: build the 3D model in Rhino -> cast a silicone mode -> use the silicone mode to cast a final epoxy resin light defuser plate.
The image here is a diagram showing how the diamond shape works with light. (Source link)
This study answered my question about where to place my line laser modules. I decided to design some holders that allow the laser to penetrate the diamond defuser plate from below.
3D model for casting epoxy resin plate
Ideation for epoxy resin plate
3D print model to cast silicone mode
Silicone mode to cast the epoxy resin plate
Final epoxy resin plate
The Body
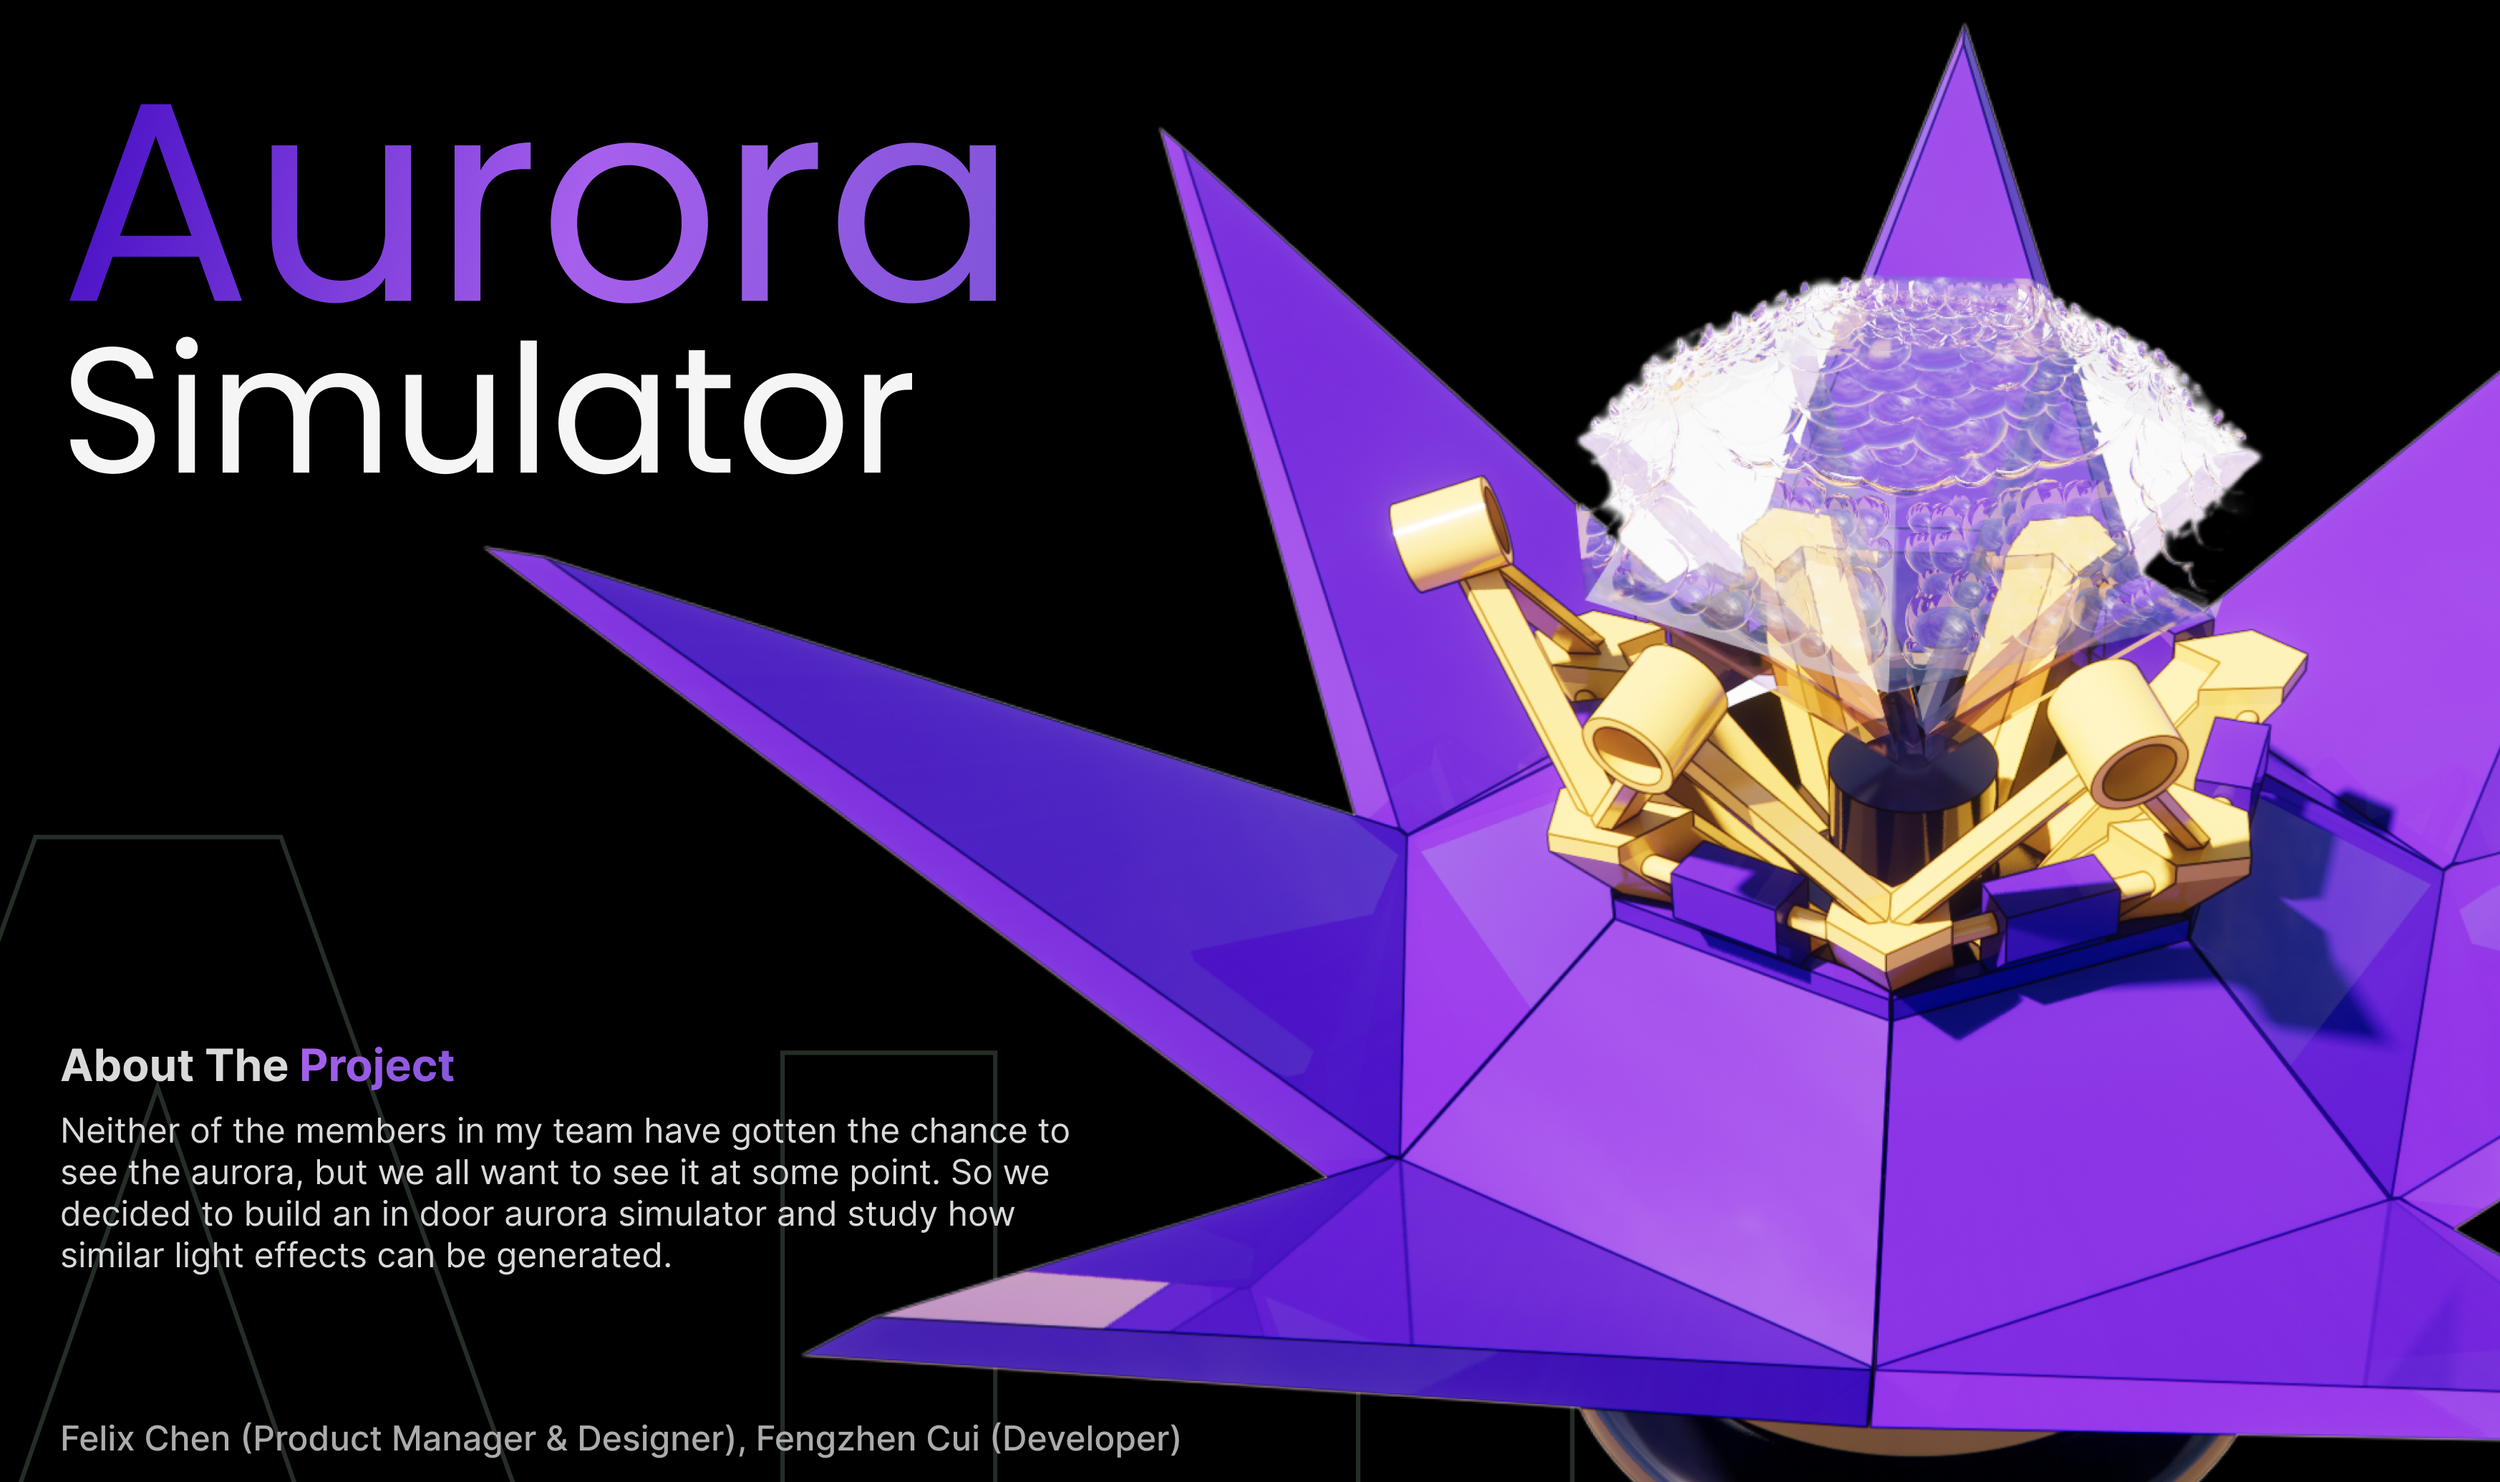
I wanted to make this device more interesting and interactive, I decided to hide the epoxy resin plate, the line laser modules, and their support structures. Users can open up the device by simple twisting the body. This mechanism was inspired by the nuts and bolts.
Now I just need to design the interior of the device. All the hardware components will be in the base, and I need to have an axel that connects the motor and the diamond shaped structure which will hold the epoxy resin defuser plate.
After building everything digitally in Rhino and made sure each component will function properly, I then 3D printed everything and assembled most of them.
Everything looked good so I disassembled them to paint them.
Final product
Testing - Core Spining
Testing - Opening and Closing
Final Light Effects
Easter Egg
While I was enjoying the artificial aurora light, I thought about replacing the diamond shaped plate with the thin acrylic plate I made in the very beginning. So I switched them and the light effect was just as amazing!


