Product Analysis
My favorite product analysis exercise for physical products stems from my childhood habit of disassembling newly acquired toys and then reassembling them afterward.
In this exercise, I explored and investigated commonly used mass-manufacturing techniques for small consumer electronics containing sensors, actuators, and microcontrollers by disassembling and documenting a toy car. I also practiced handwork skills and further developed proficiency in working with small components and tools, which are important for product prototyping.
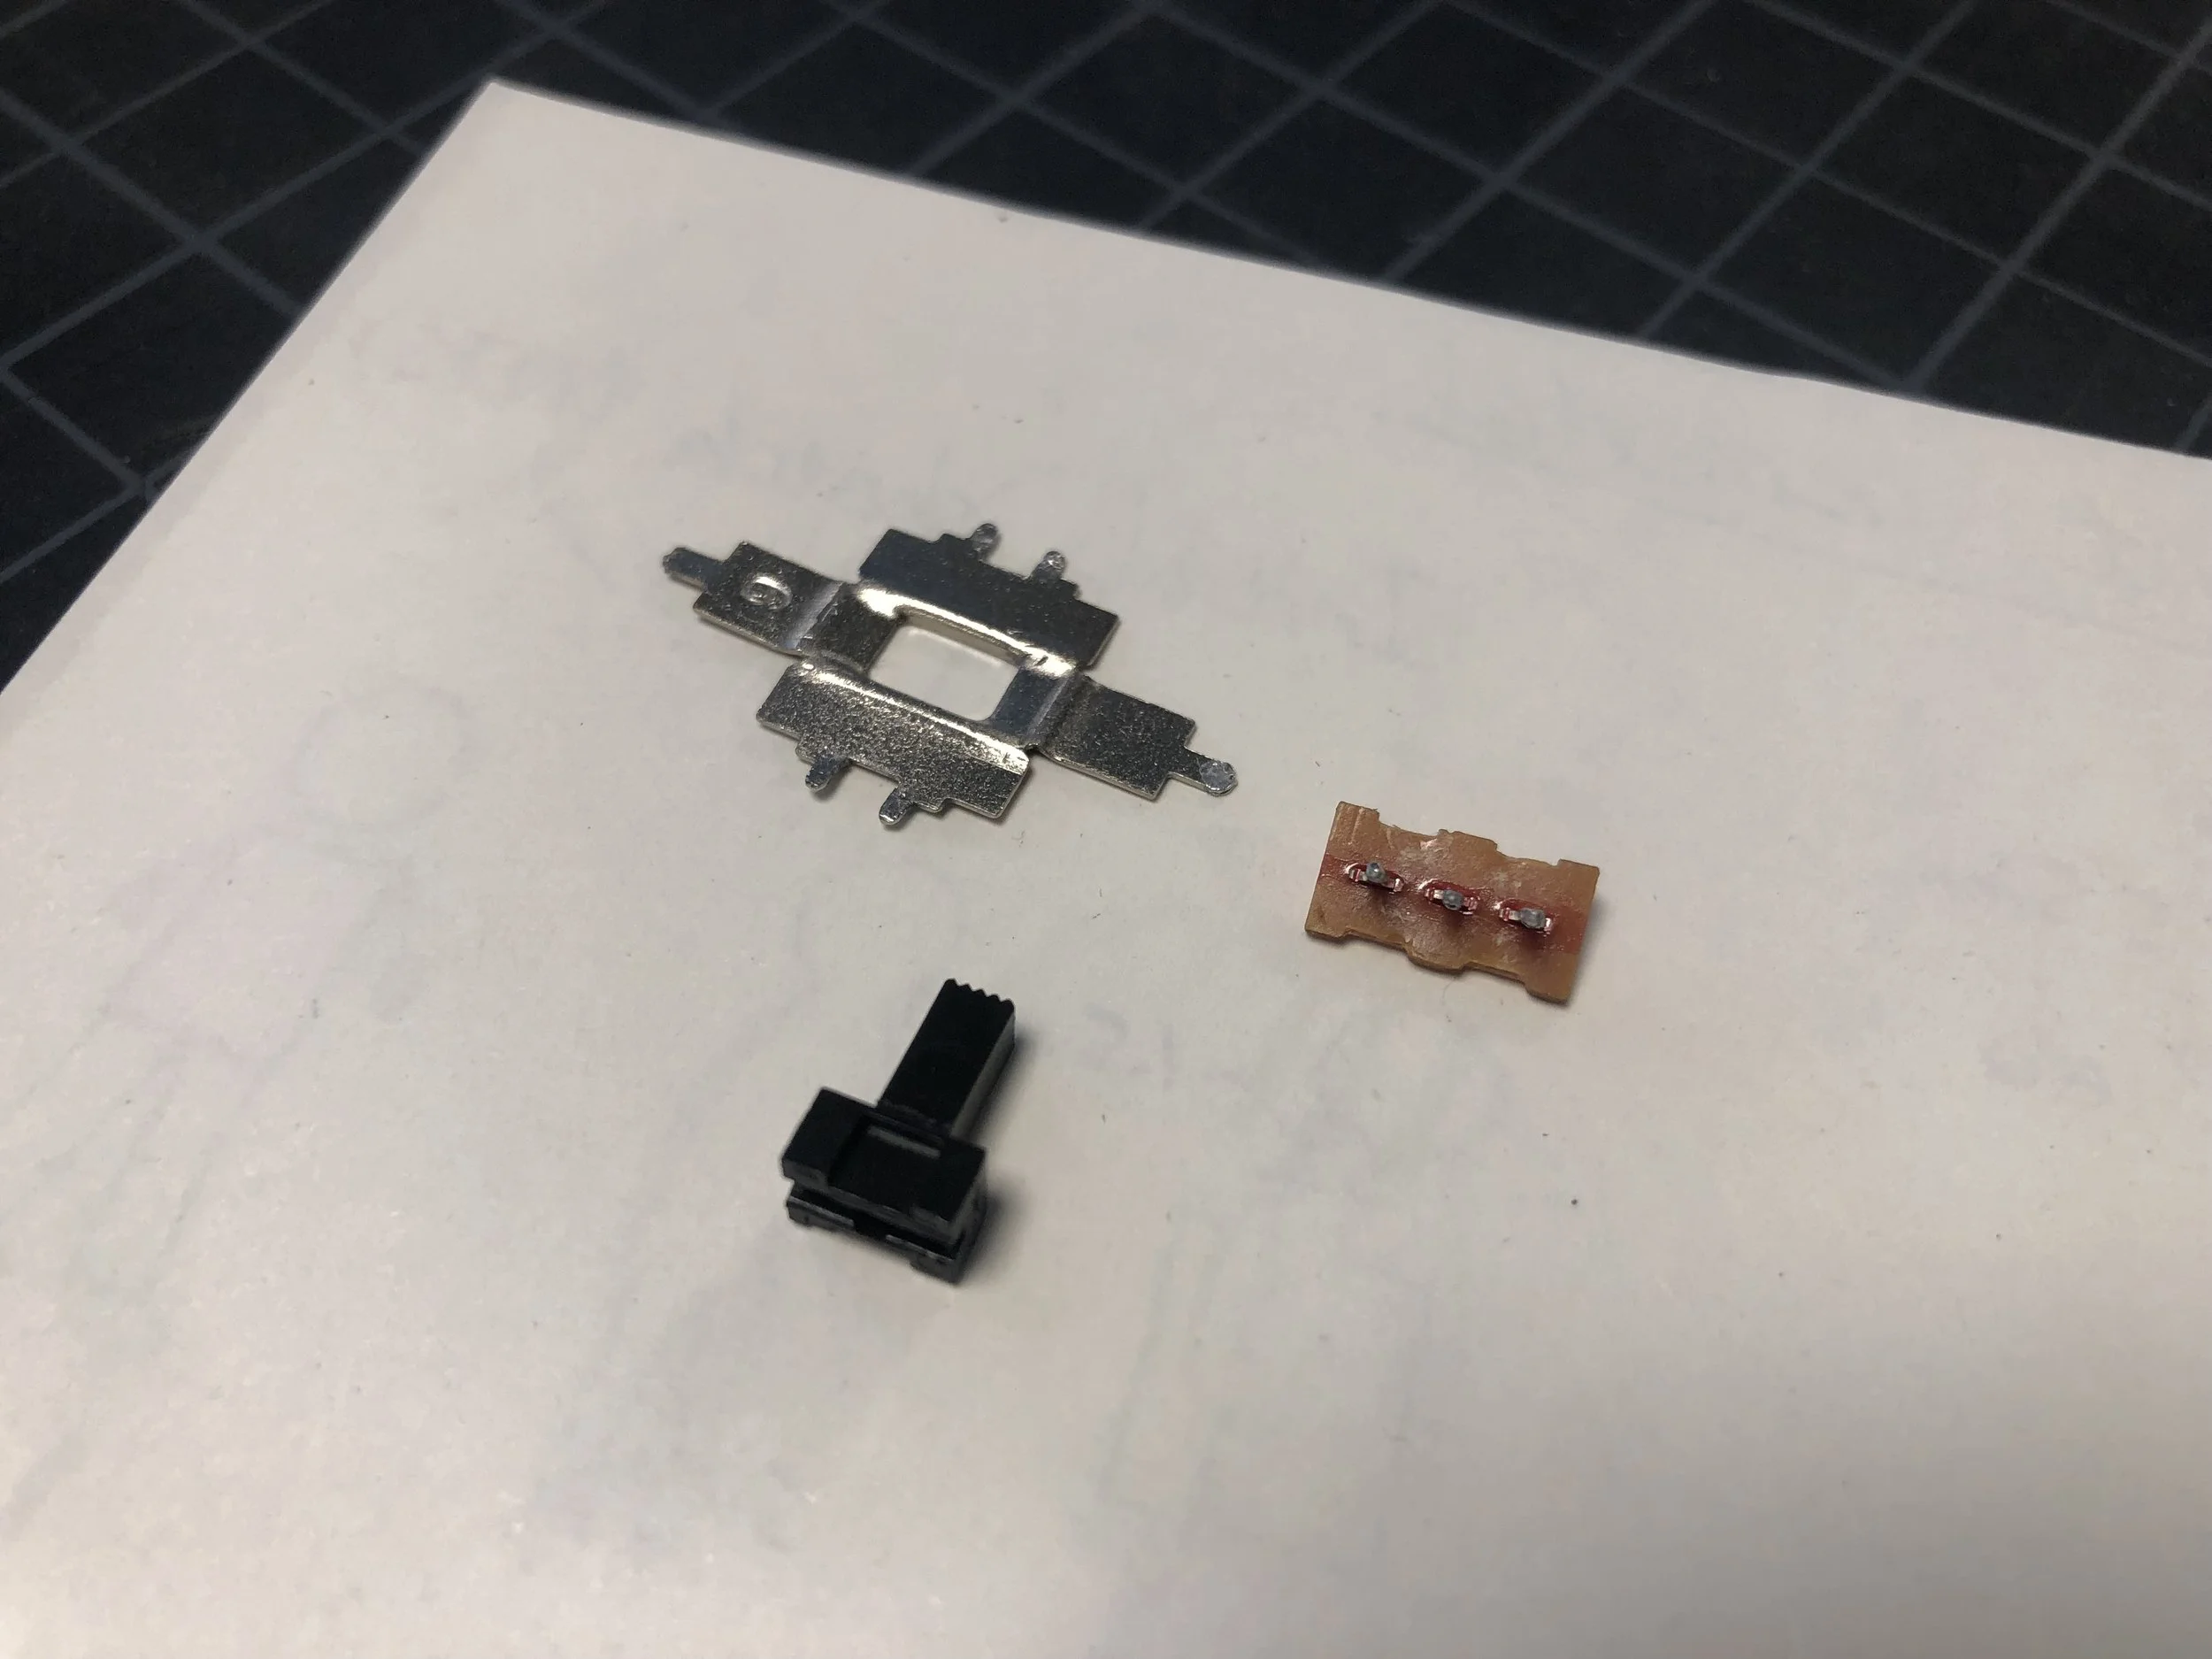
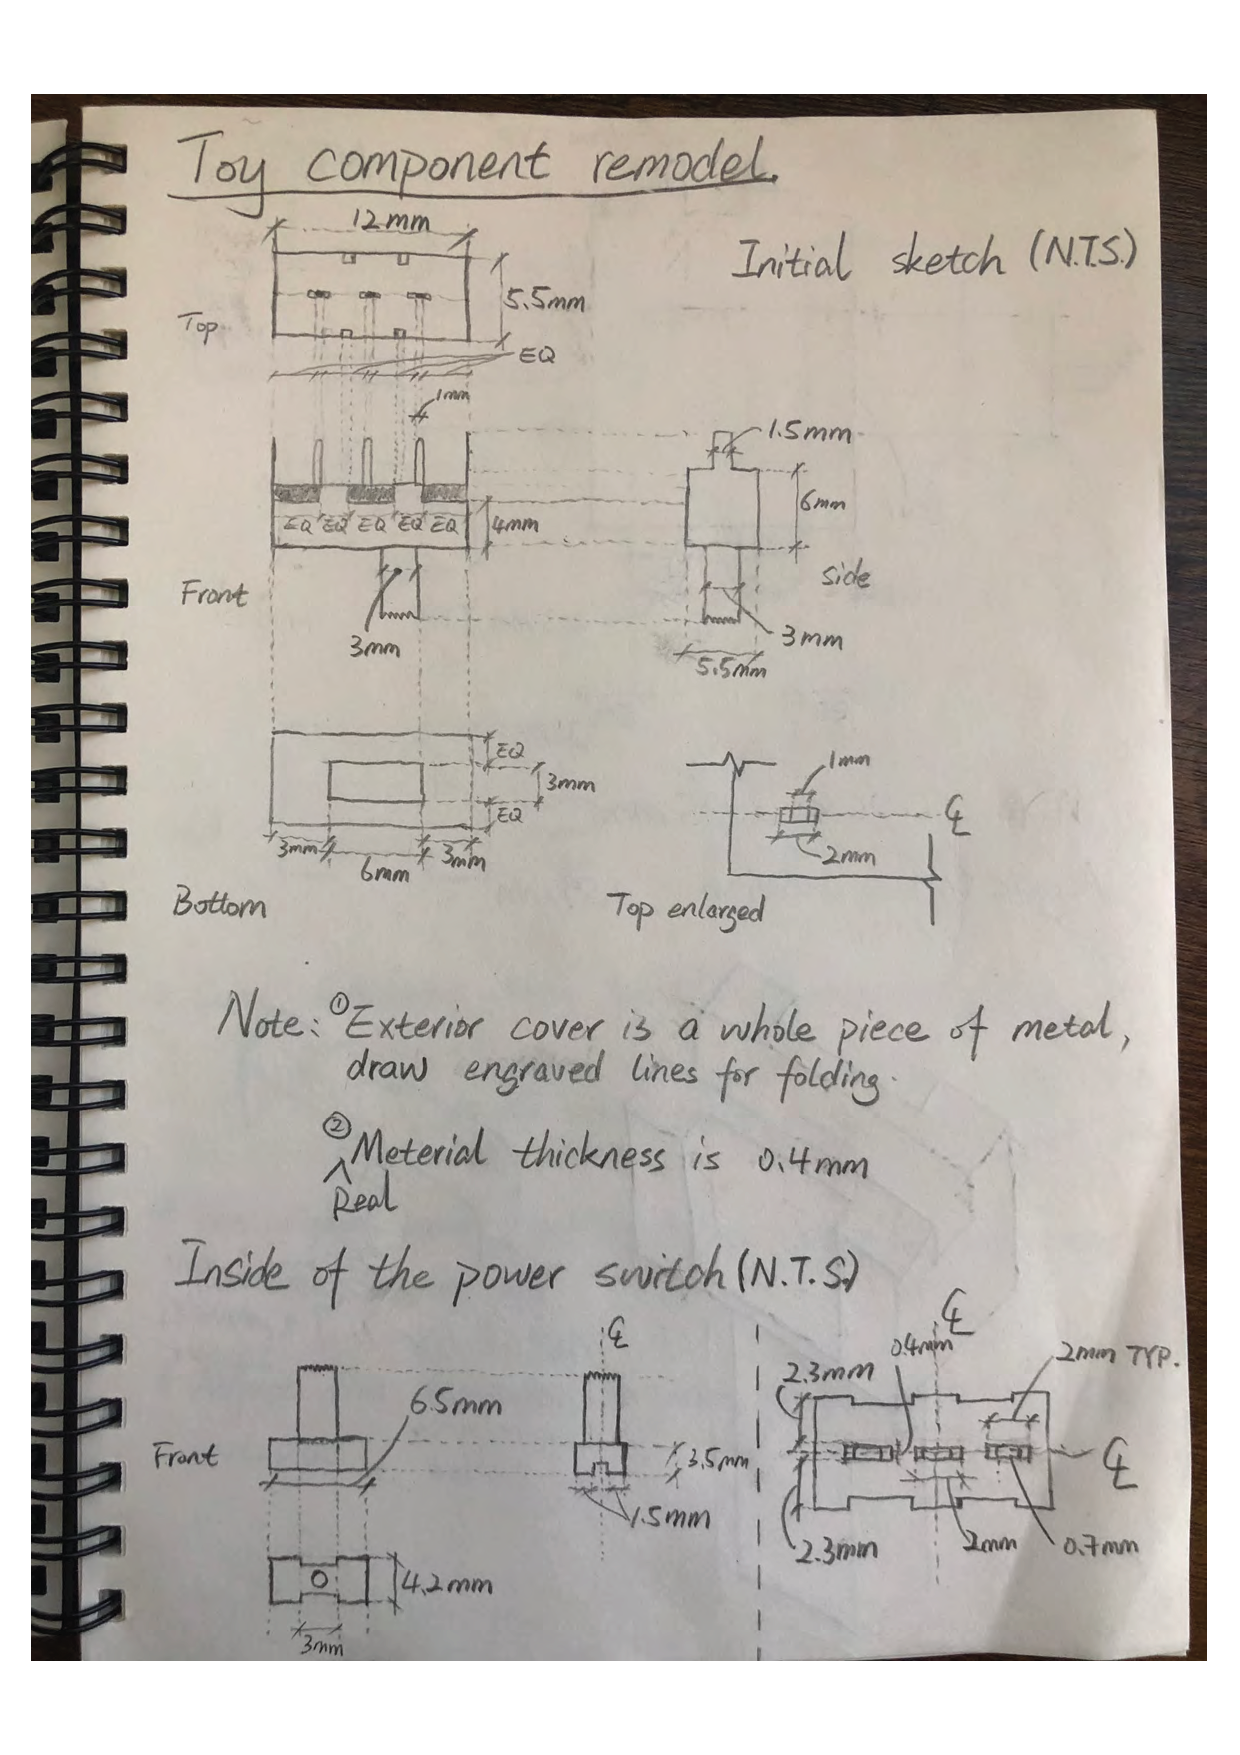
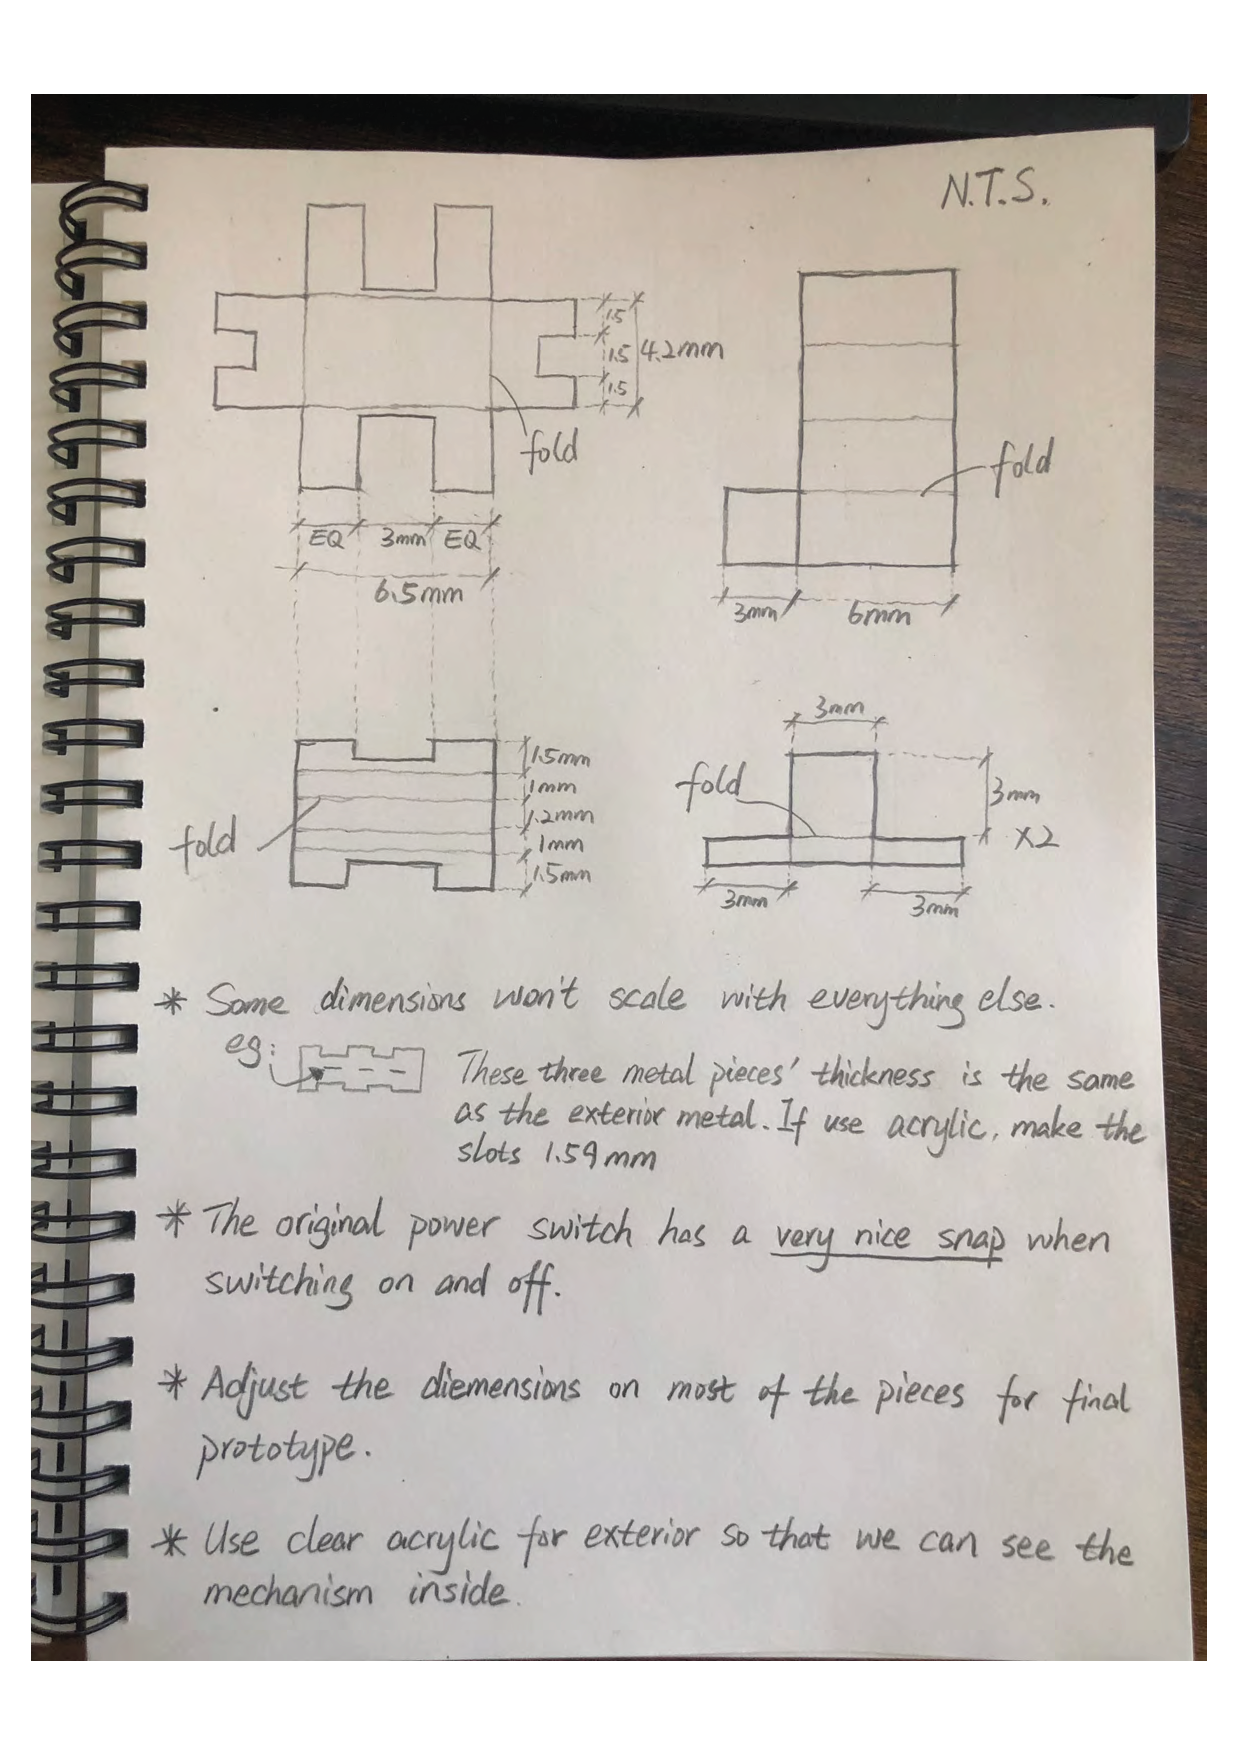
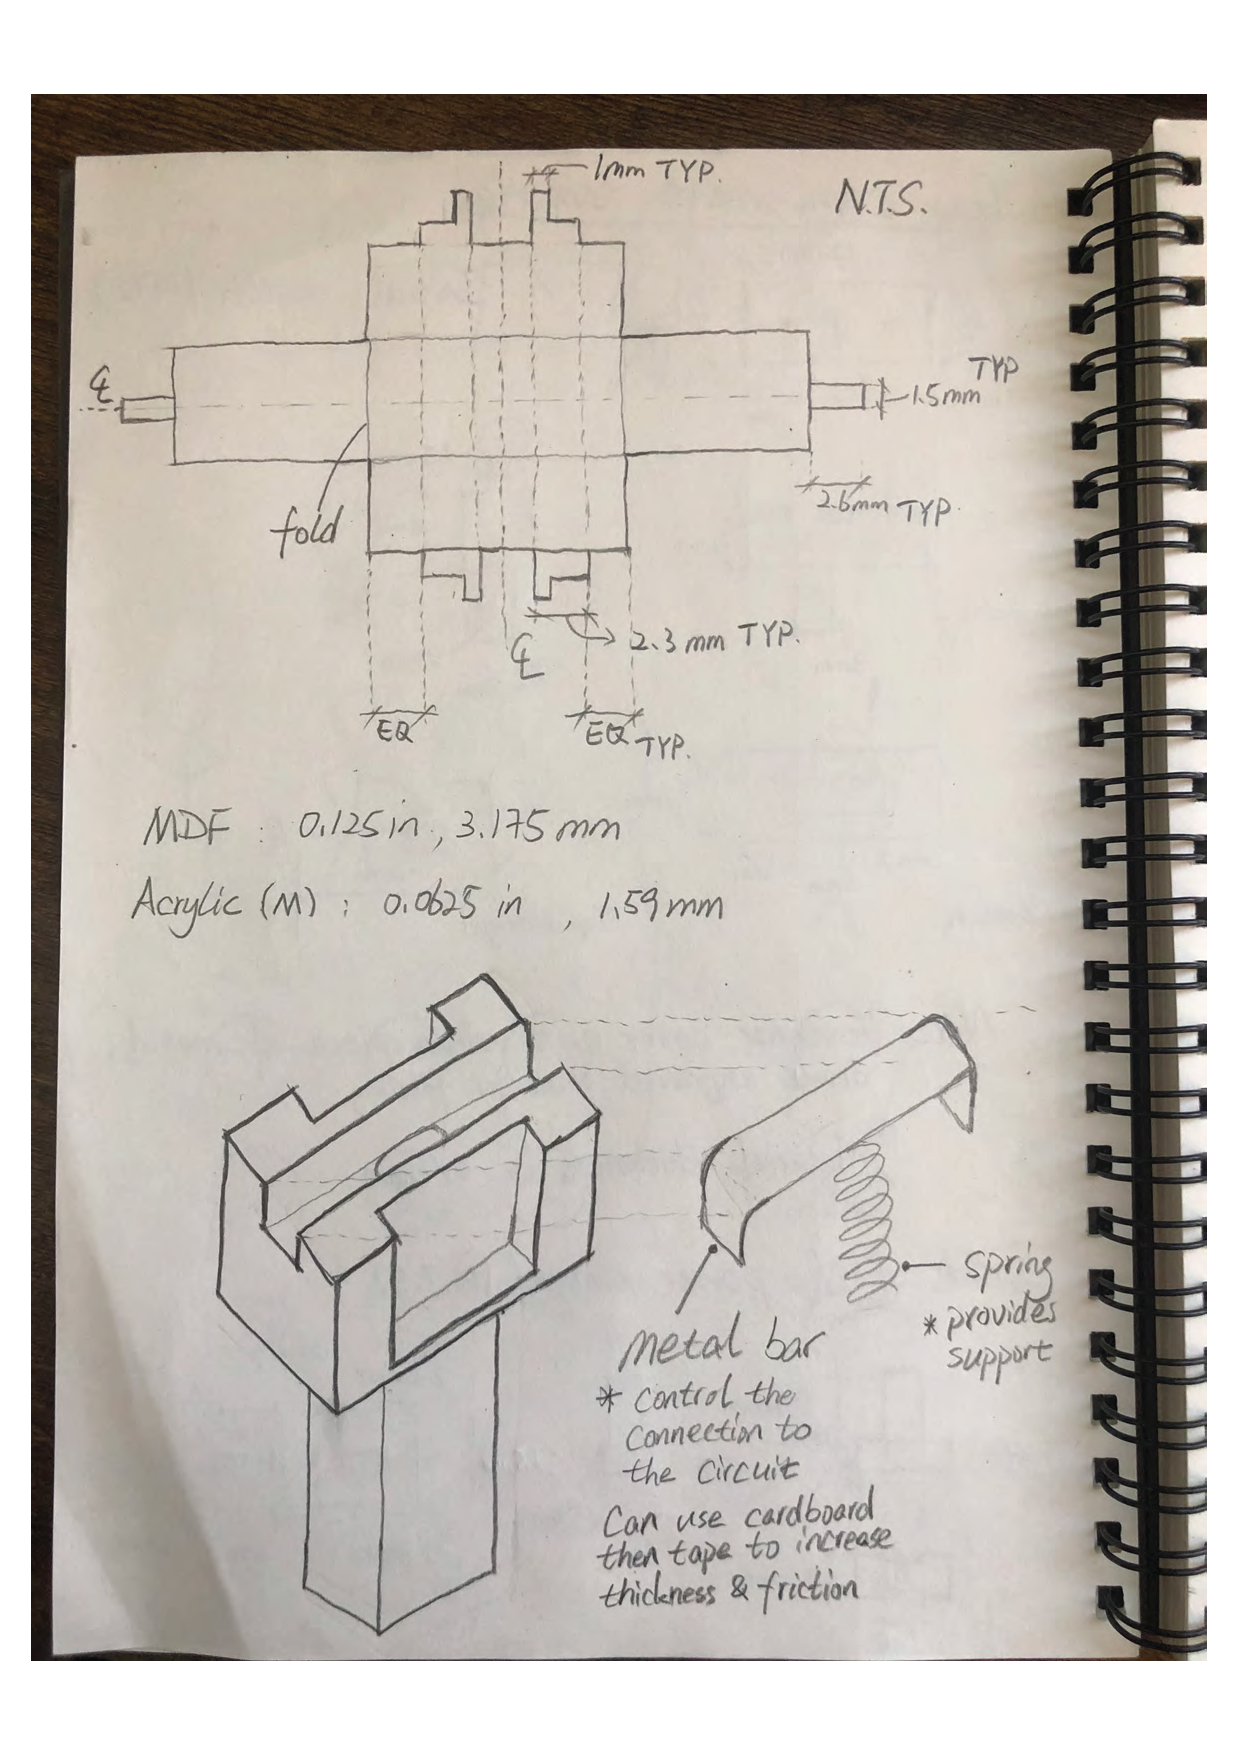
For the reassembling part, I picked the power switch — one of the smallest parts in this toy car that has some other things inside of it. I further disassembled it and made some sketches to help me understand the relationship between each element.
Overall process:
Sketch the assembly from different perspectives, scales, and vantage points and make notes of the dimensions of the subassembly on some of these sketches.
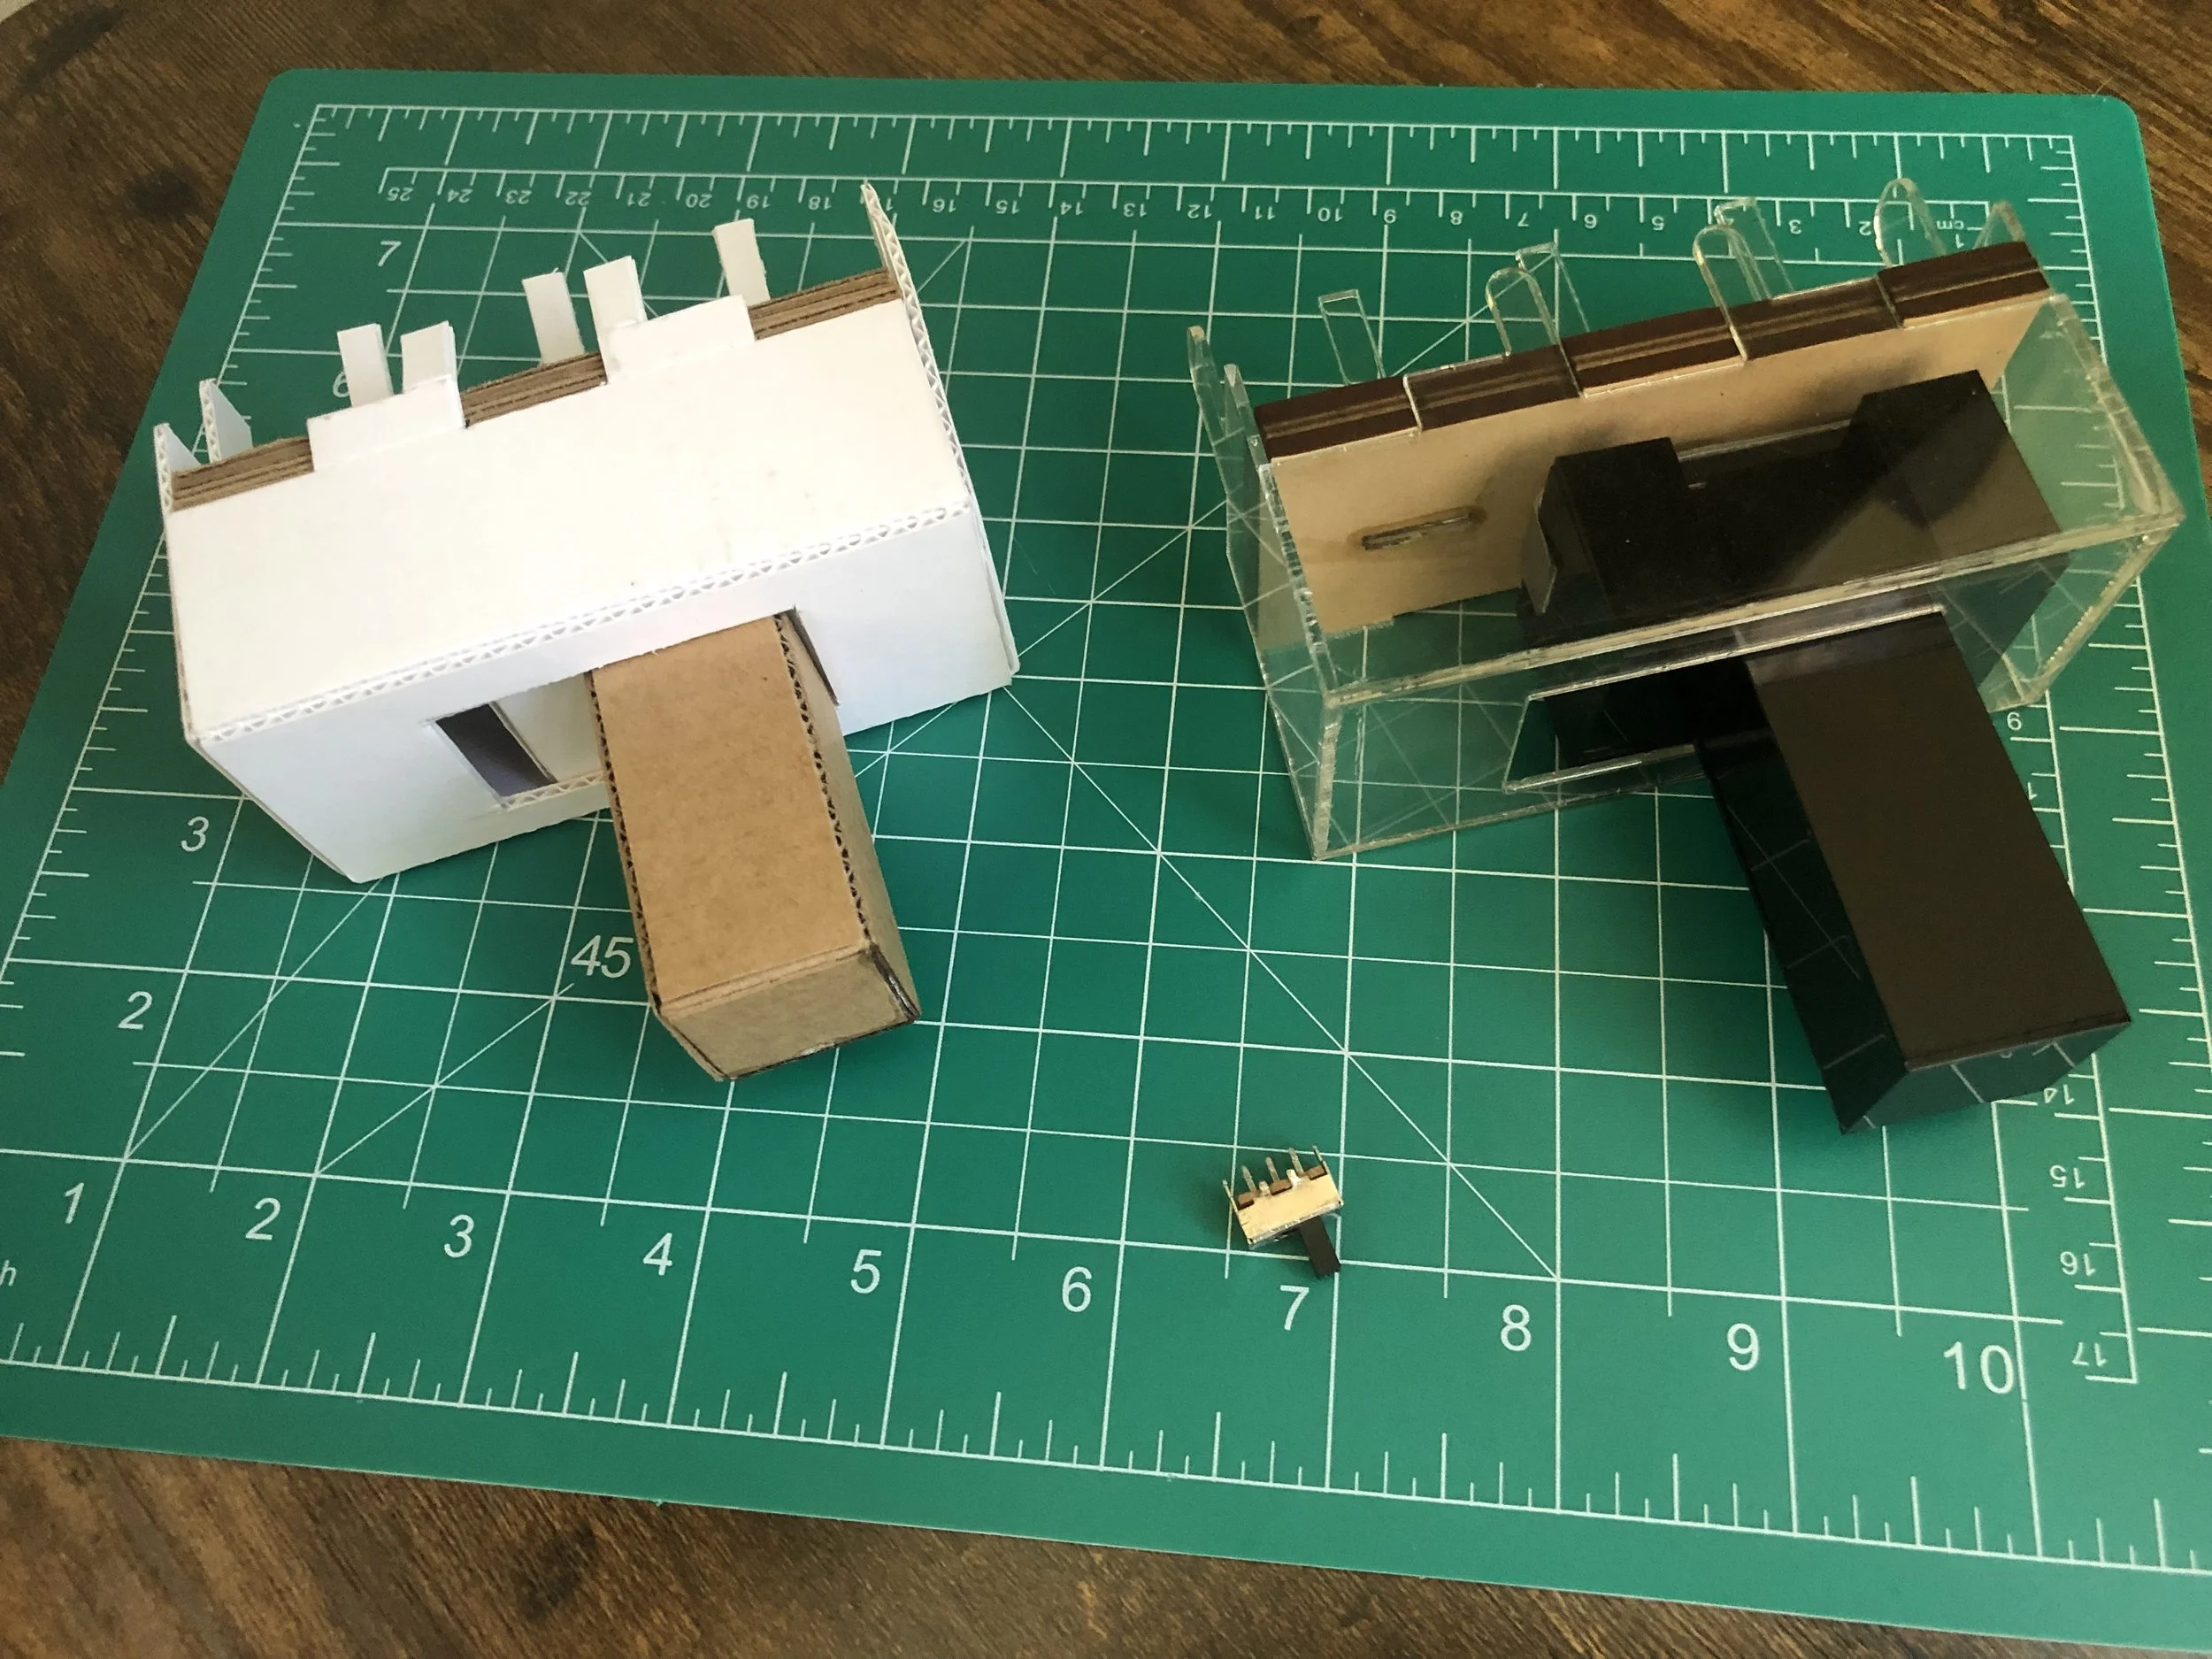
Model the assembly in sheet material (e.g., paper, card, fiberboard, C-Flute, etc.) at a suitable scale (8x scale in my case).
Make notes between each iteration. Identify what worked and what didn't. Then specify the refinements you intend to make on the next iteration.
Refine the assembly using laser-cut materials for a more refined and precise model.
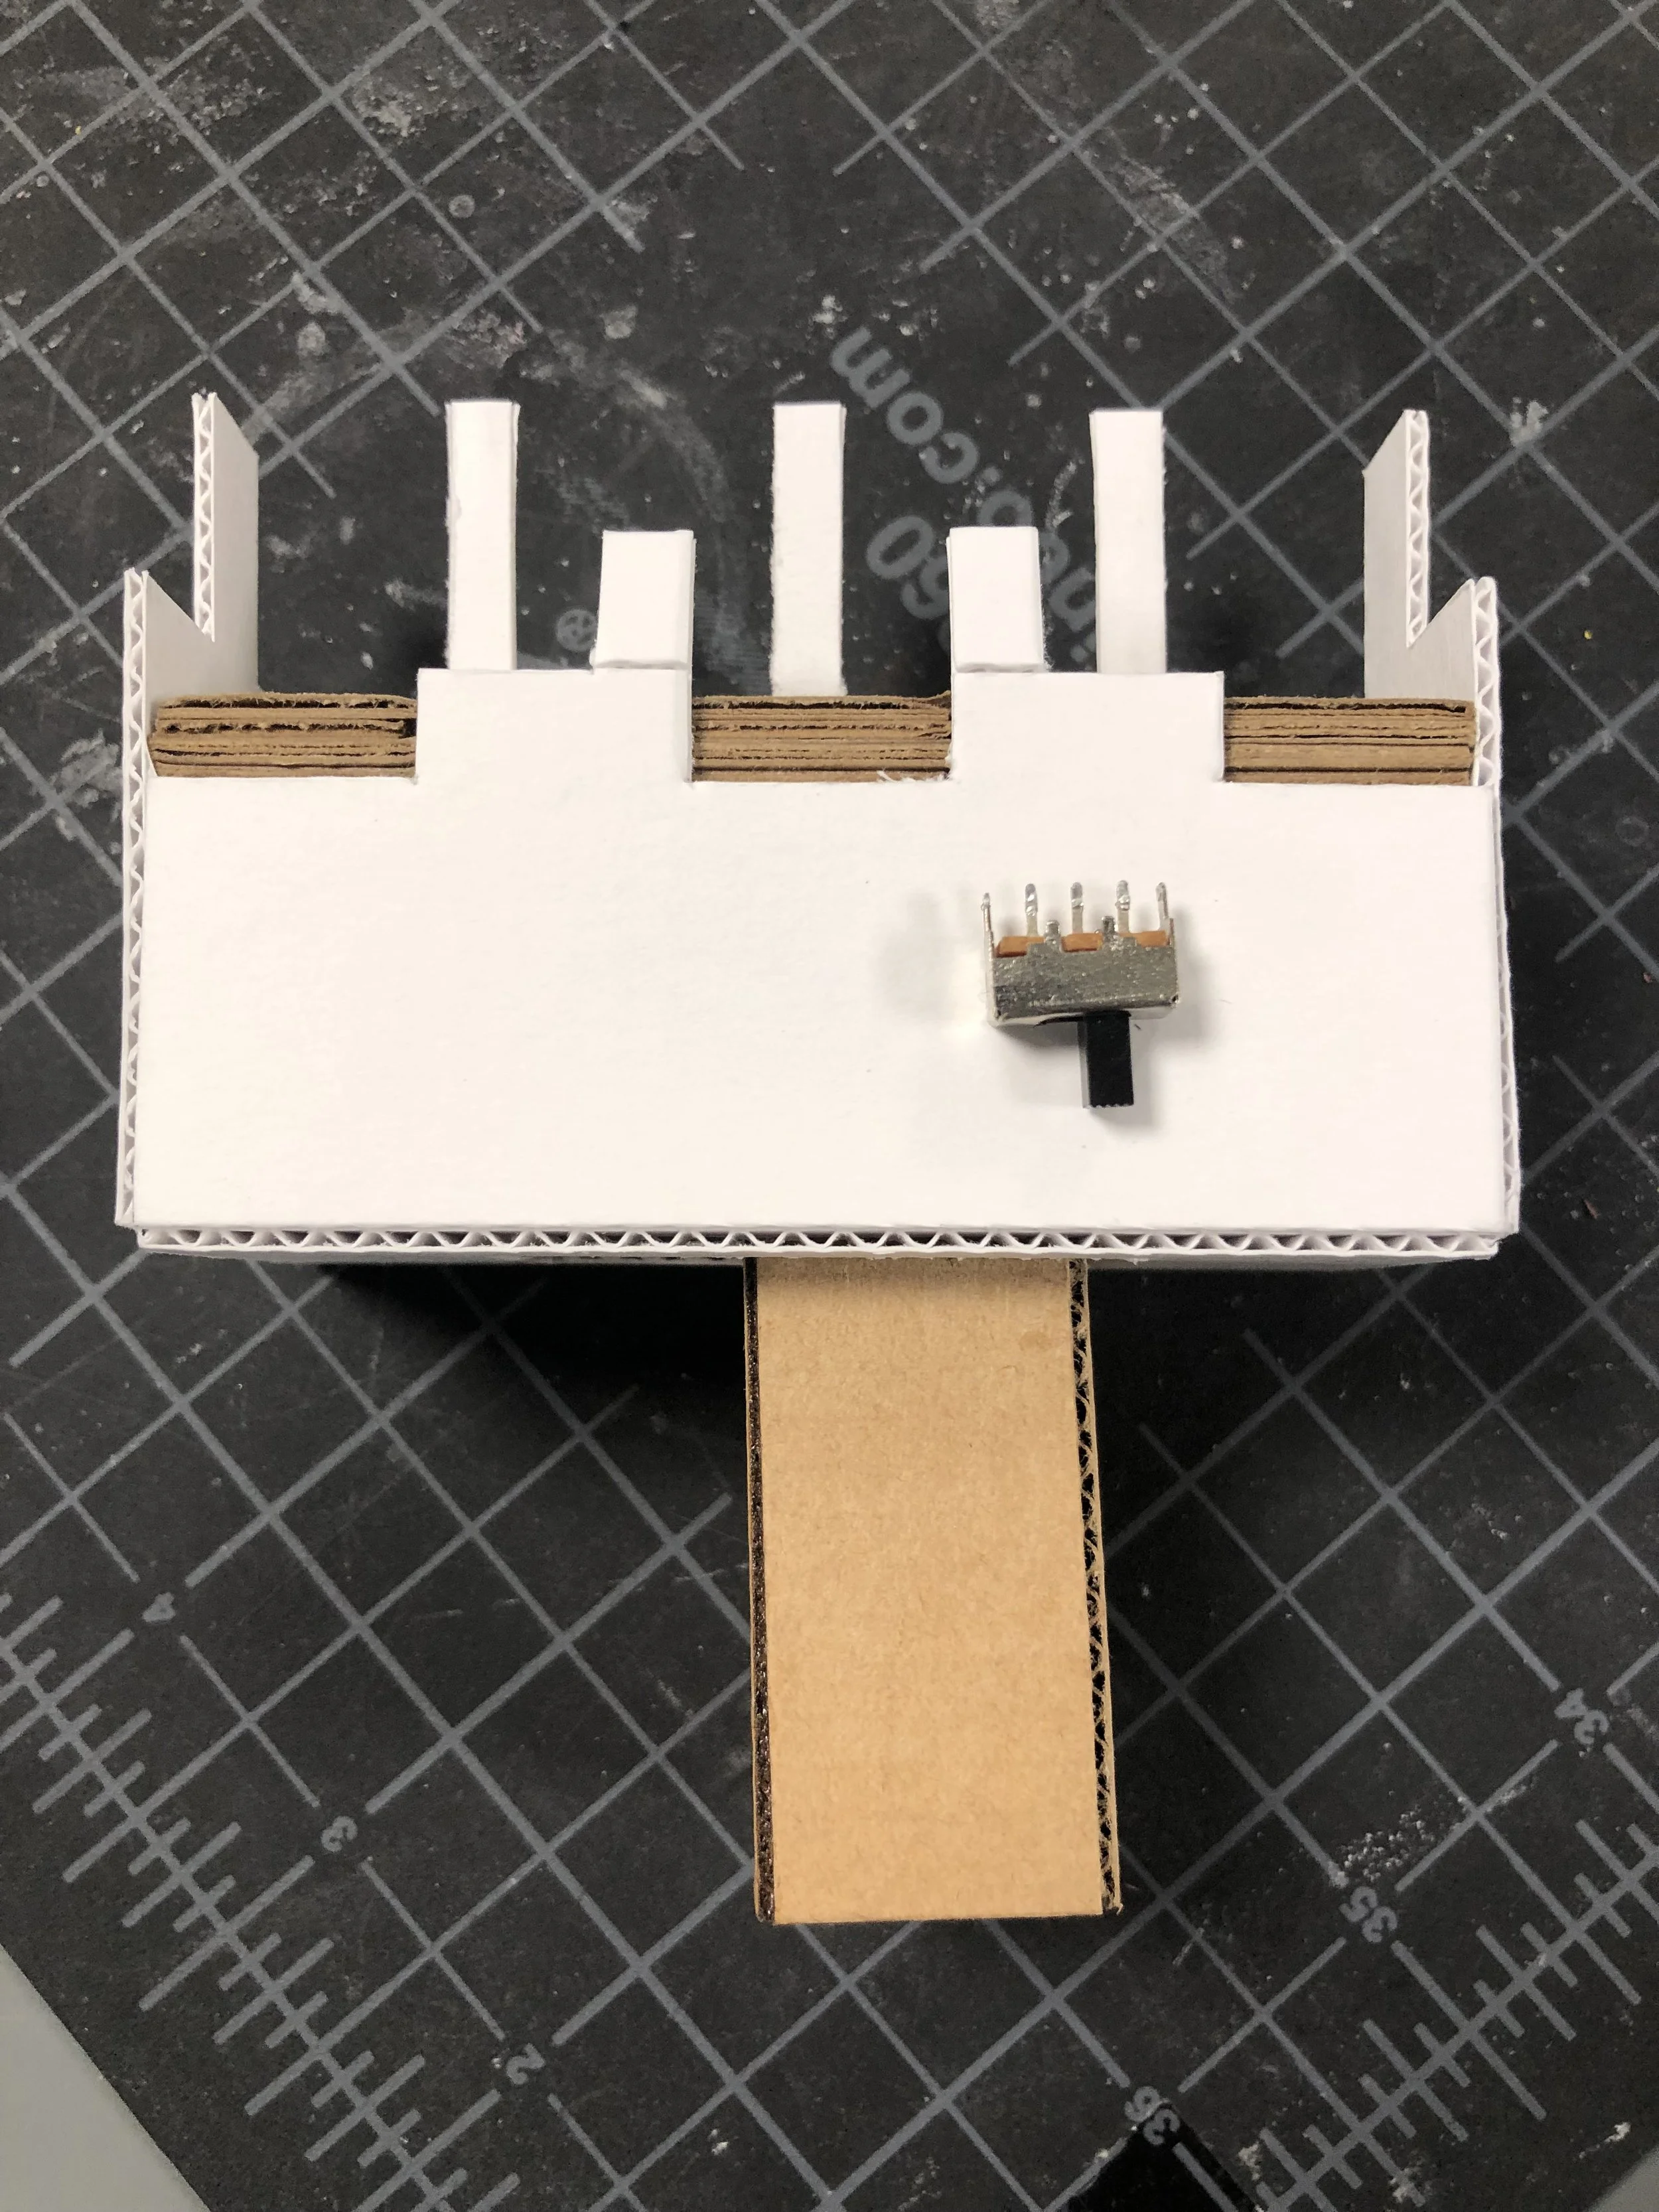
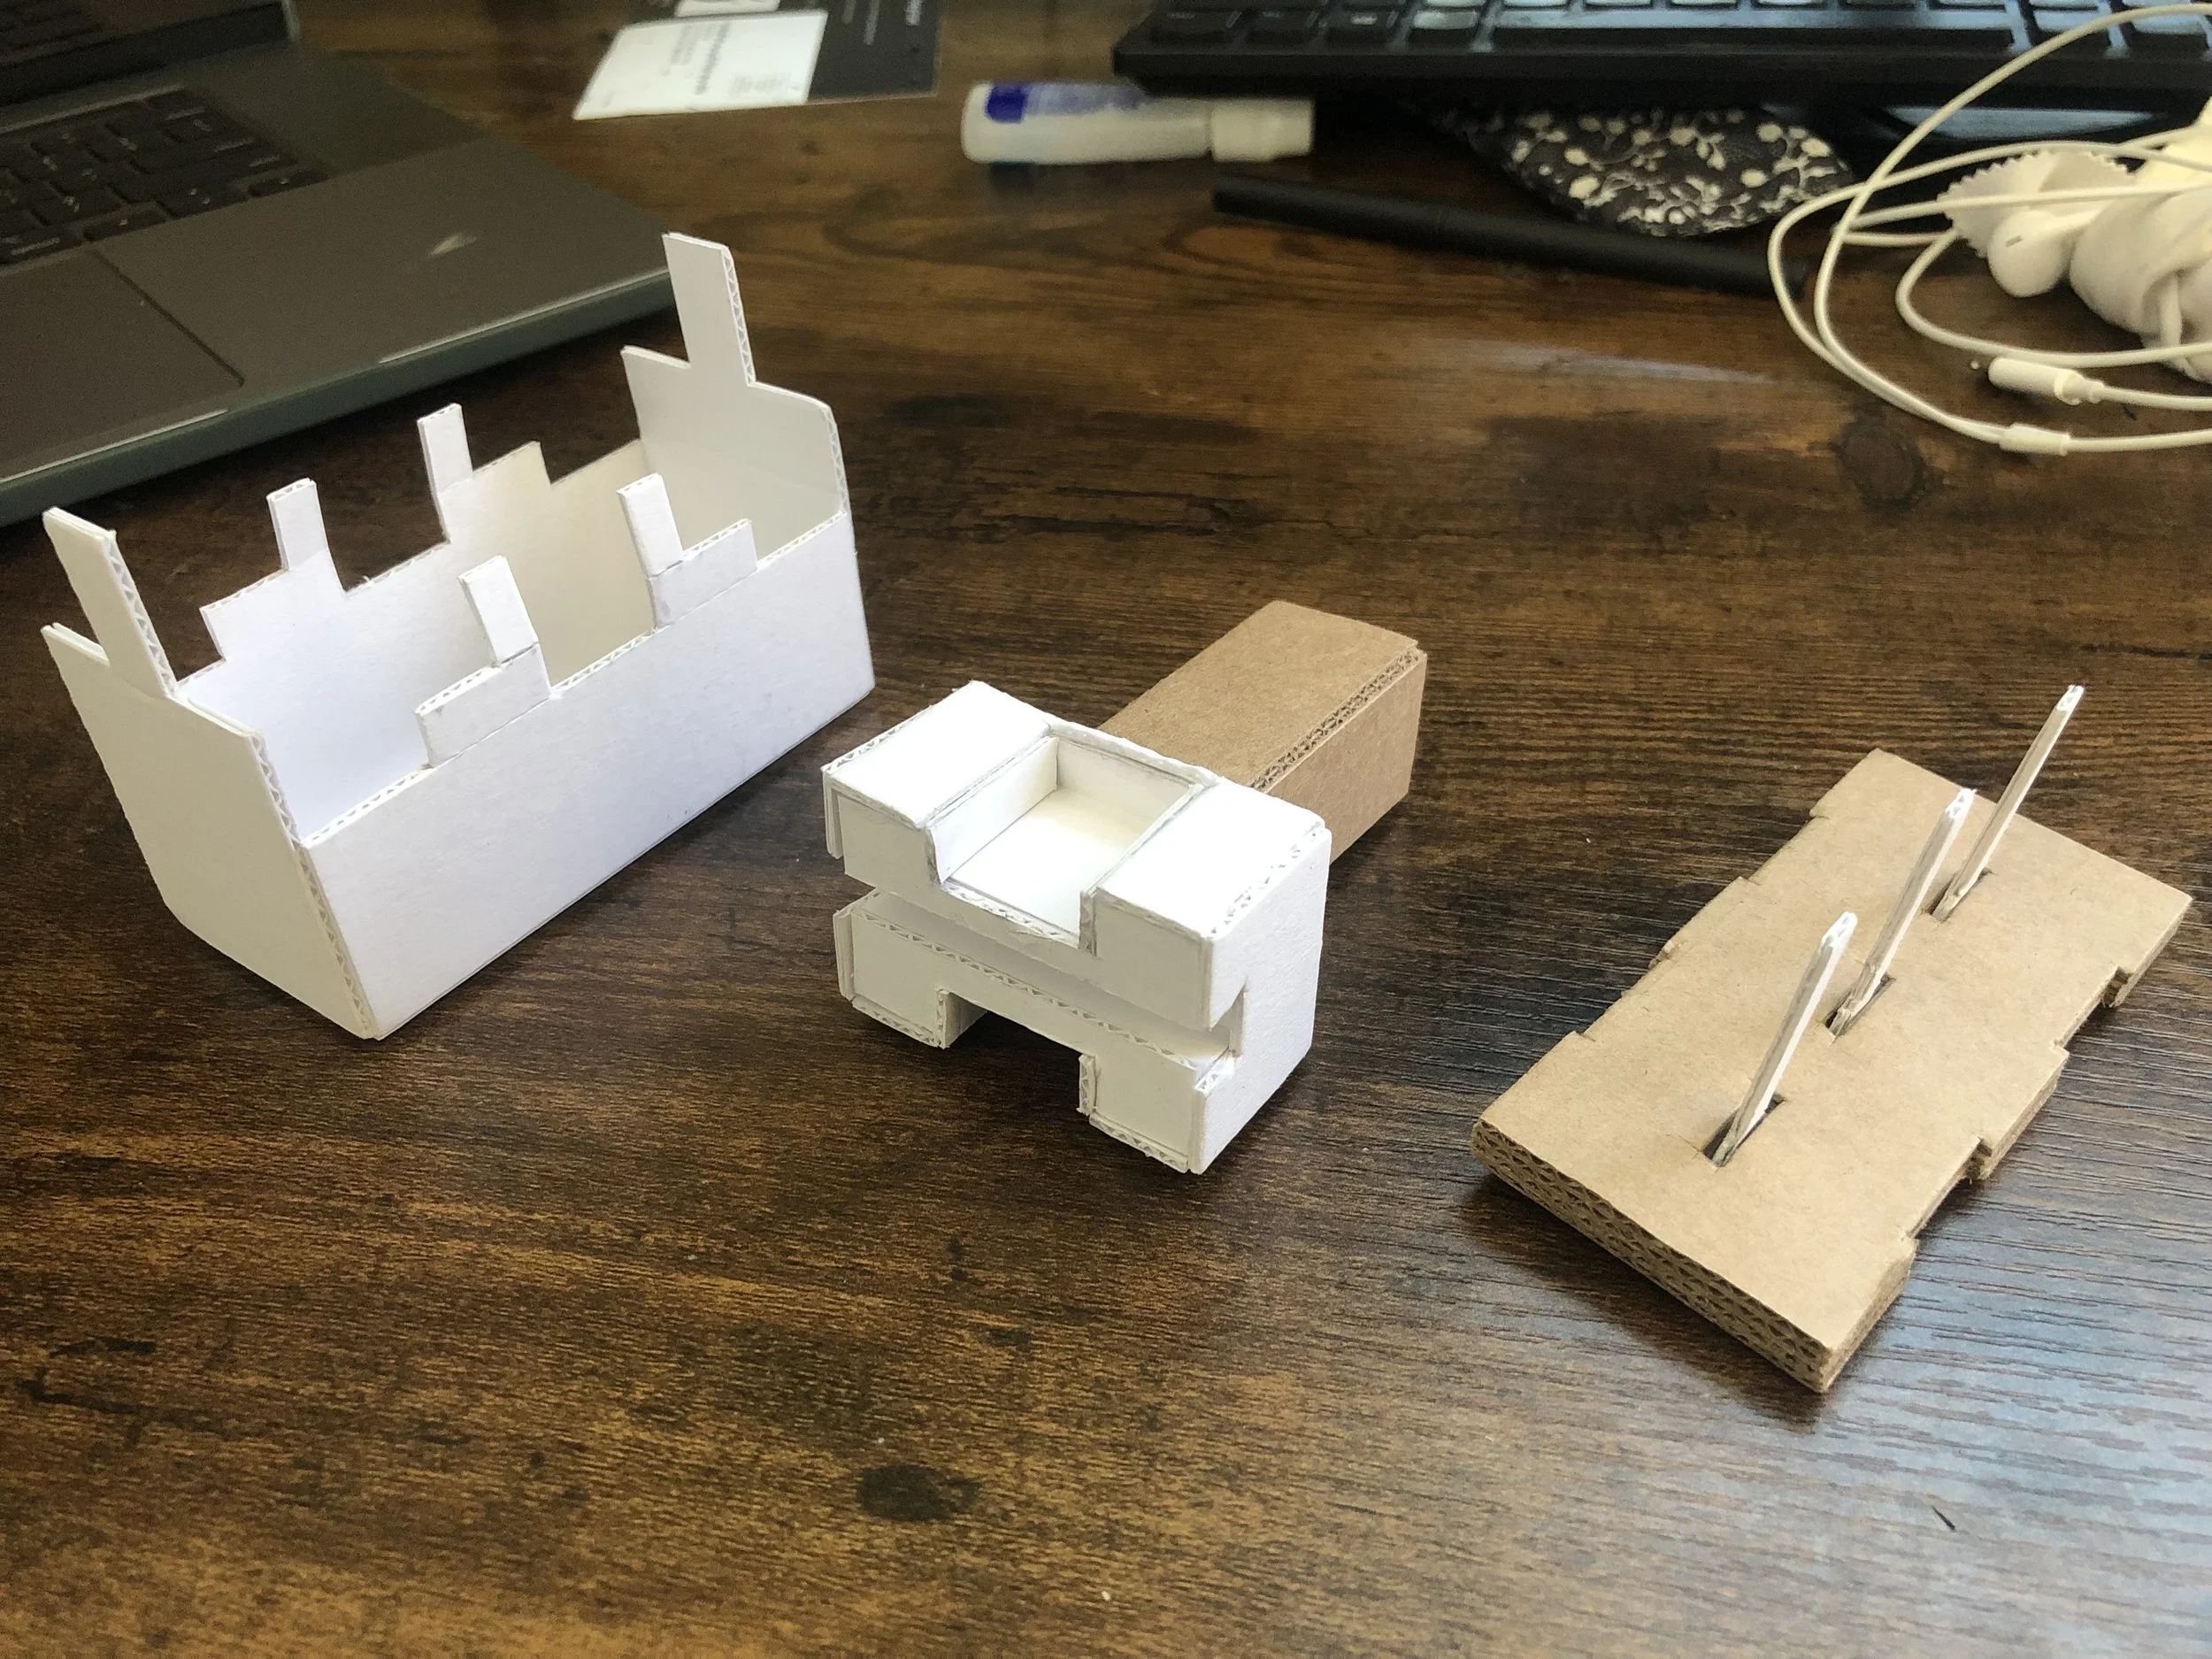
My first draft :
I only used different types of cardboard for my first draft.
Pros:
It’s the cheapest, easiest, and fastest way to build it.
Cons:
I cannot see the inside of the model.
When I move the original power switch handle, I feel a resistance. However, in the cardboard draft model, the movement is very smooth which is not exactly what I want.
8 times bigger than the original
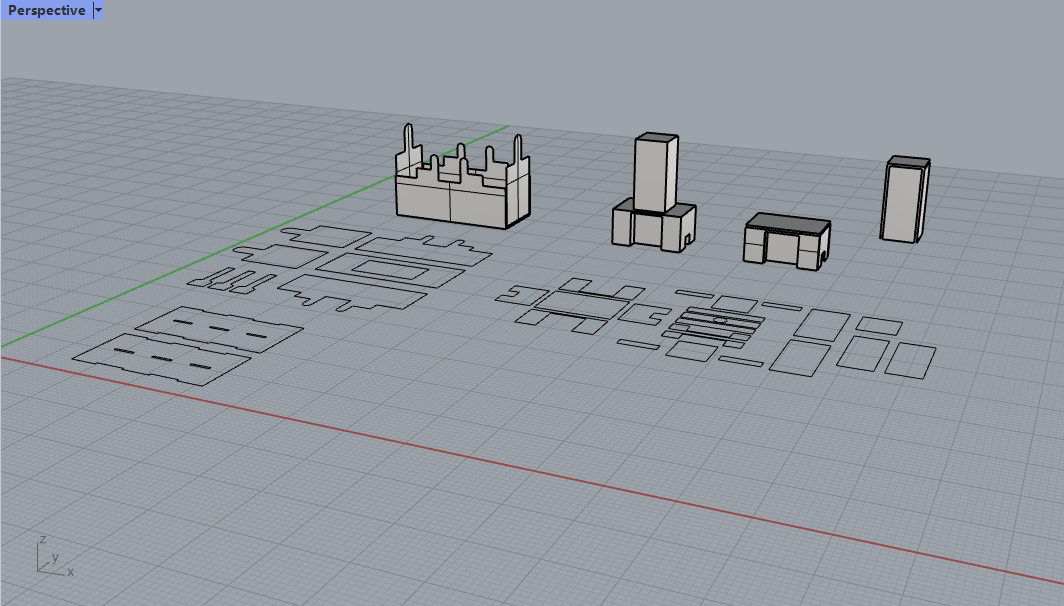
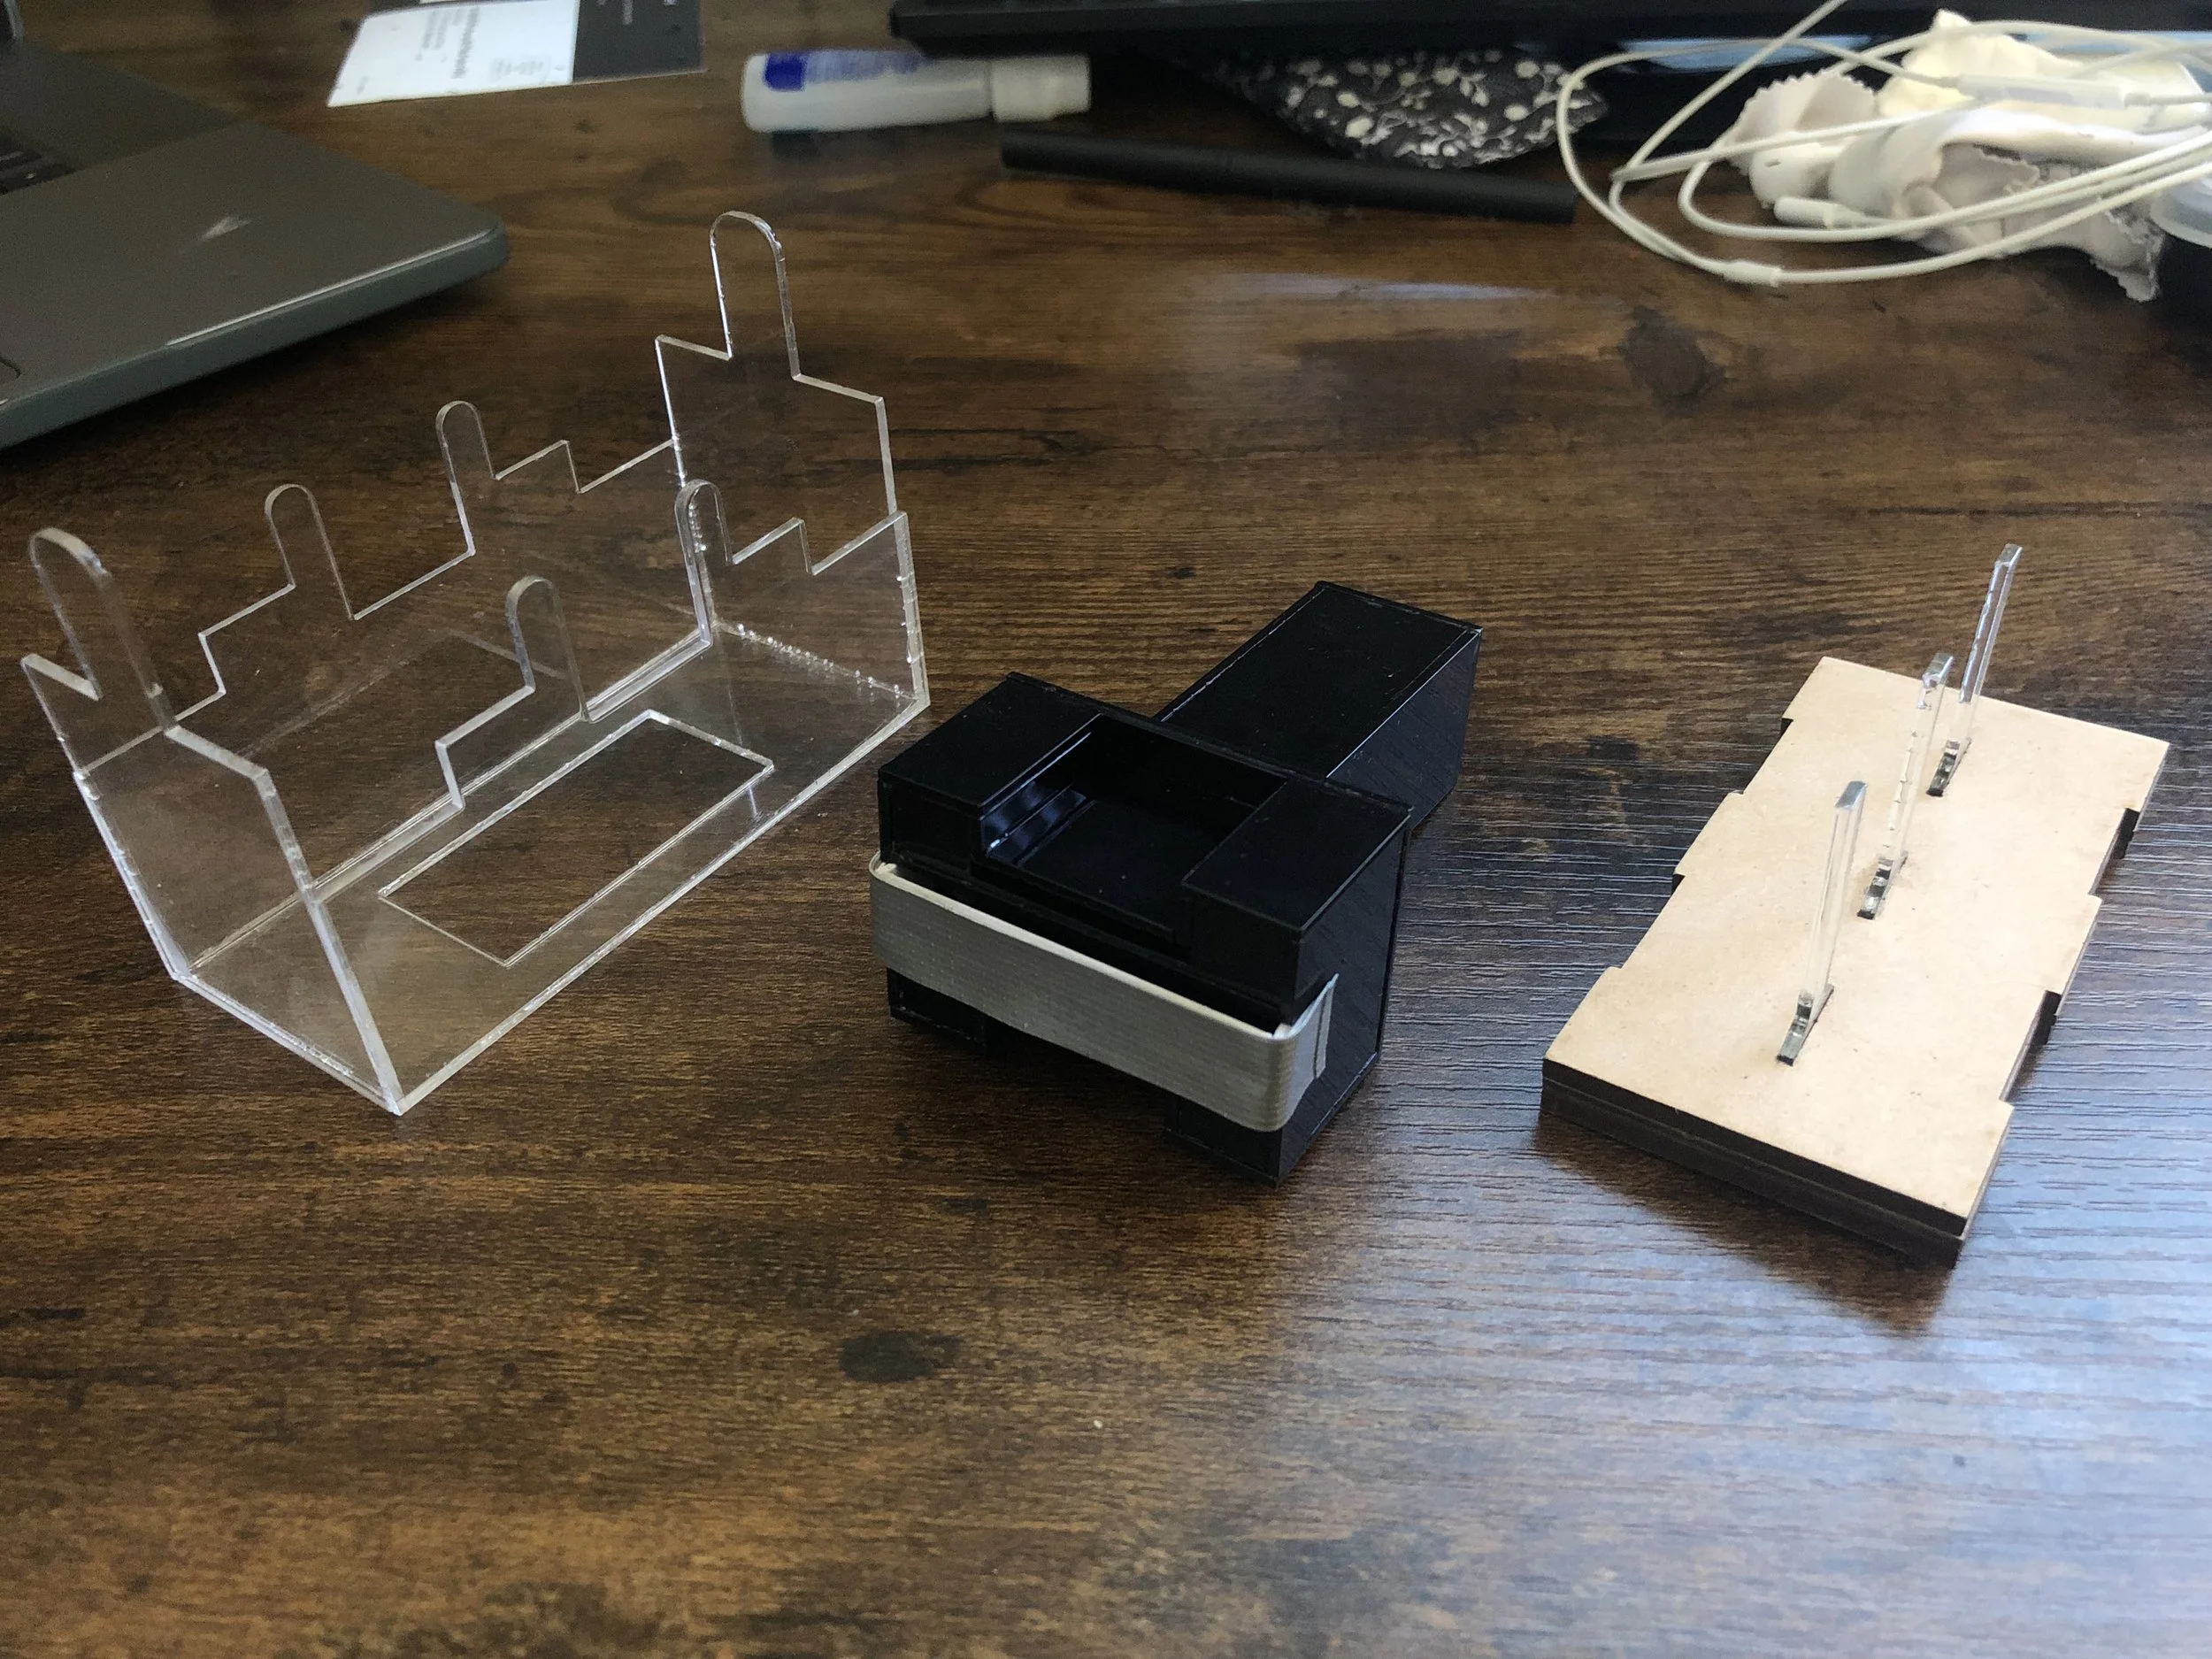
I chose to create my final model using a combination of acrylic and medium-density fiberboard (MDF): clear acrylic for the metal part, MDF for the cap, and black acrylic for the plastic handle. I meticulously modeled everything in Rhino, carefully adjusting and then testing for material thickness and tolerance to ensure precise assembling.
My final model:
Pros:
I can see through clearly.
The duct tape I added to the museum board created friction that is very similar to the original.
Cons:
The acrylic is not as flexible as the cardboard.
Reflection:
Disassembling a toy car and then reassembling a part of it initially seemed like a simple task, but it provided valuable insights into the manufacturing of each component and their interrelationships. My biggest takeaway from this exercise is that even the smallest element plays a crucial role in the overall system. A seemingly simple toy functions effectively only through well-thought-out mechanisms and precise craftsmanship.
Batch Production
In this fun exercise, I experienced a condensed product development process, including design, ‘tooling’, and production. The objective is to develop an understanding of mass production taking into consideration the constraints of the manufacturing method.
So I designed a 3D tessellated tiles and then used the combinations of white and milk chocolate to improve the overall effect.
Overall process:
Model my tessellated design in Fusion360
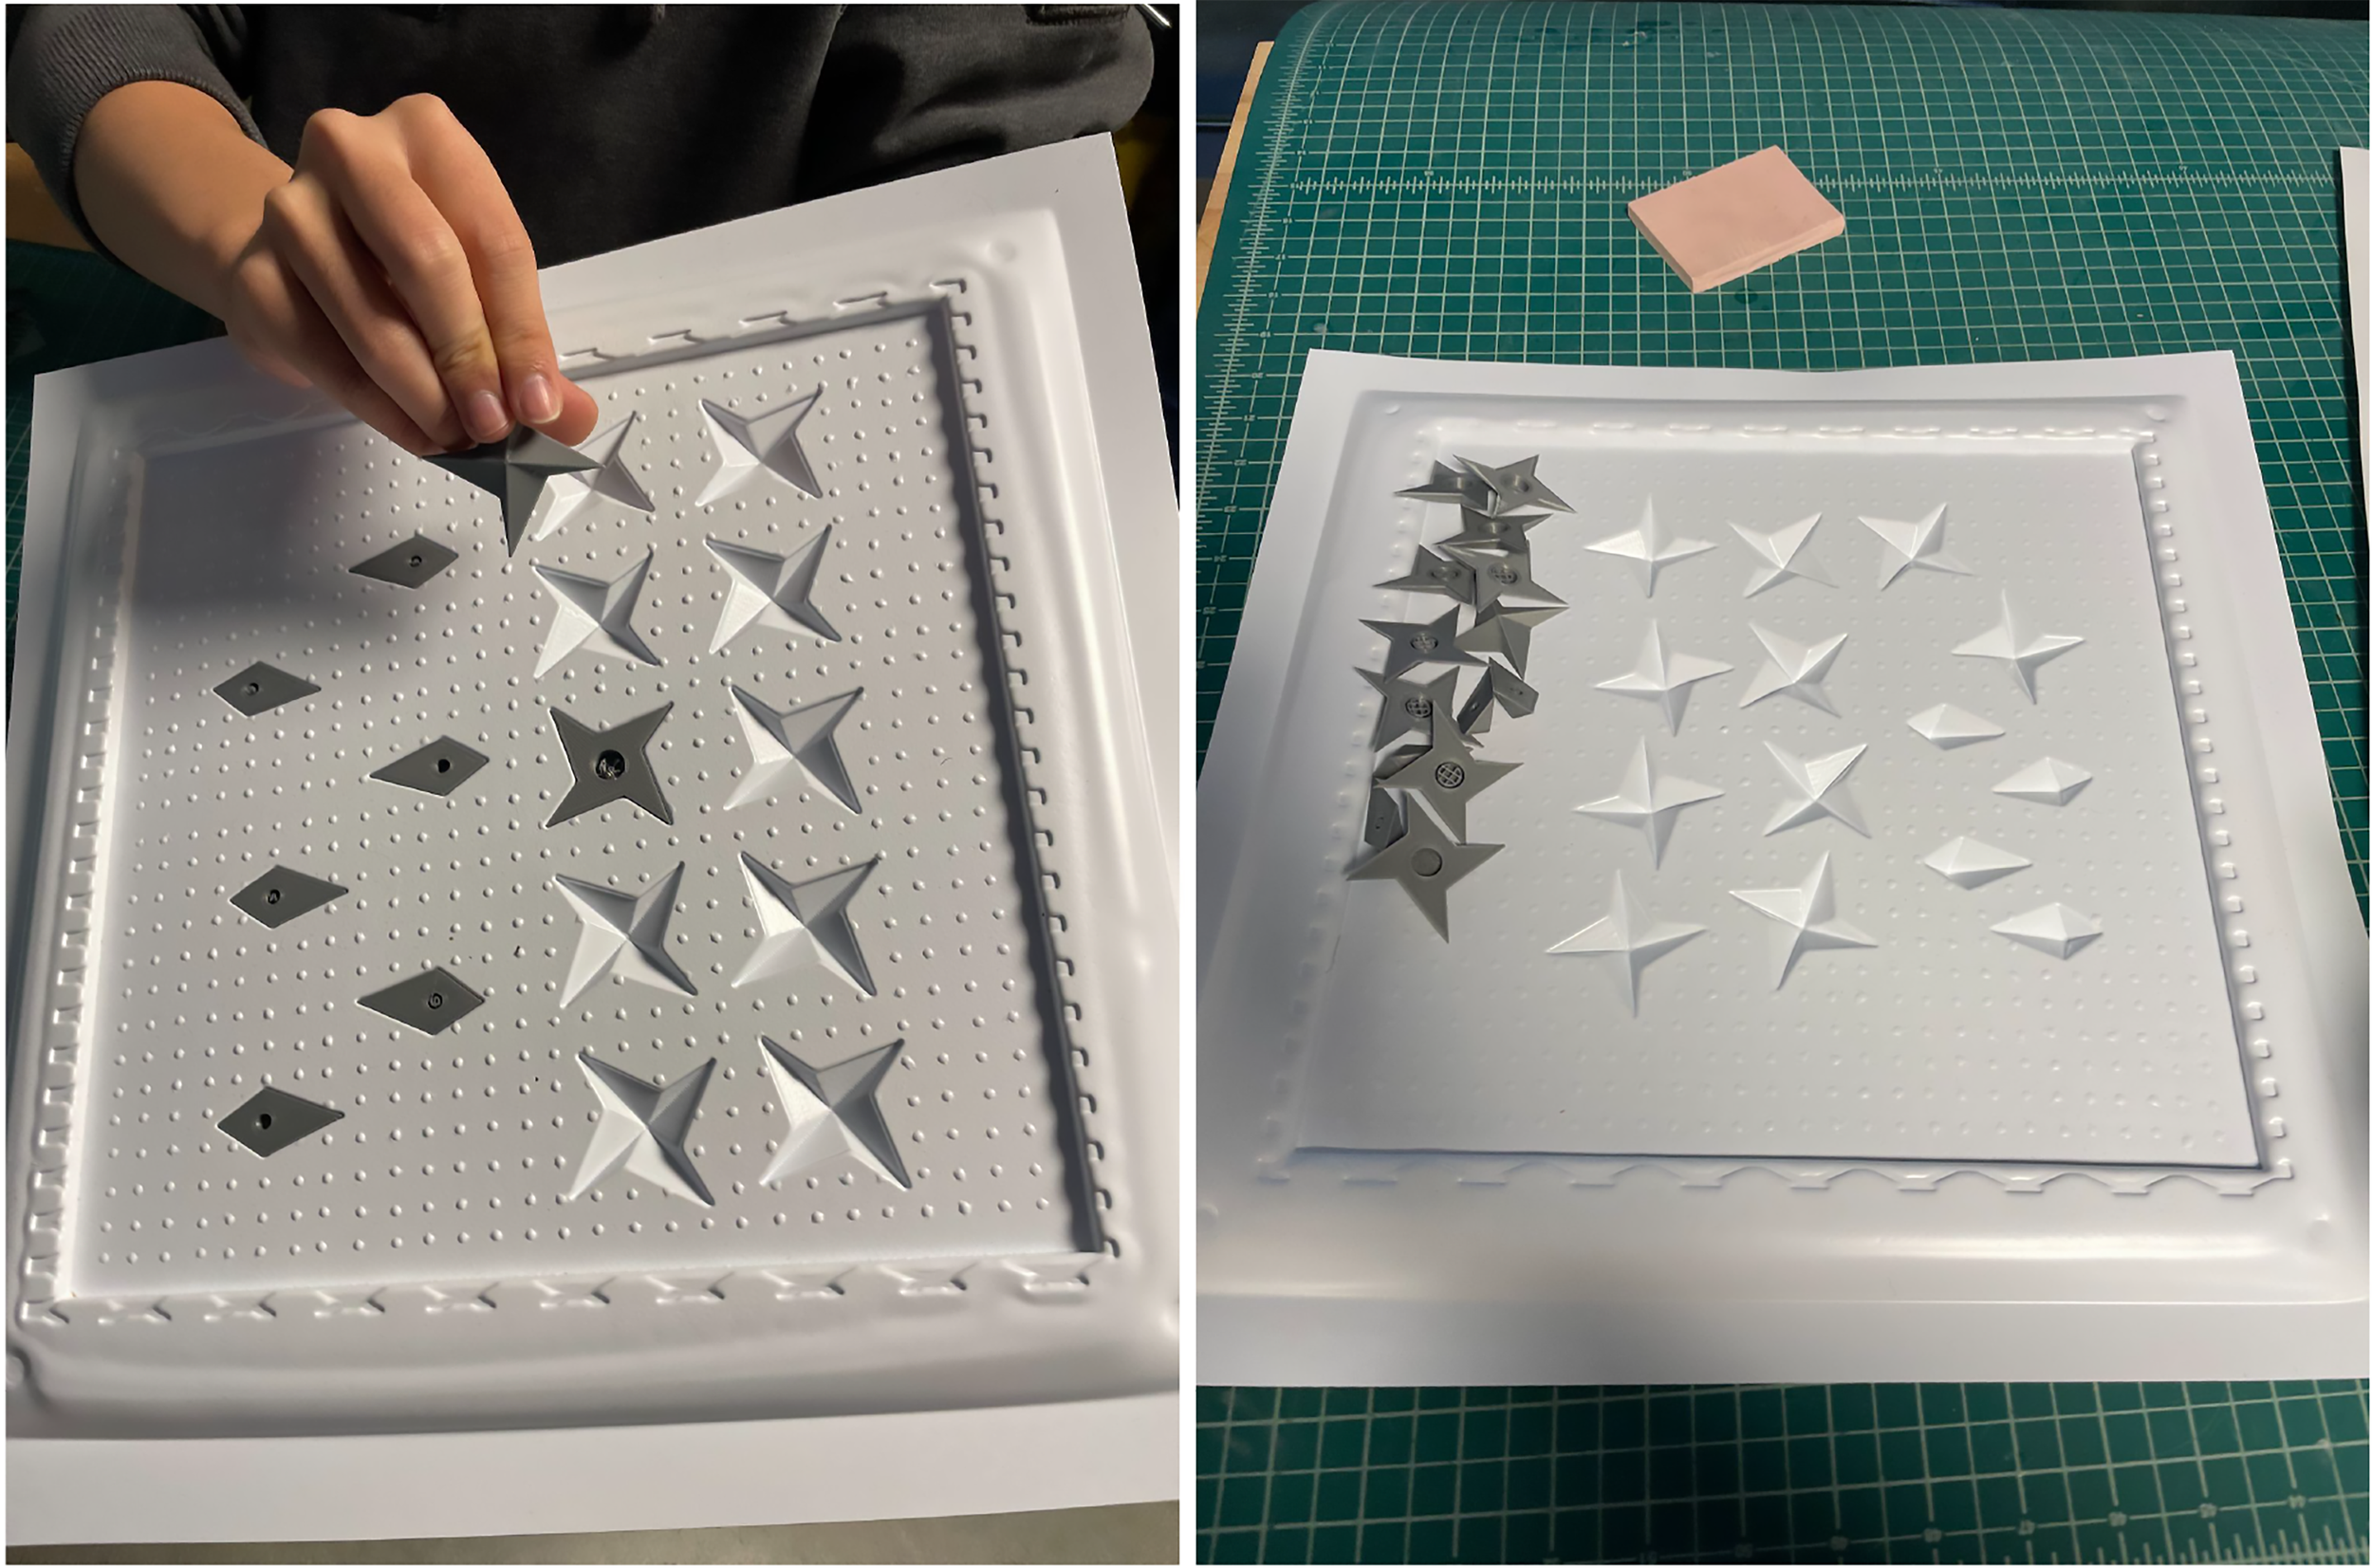
3D printing them, and using these printed 'masters' to create a mold using the vacuum former.
Then melt the chocolate and pour it into the mold to harden.
Finally, assemble the final pattern!
Fusion 360 file and 3D print file:
For my design, I do not need to worry about the draft angle. Even with the 2mm base added to the stars and diamonds, the chocolates should be very easy to pull out from the mold.
Vacuum formed mold and taking components out of mold:
Pouring chocolate into the mold and letting the chocolate cooldown and harden:
Trimming the edges of all the chocolate and forming the final composition:
Something that went wrong:
My first iteration had no base, so the corners of the star-shaped chocolate were very weak. So for the final version, I added a 2mm base to strengthen the corners and it worked very well.
A Fun Project
in Medium Fidelity
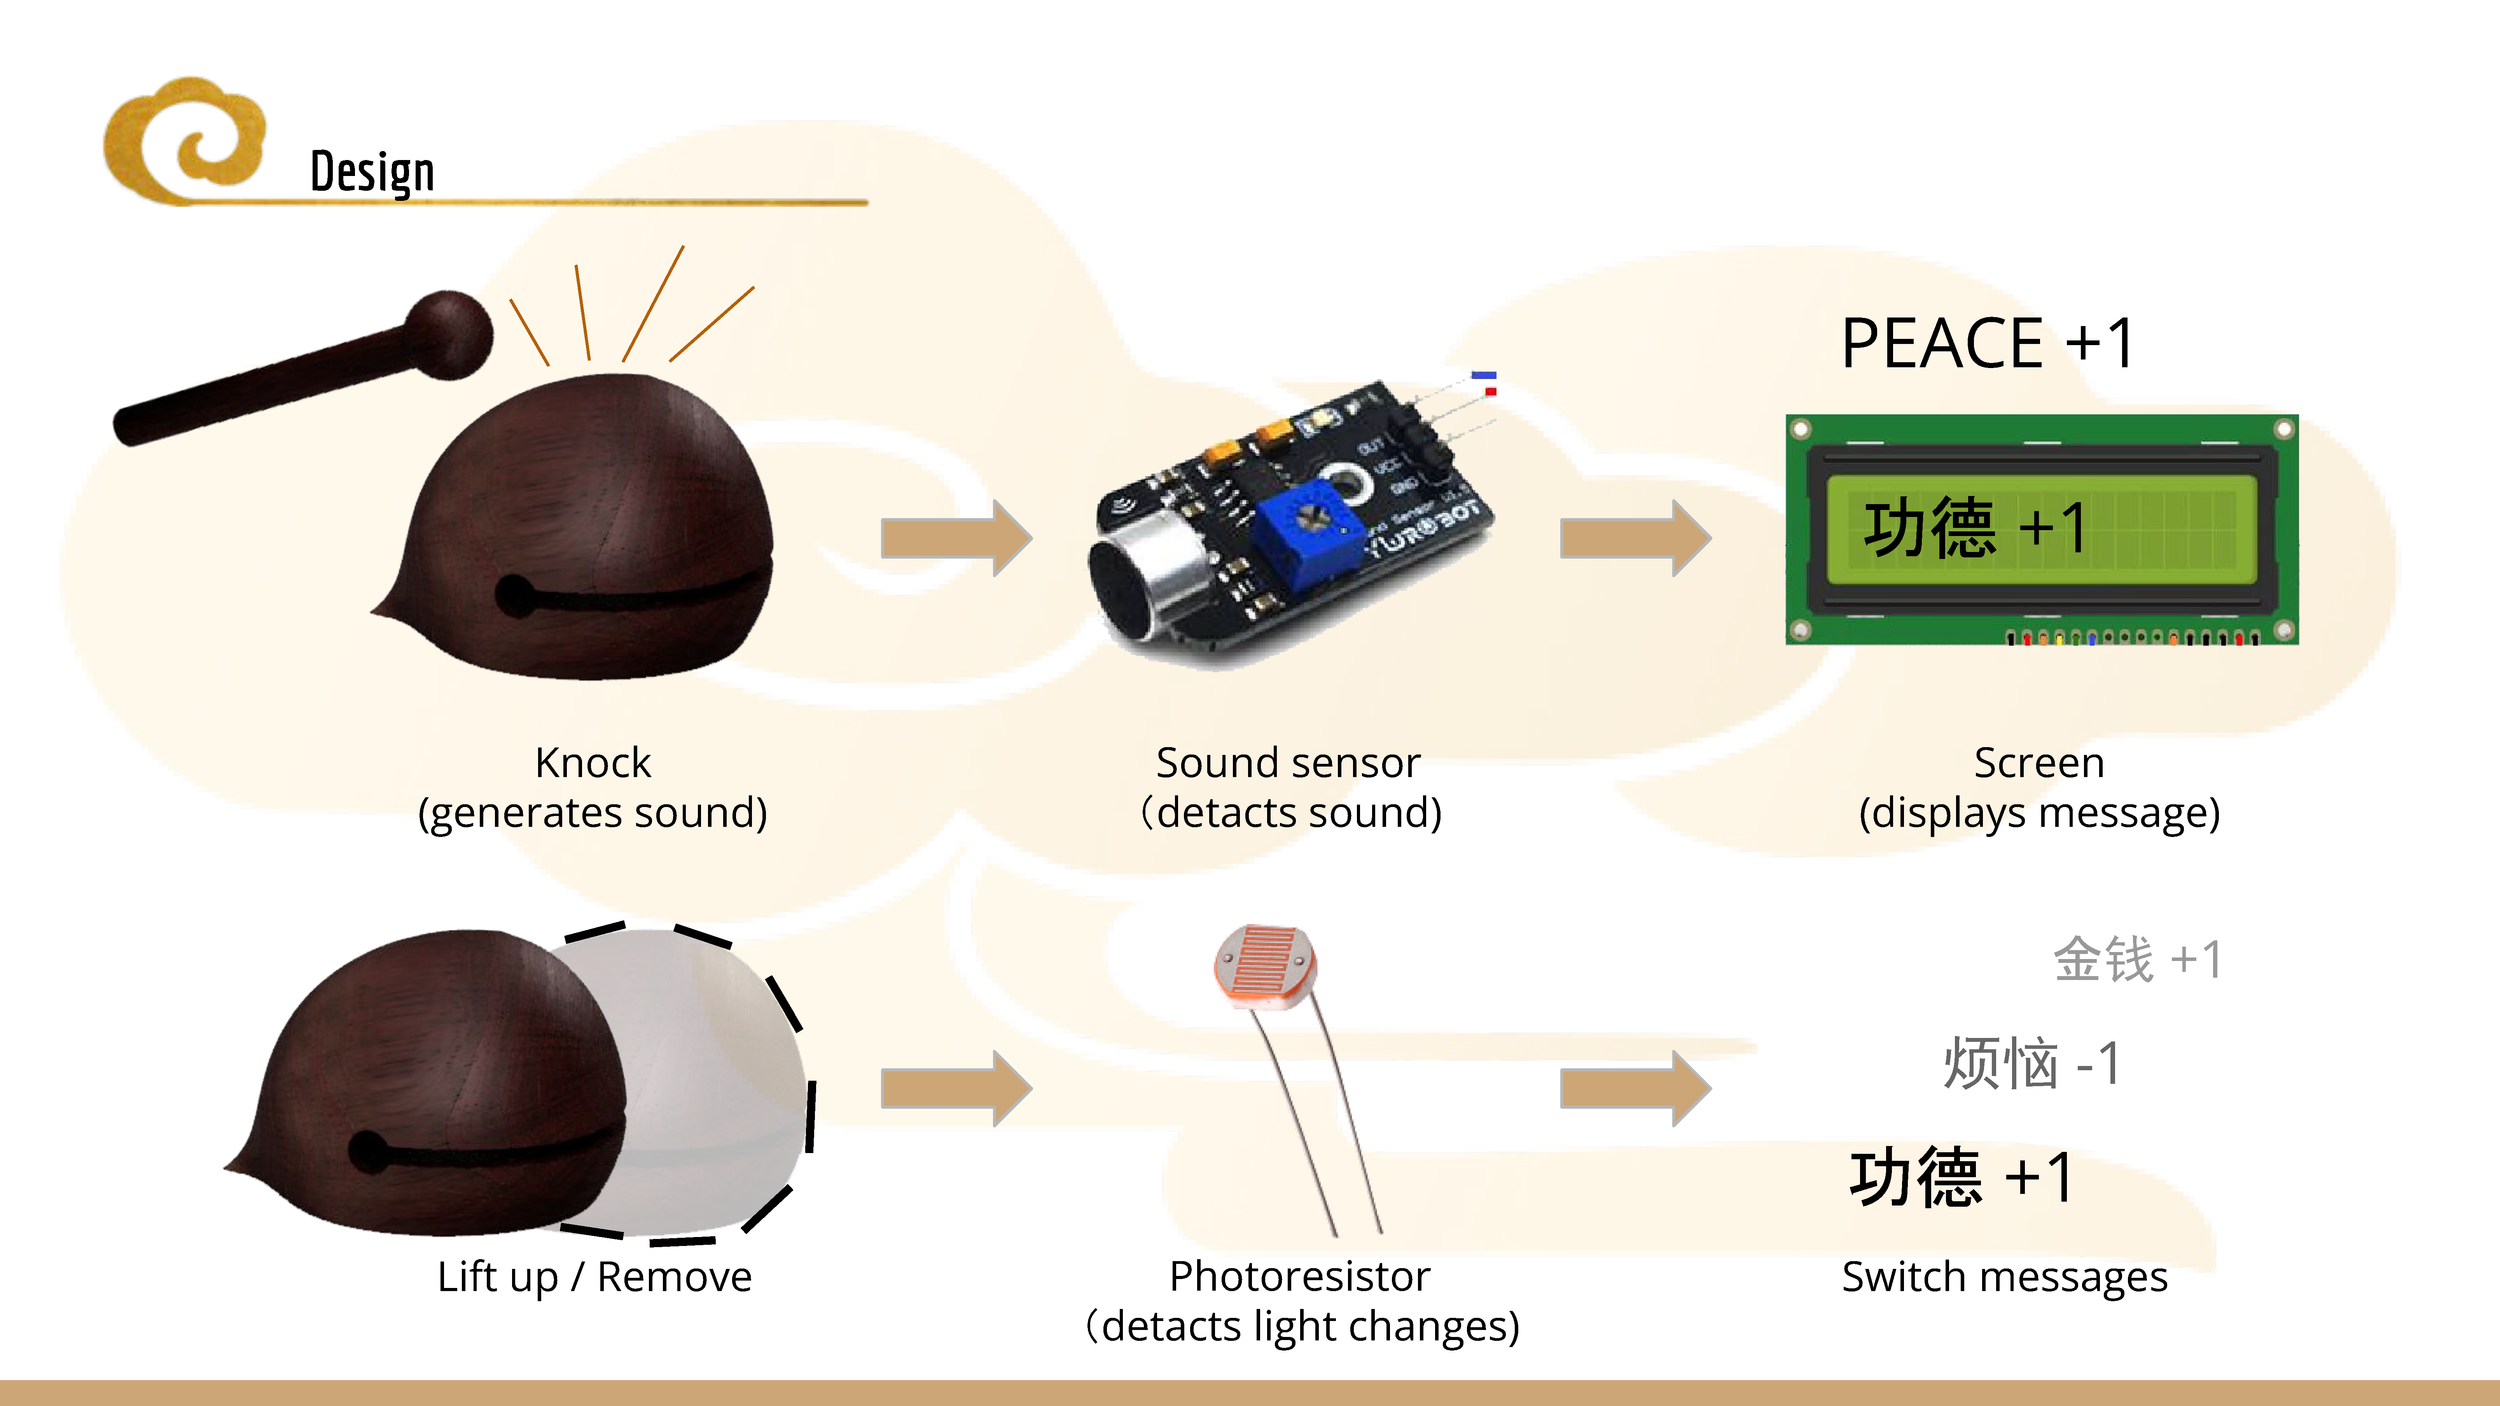
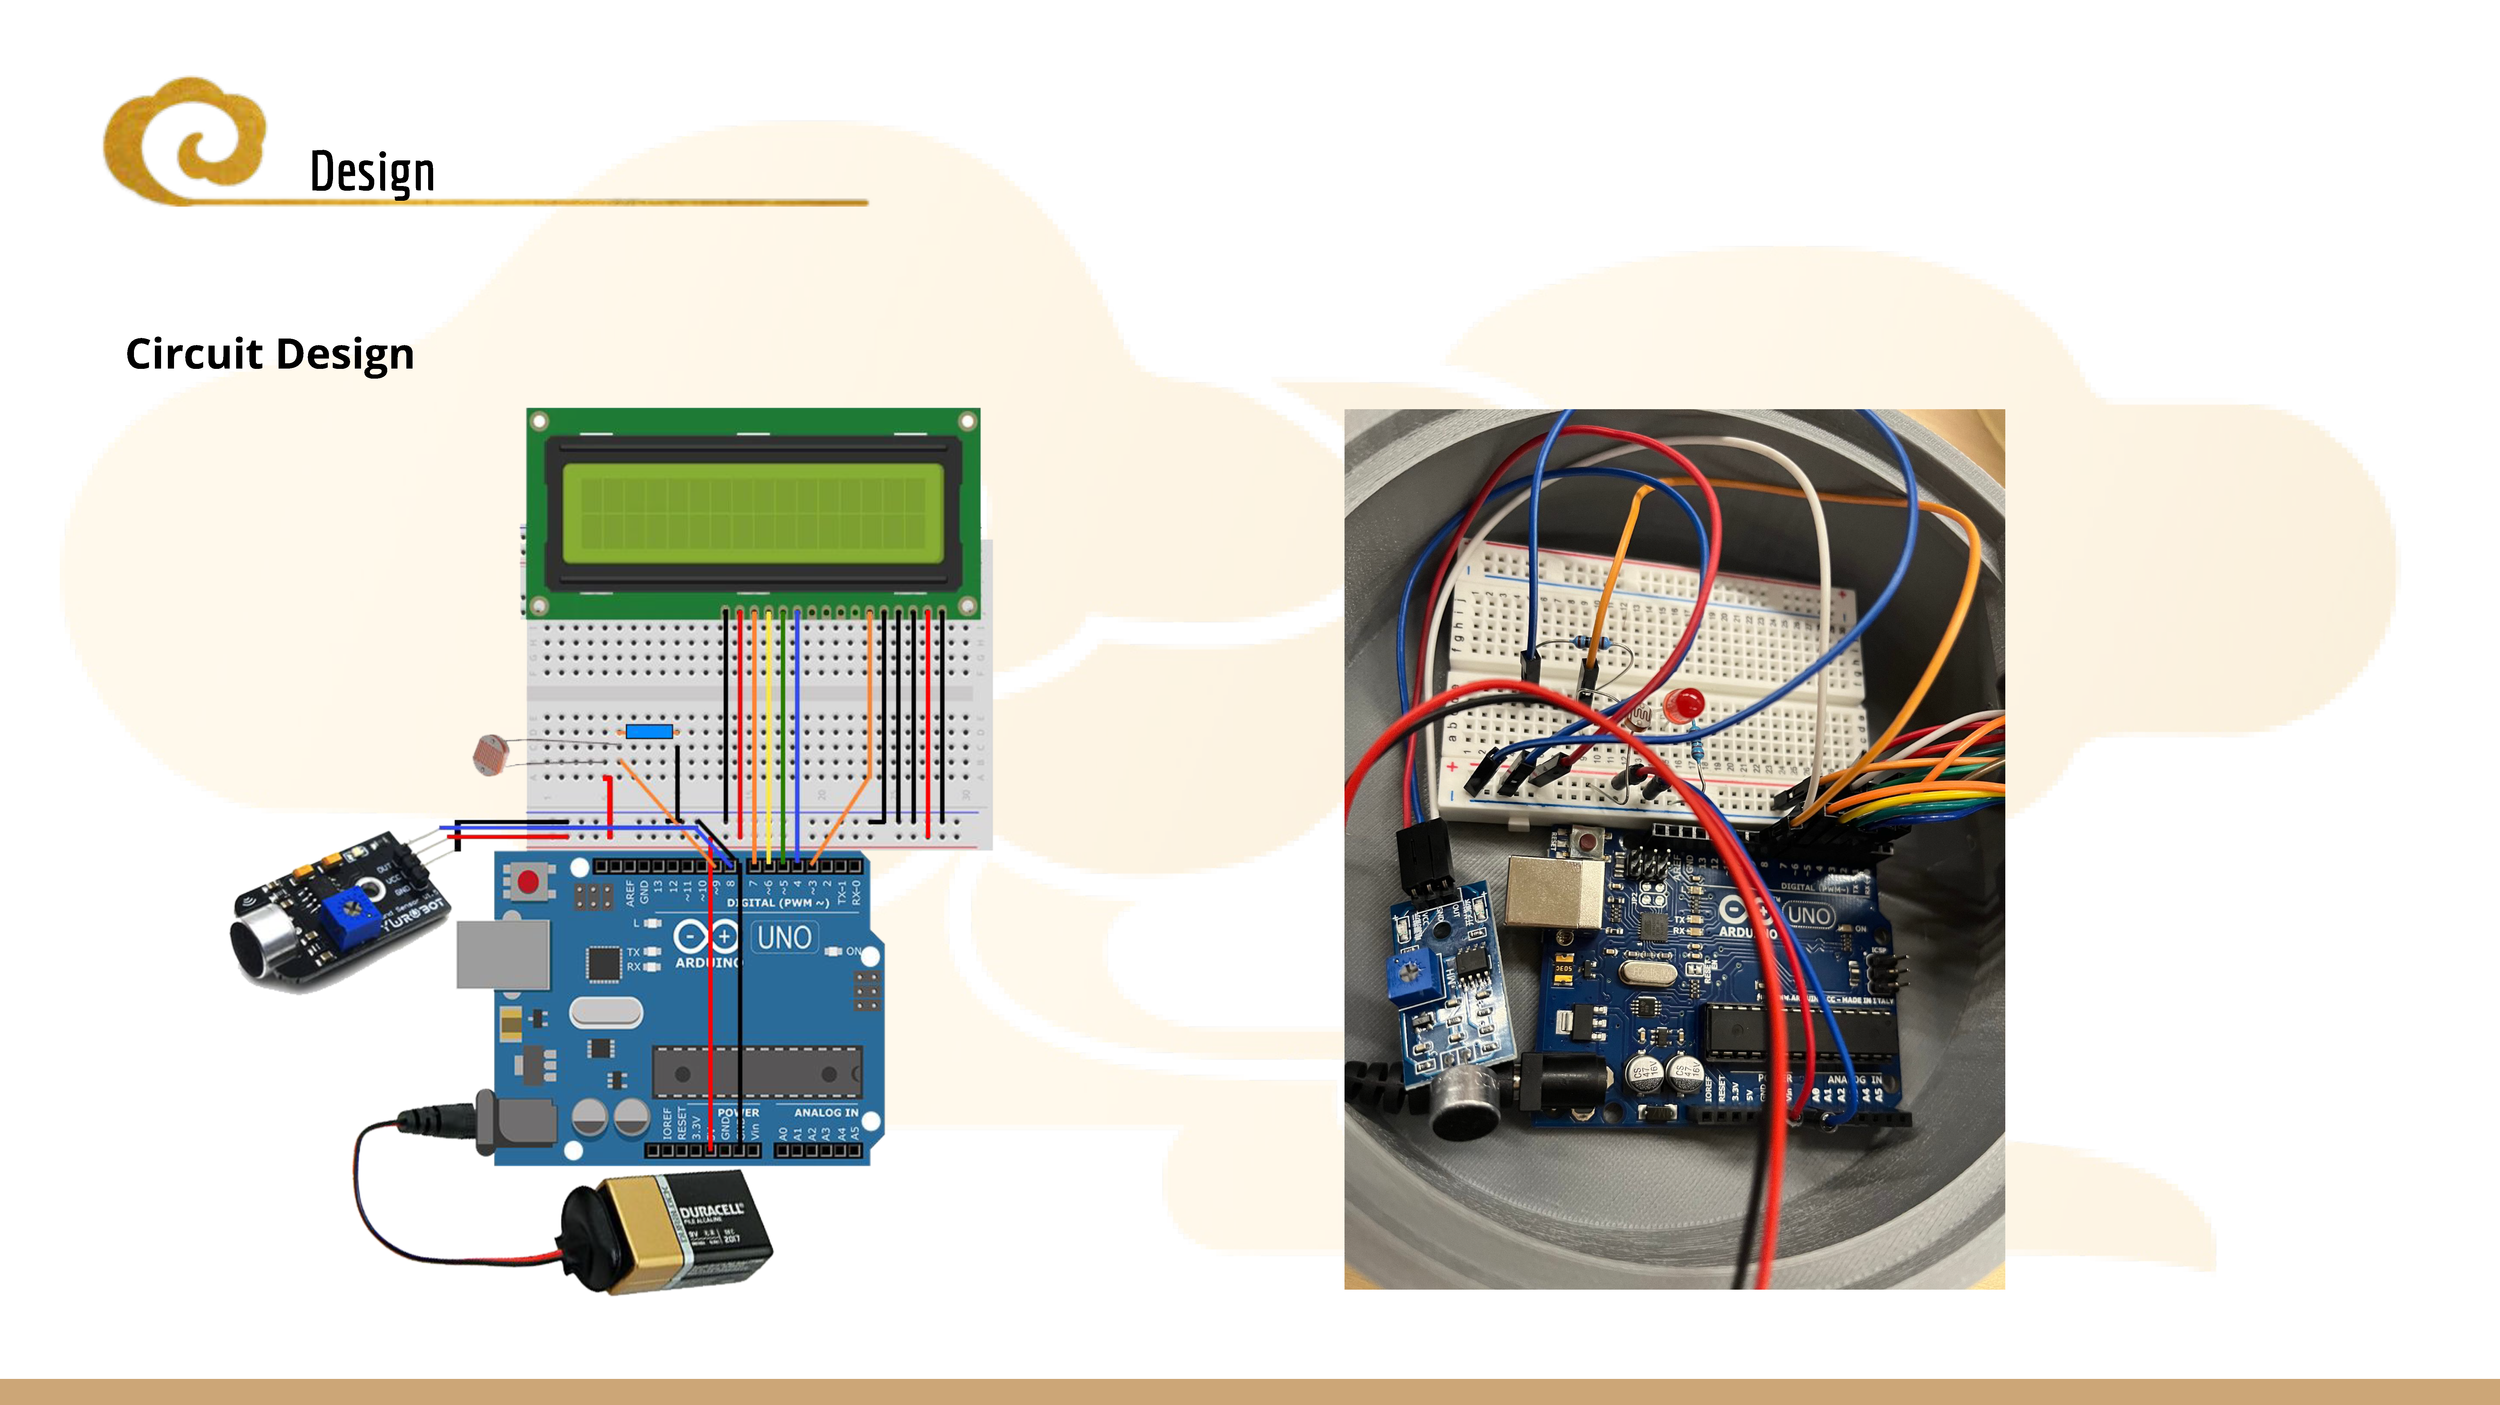
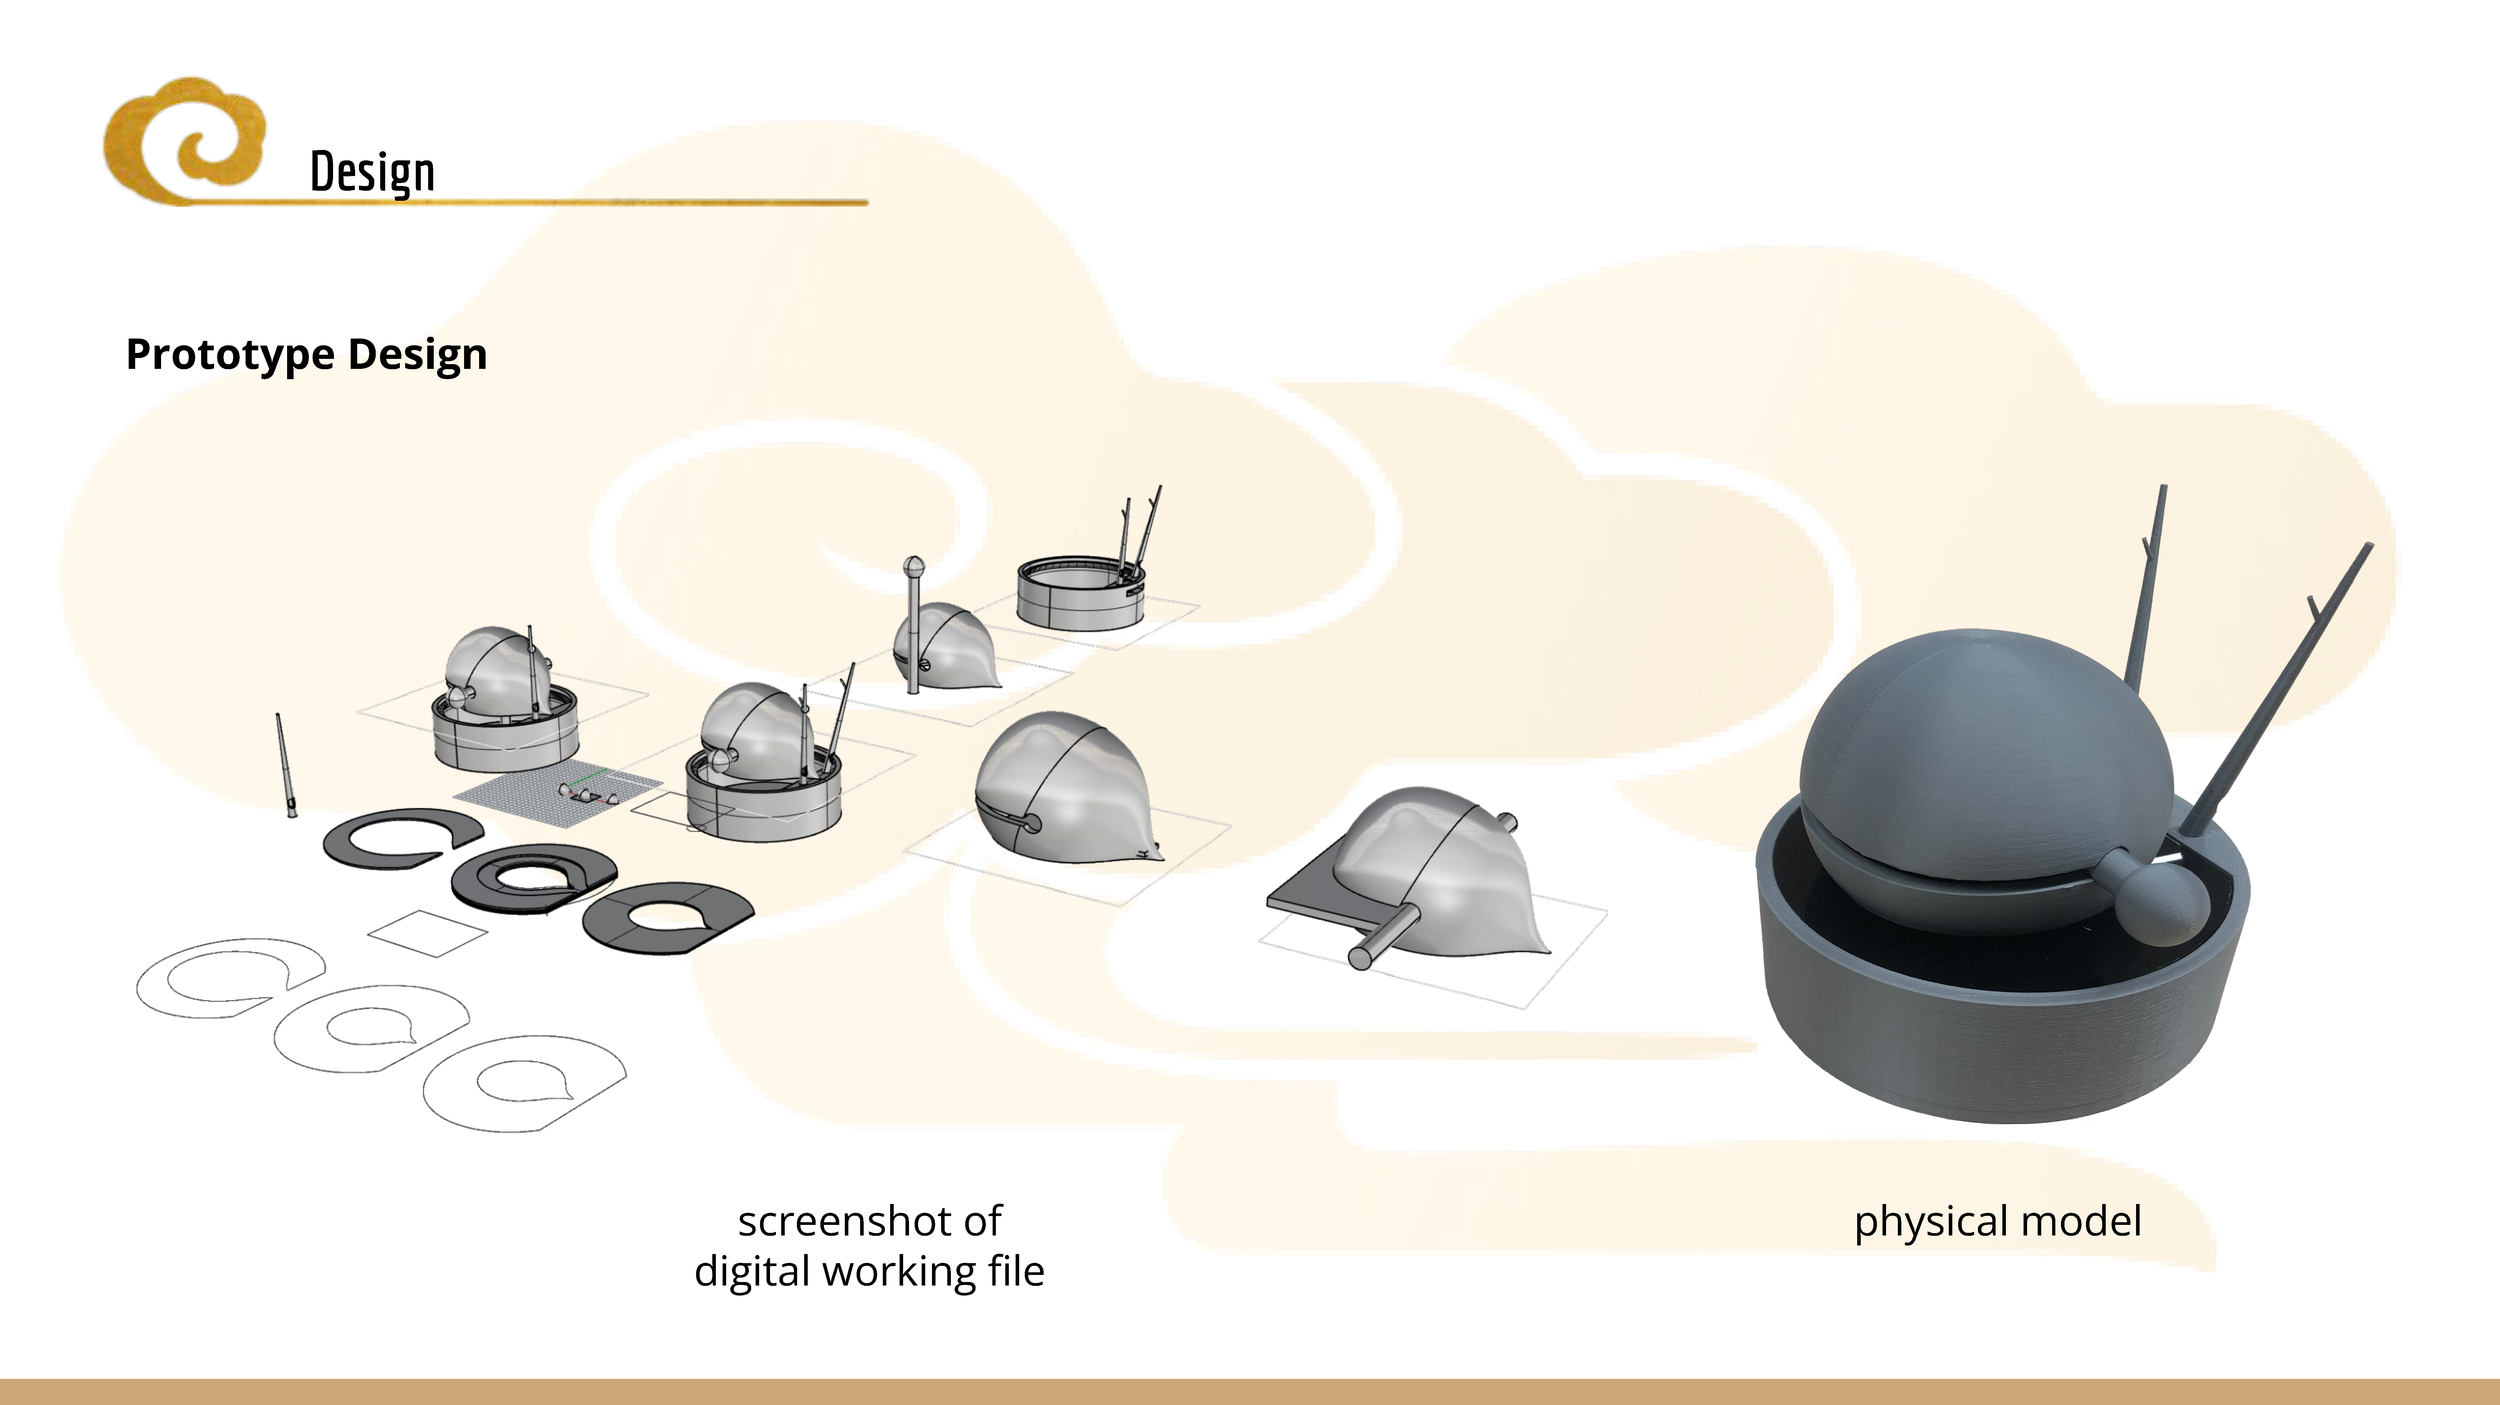
Moyu ( in chinese: 摸鱼 )
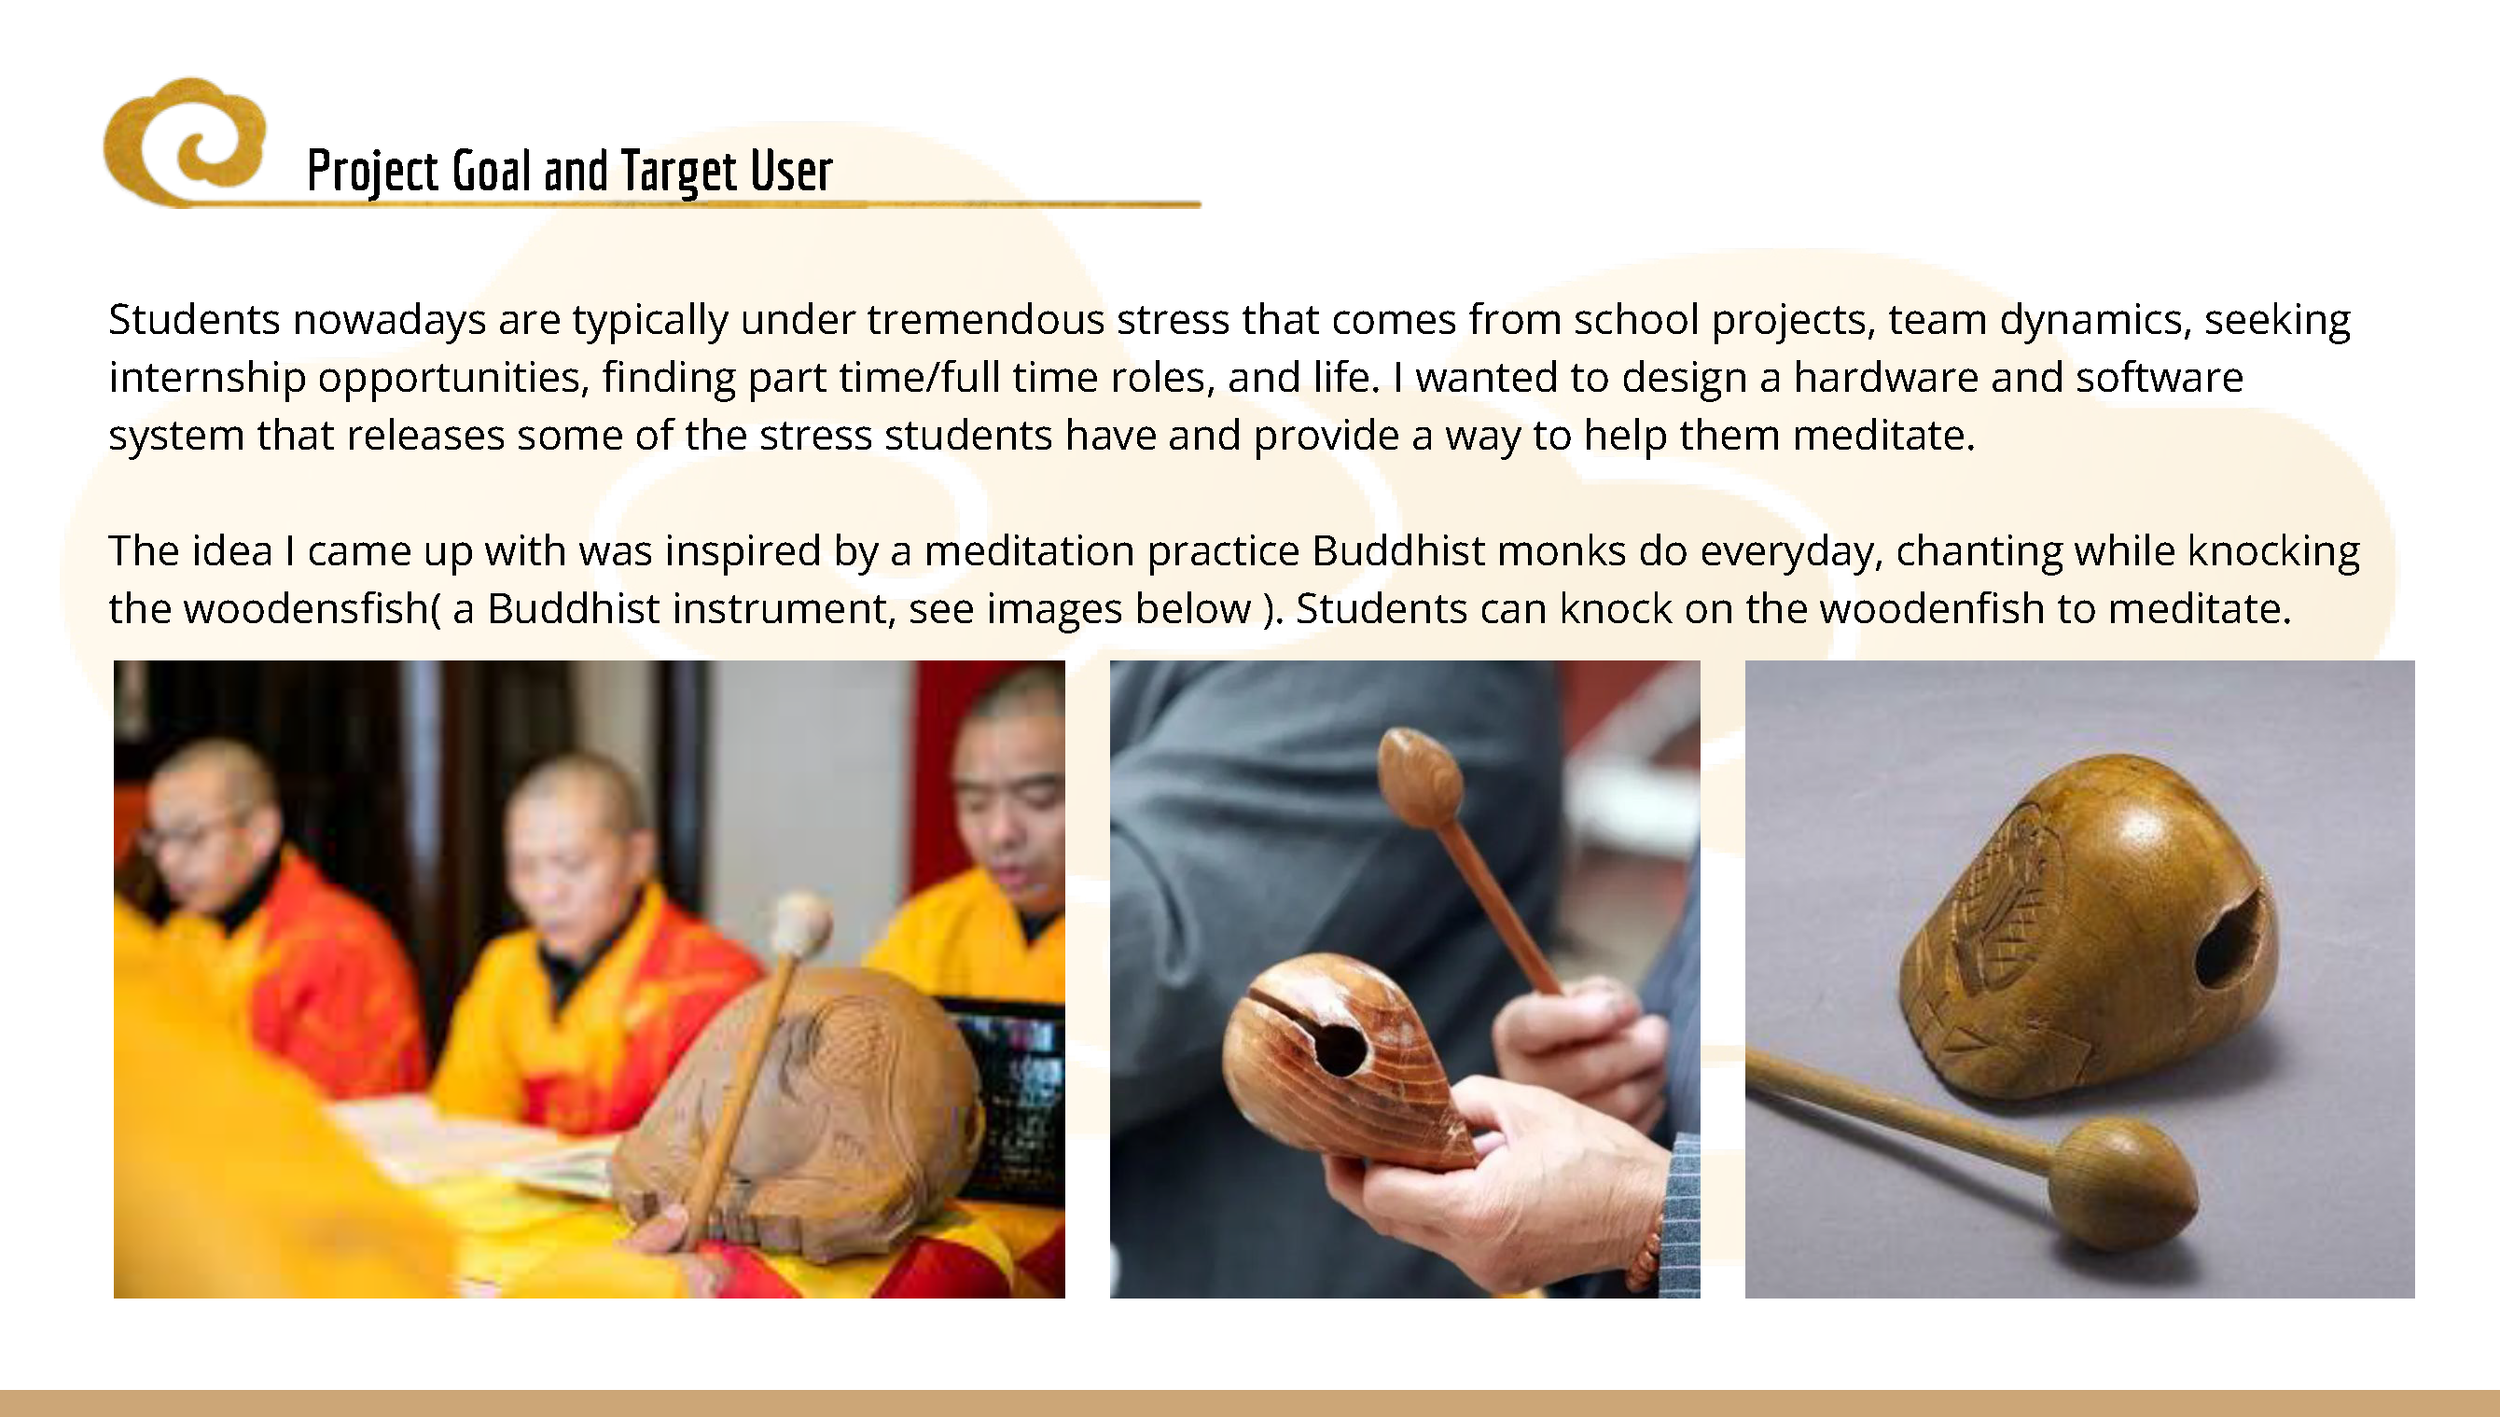
The direct translation from Chinese to English for the words Moyu is “touching the fish”, which means to slack. But in this case, I named it Moyu primarily because my design ended up looking like a small whale laying on a platform with a big smile. The other reason was that I wanted to encourage students who are under tremendous stress to take a break, to slack a little bit, and to meditate.
Demo
Prototyping Project
in Medium Fidelity
The objective for this exercise was to develop prototyping and modeling skills in medium fidelity, while trying to solve practical problems of shape, form, and function.
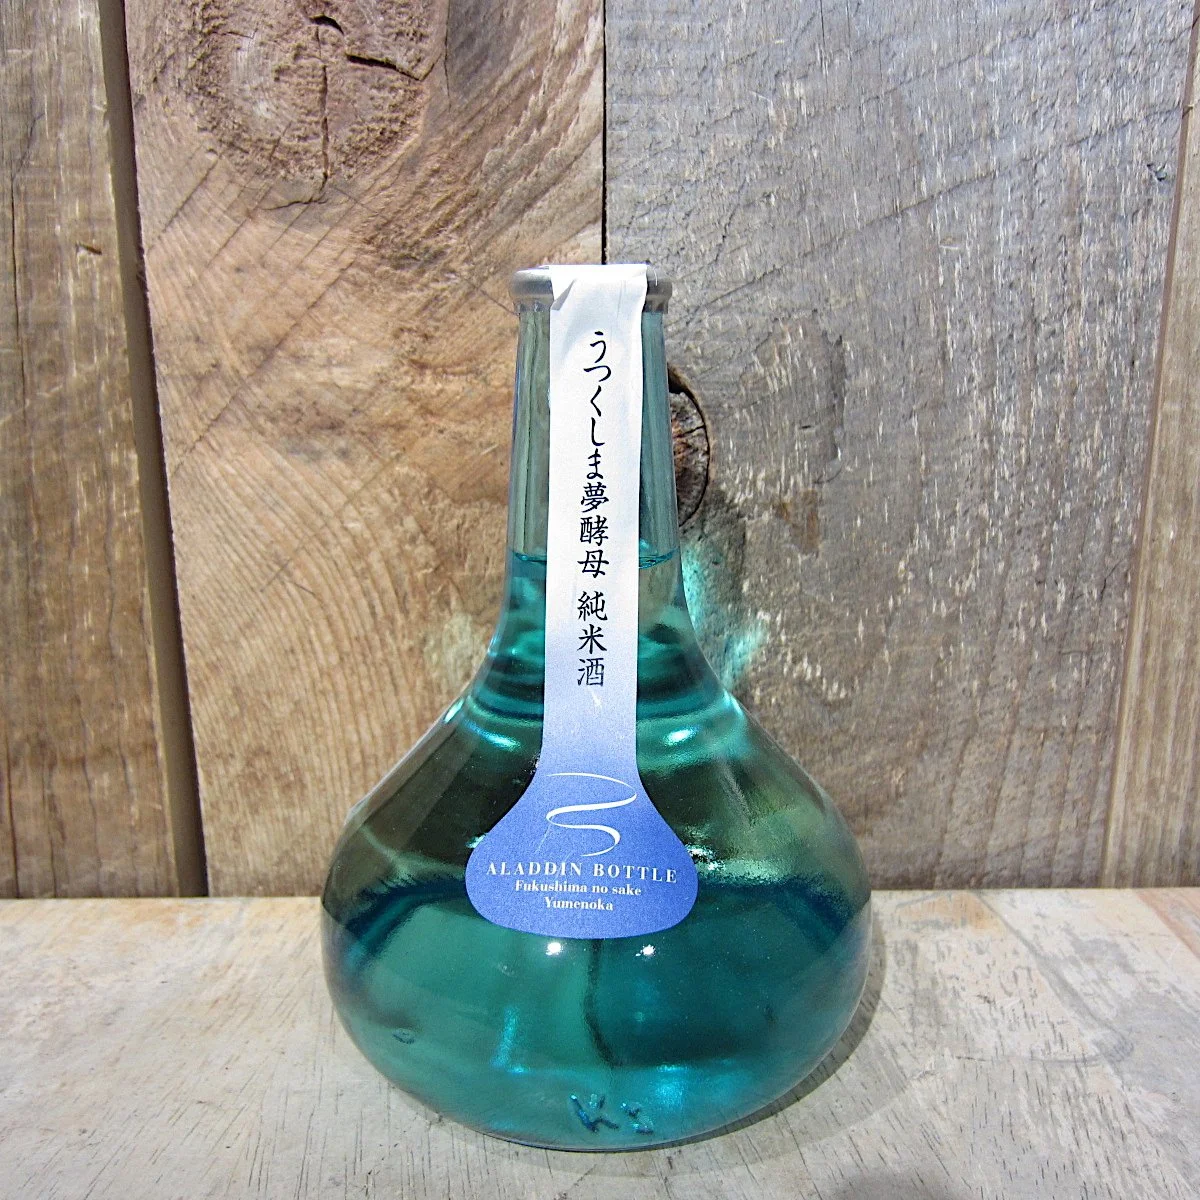
The design challenge: Imagine that you work for a creative agency. A client has approached your agency and asked you to create a new special edition packaging for their bottled product that only uses sheet materials. This bottle might be a bottle of whisky or wine (good sources of inspiration for luxury, durable packaging, or it could be for a fancy tonic, soda, or spring water.)
The image here is the Sake bottle I picked for this design challenge :
As always, I started with some sketches. Analyzing the unique characteristics of the bottle and exploring ideas, materials, mechanisms, and how users will look at and interact with the product.
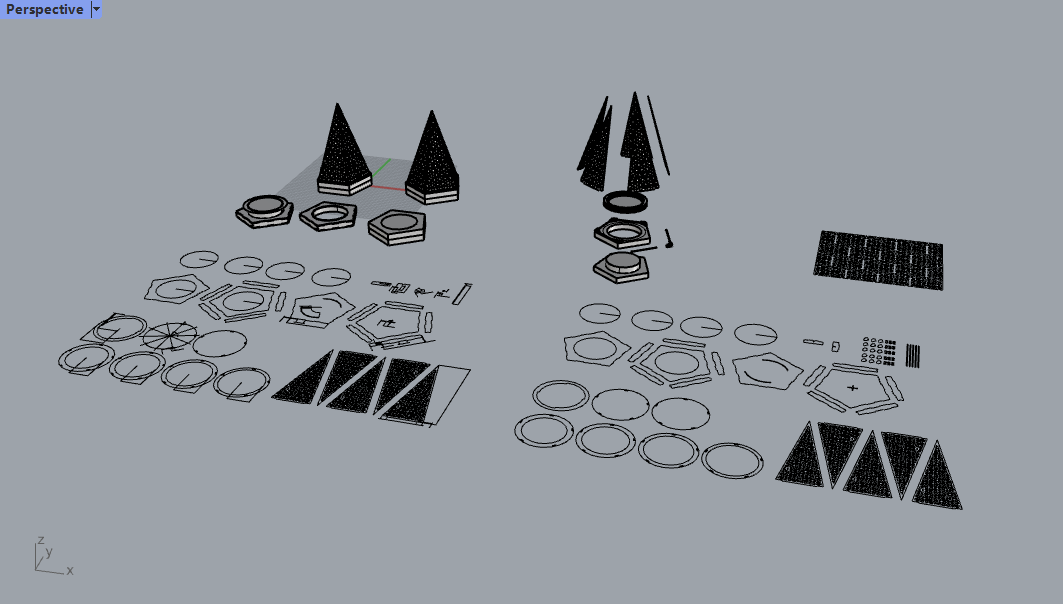
After sketching and brainstorming, I promptly moved on to developing my ideas in Rhino.
I initially laser-cut each piece of the design on cardboard, then transitioned to 1.59mm acrylic to test and adjust the tolerances for the final assembly. Unfortunately, I didn't document these processes because I was so focused and eager to build the sake case as quickly as possible.
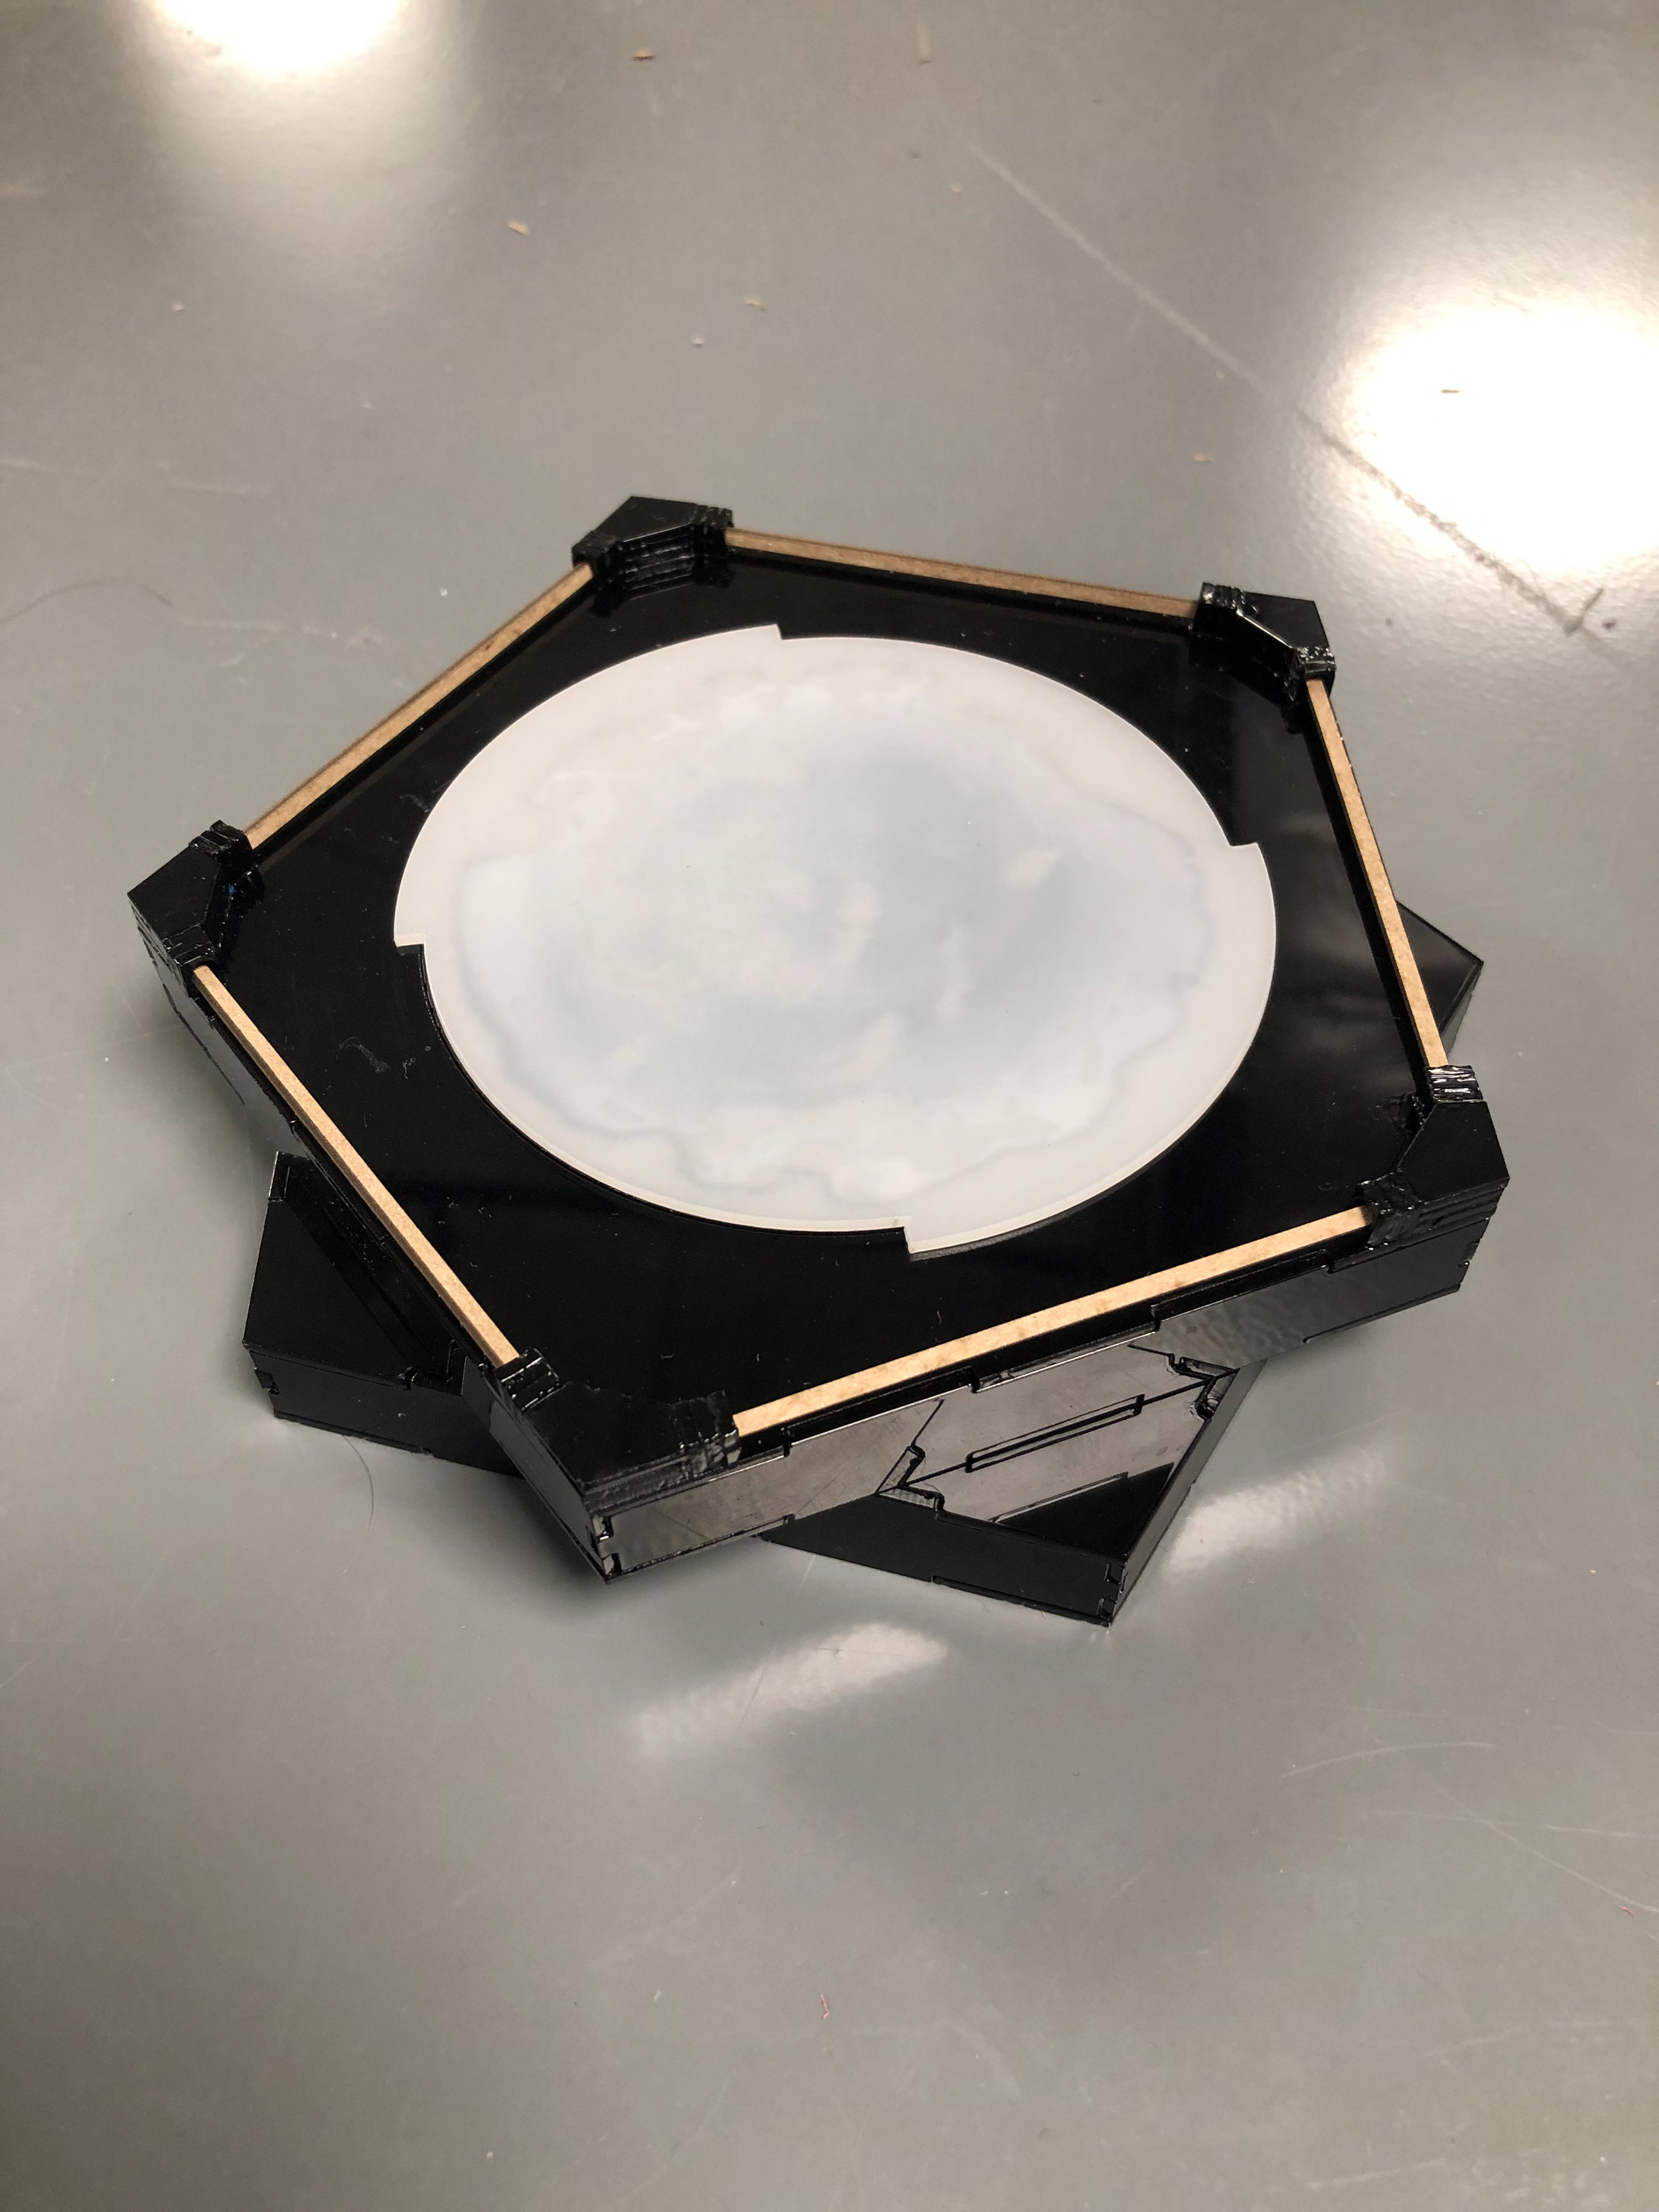
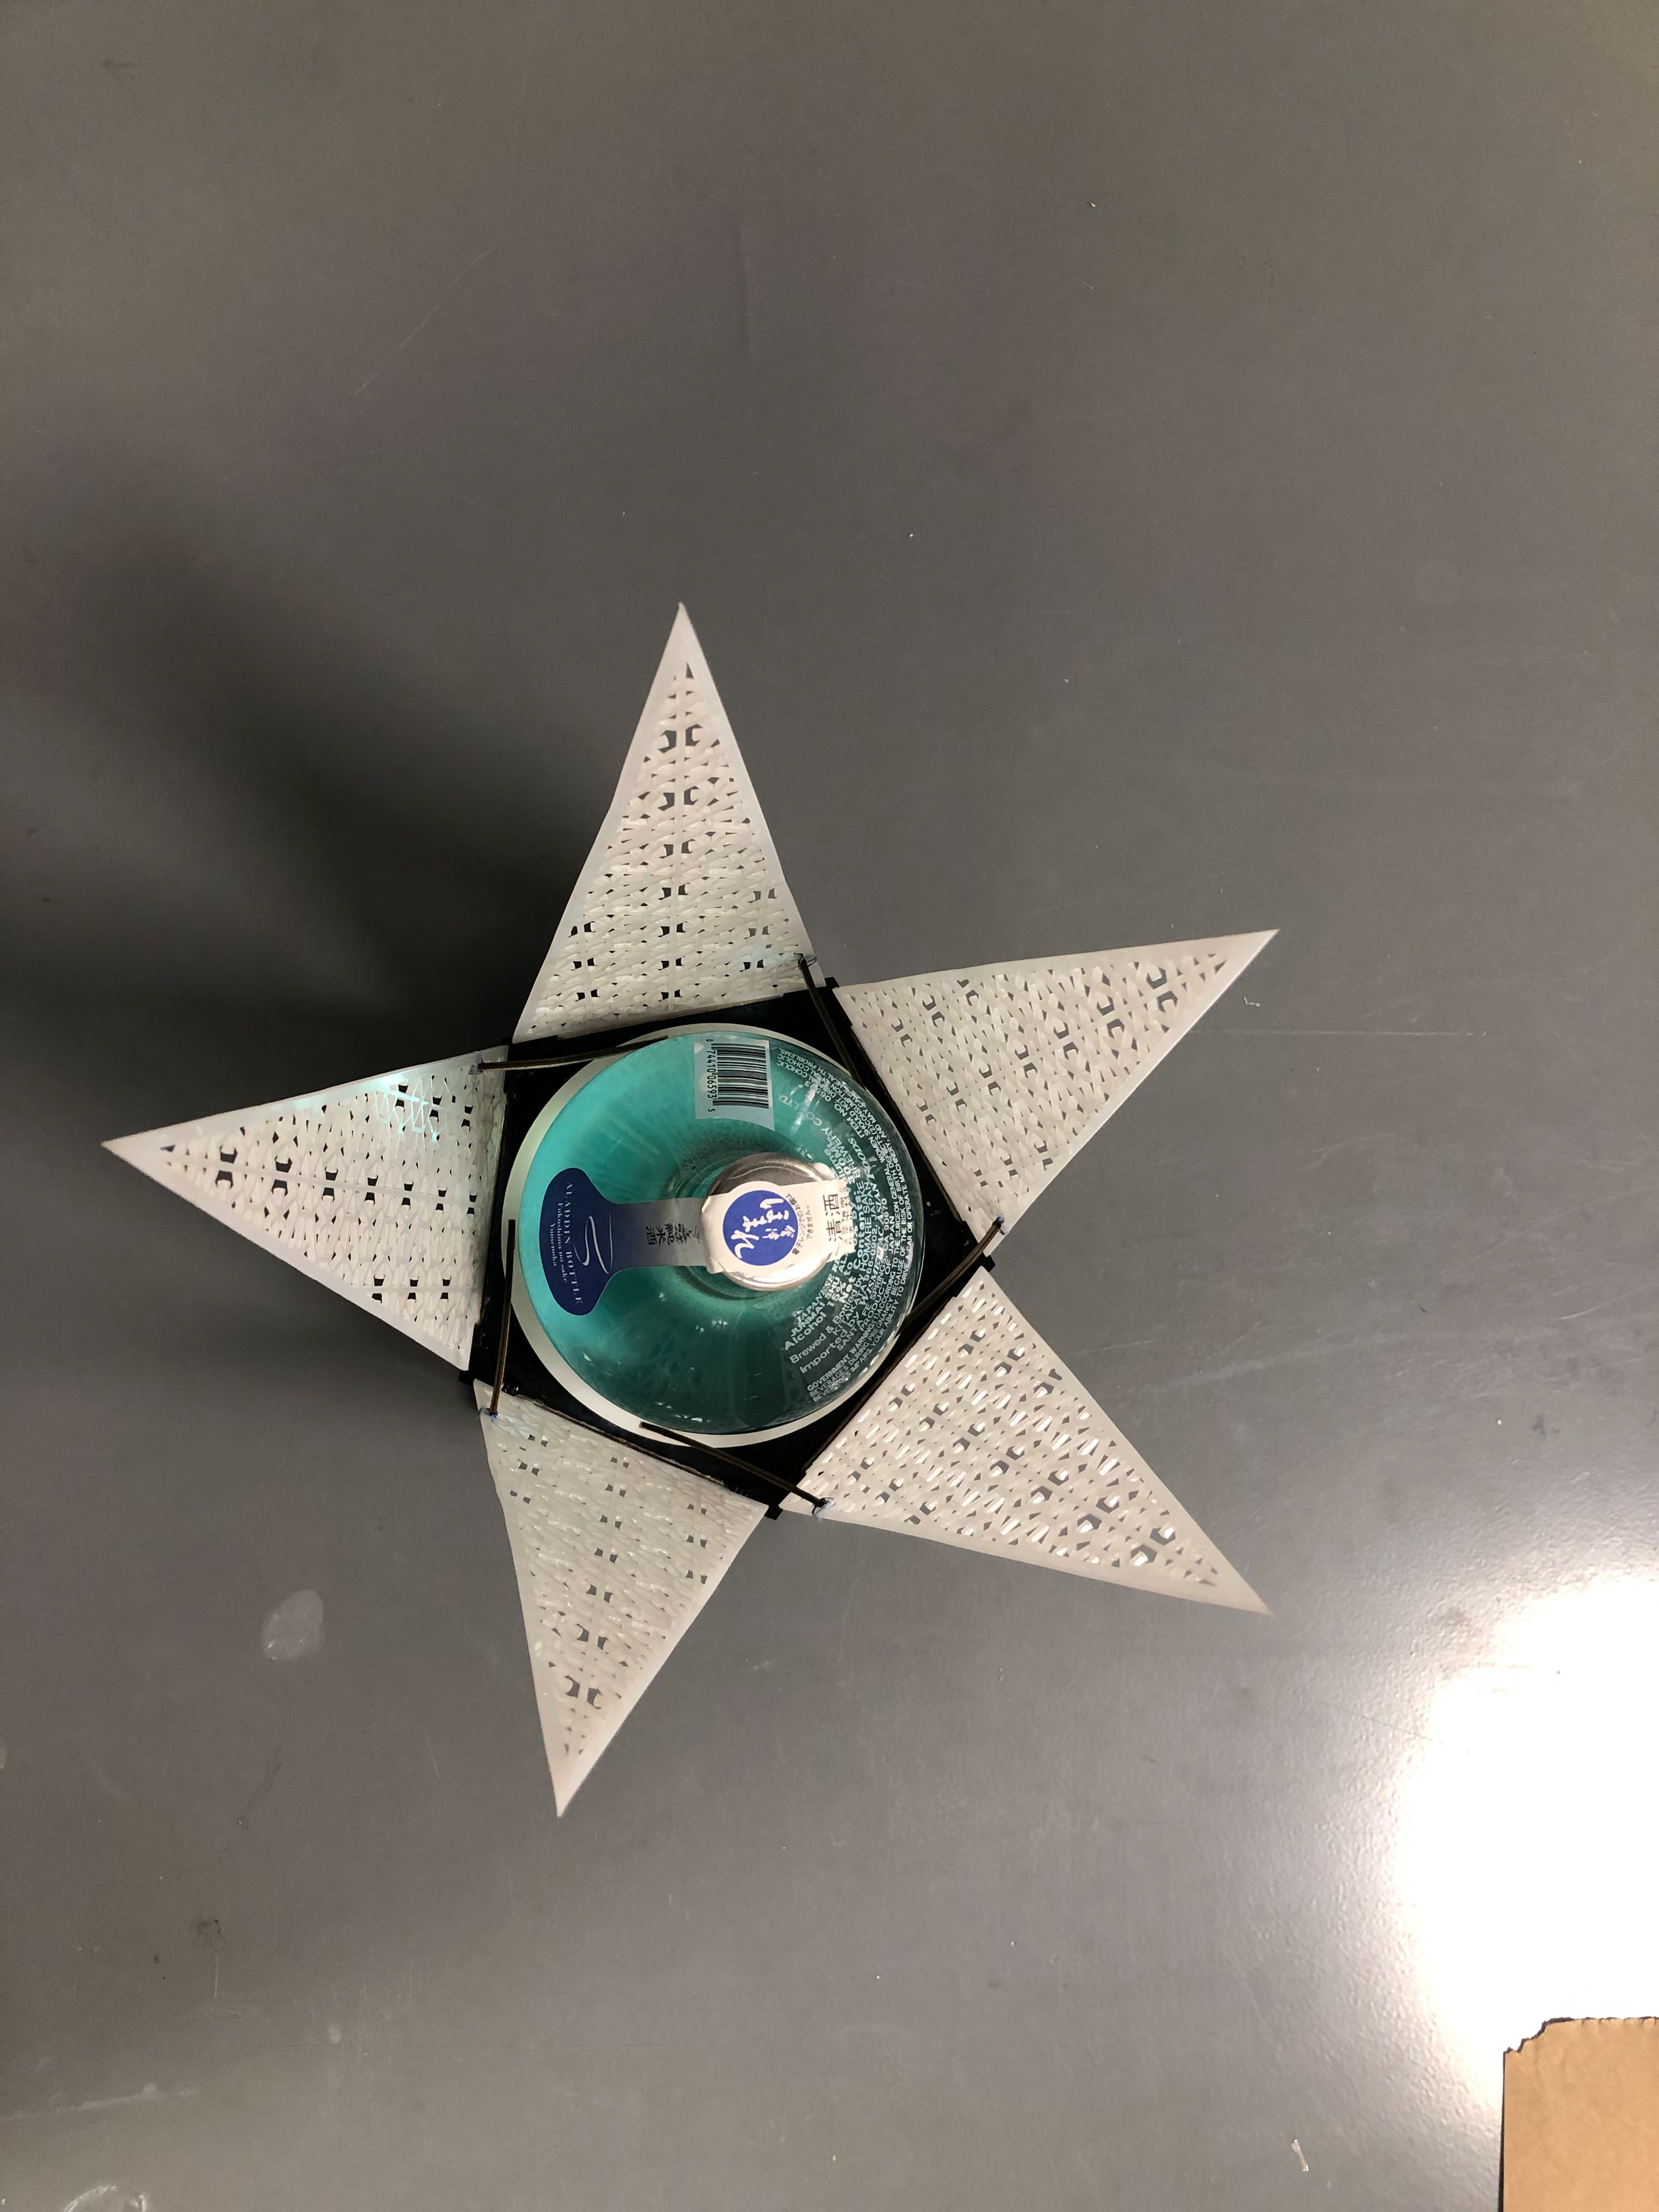
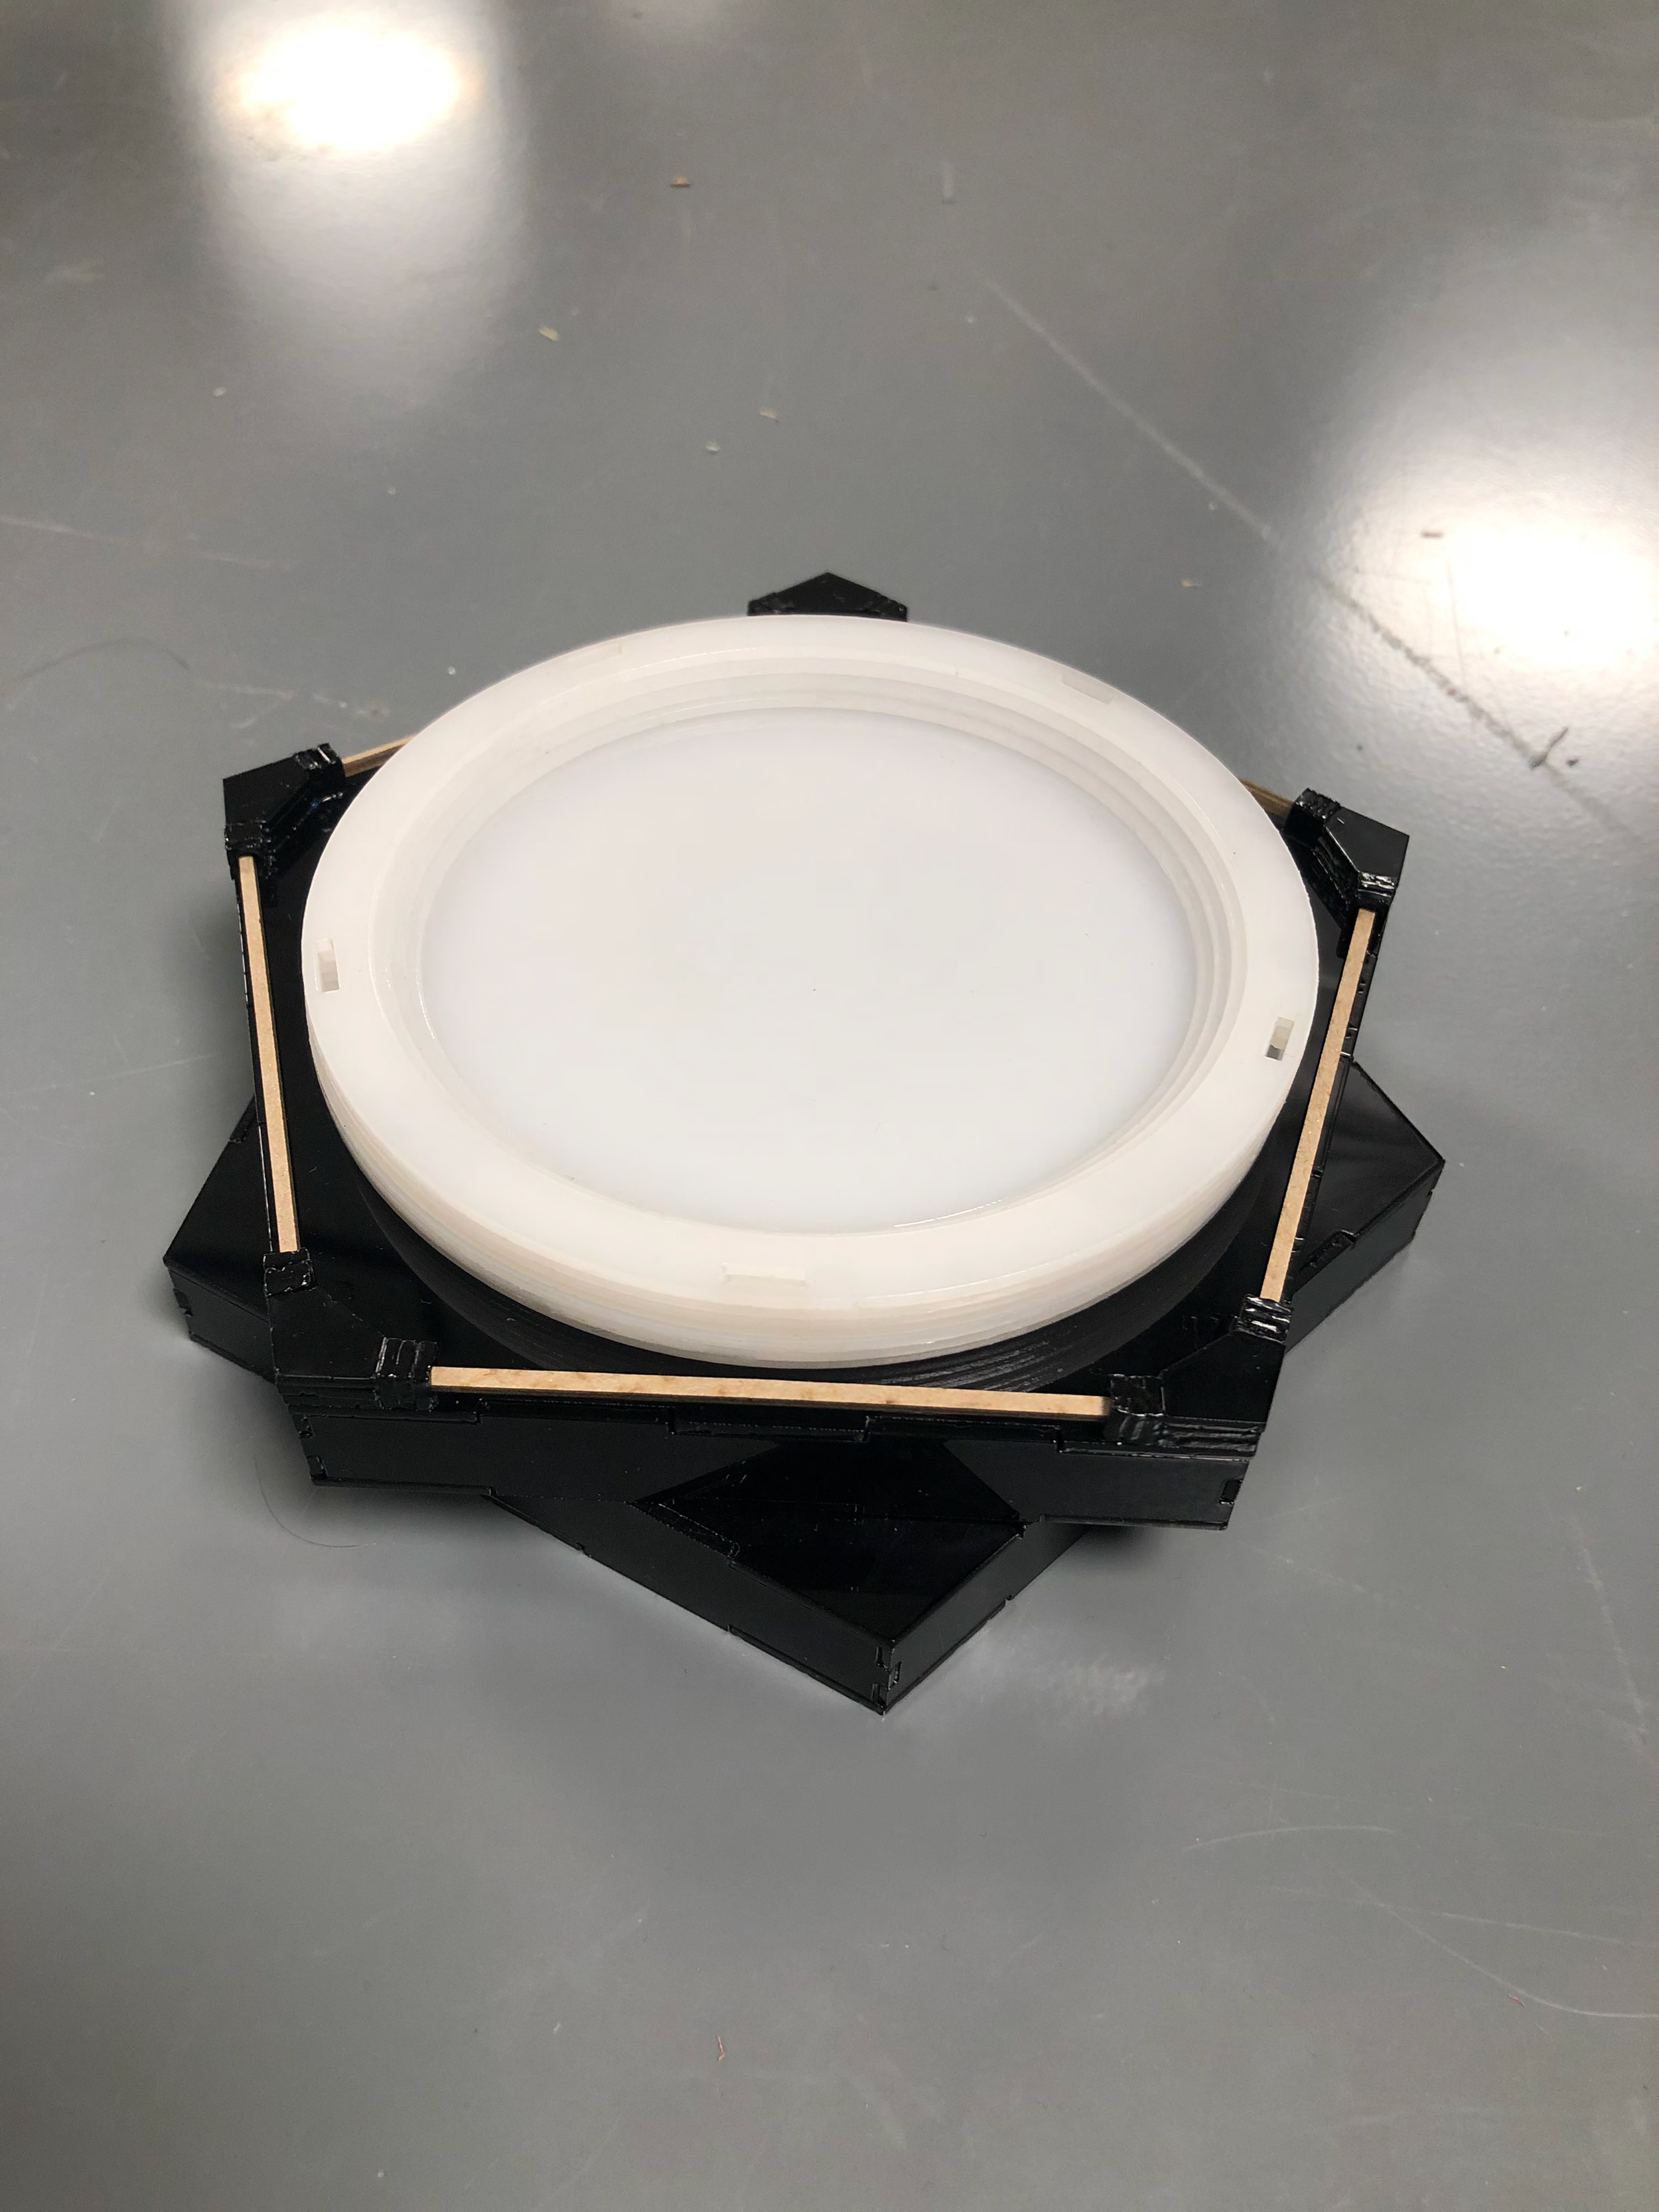
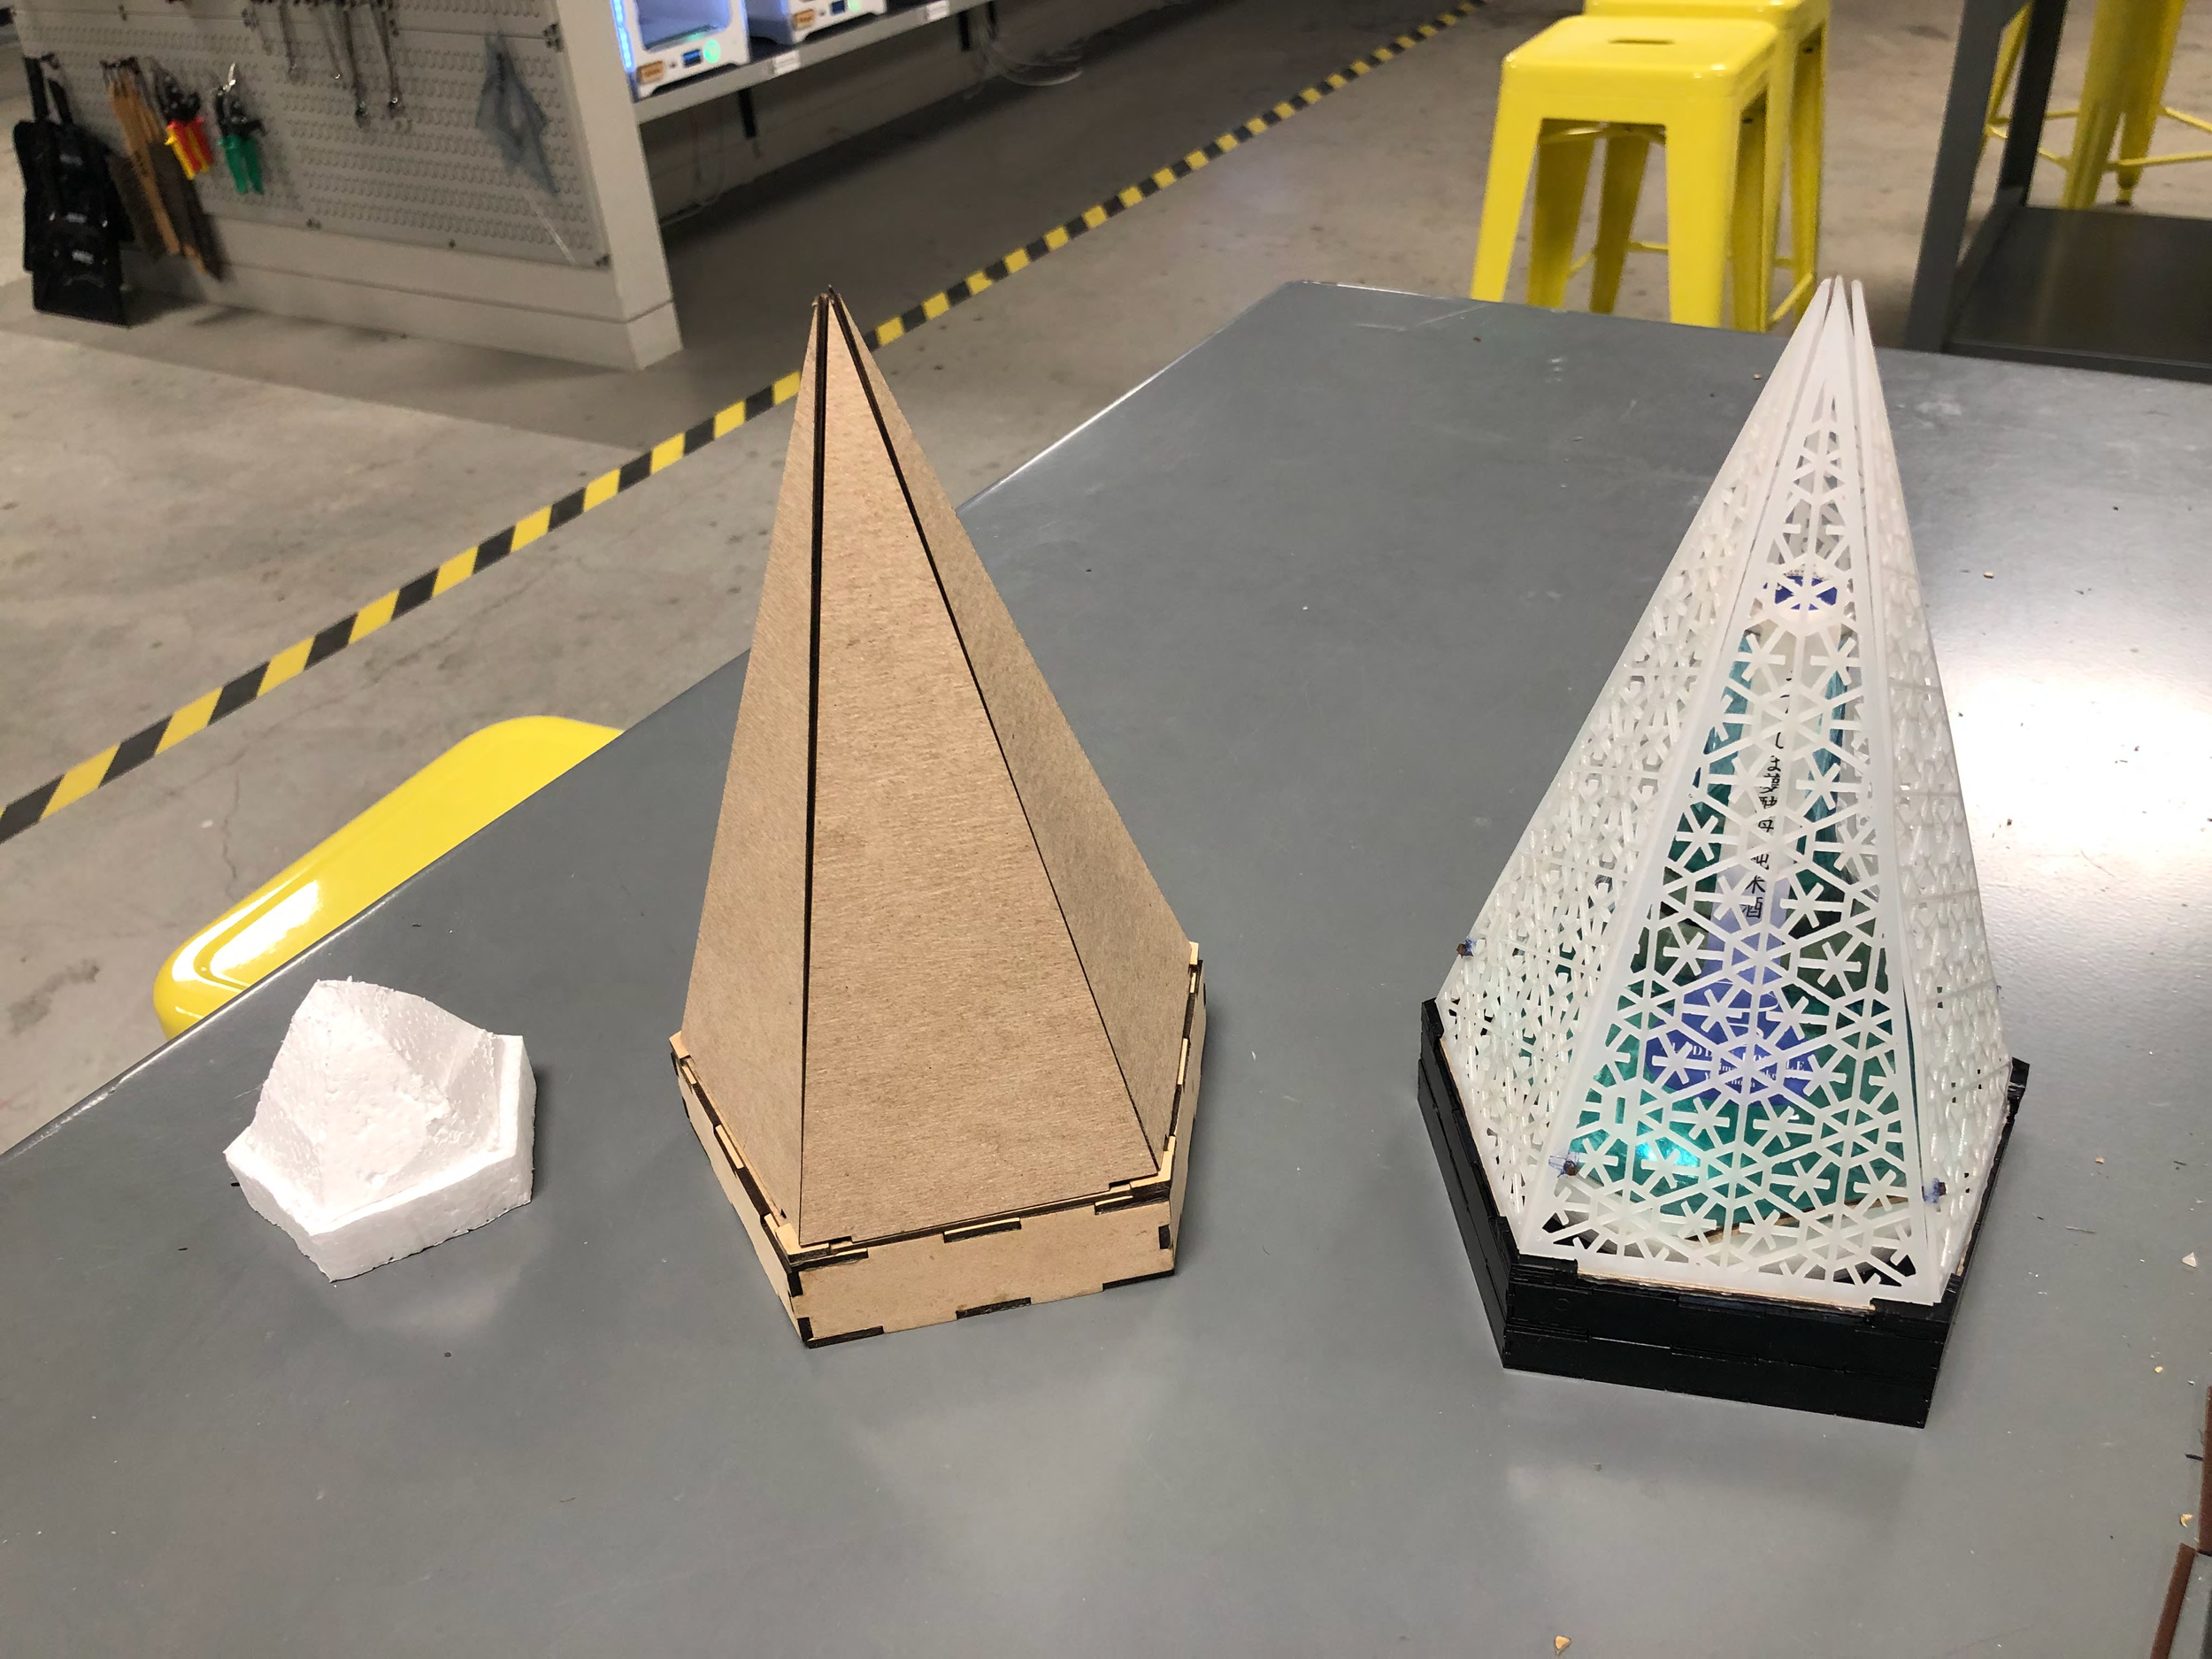
These are all the images I have of building the final sake packaging. I began with a small massing model made from sterile foam, then progressed to a cardboard model, and finally, an acrylic model.
Design justifications:
The sake bottle resembles a drop of water—clear, pure, and elegant. The first image that came to mind for this packaging design was a drop of water initiating the bloom of a flower. Therefore, I decided to create an experience for users where opening the sake packaging feels like witnessing a flower bloom.
I used translucent acrylic panels to create an experience where users can see the interior sake with a sense of diffused clarity.
The challenge occurred during winter. From a marketing standpoint, I utilized the snow pattern on the "petals" to evoke a festive atmosphere which can attract more customers.
Demo:
It’s so amazing to see how only using 2D sheet materials can make good 3D products. If I had more time, I would keep improving the following:
Continue exploring different material options or alternative manufacturing methods for the acrylic panels, as they tend to deform during laser cutting, preventing clean meeting points at the panel tips.
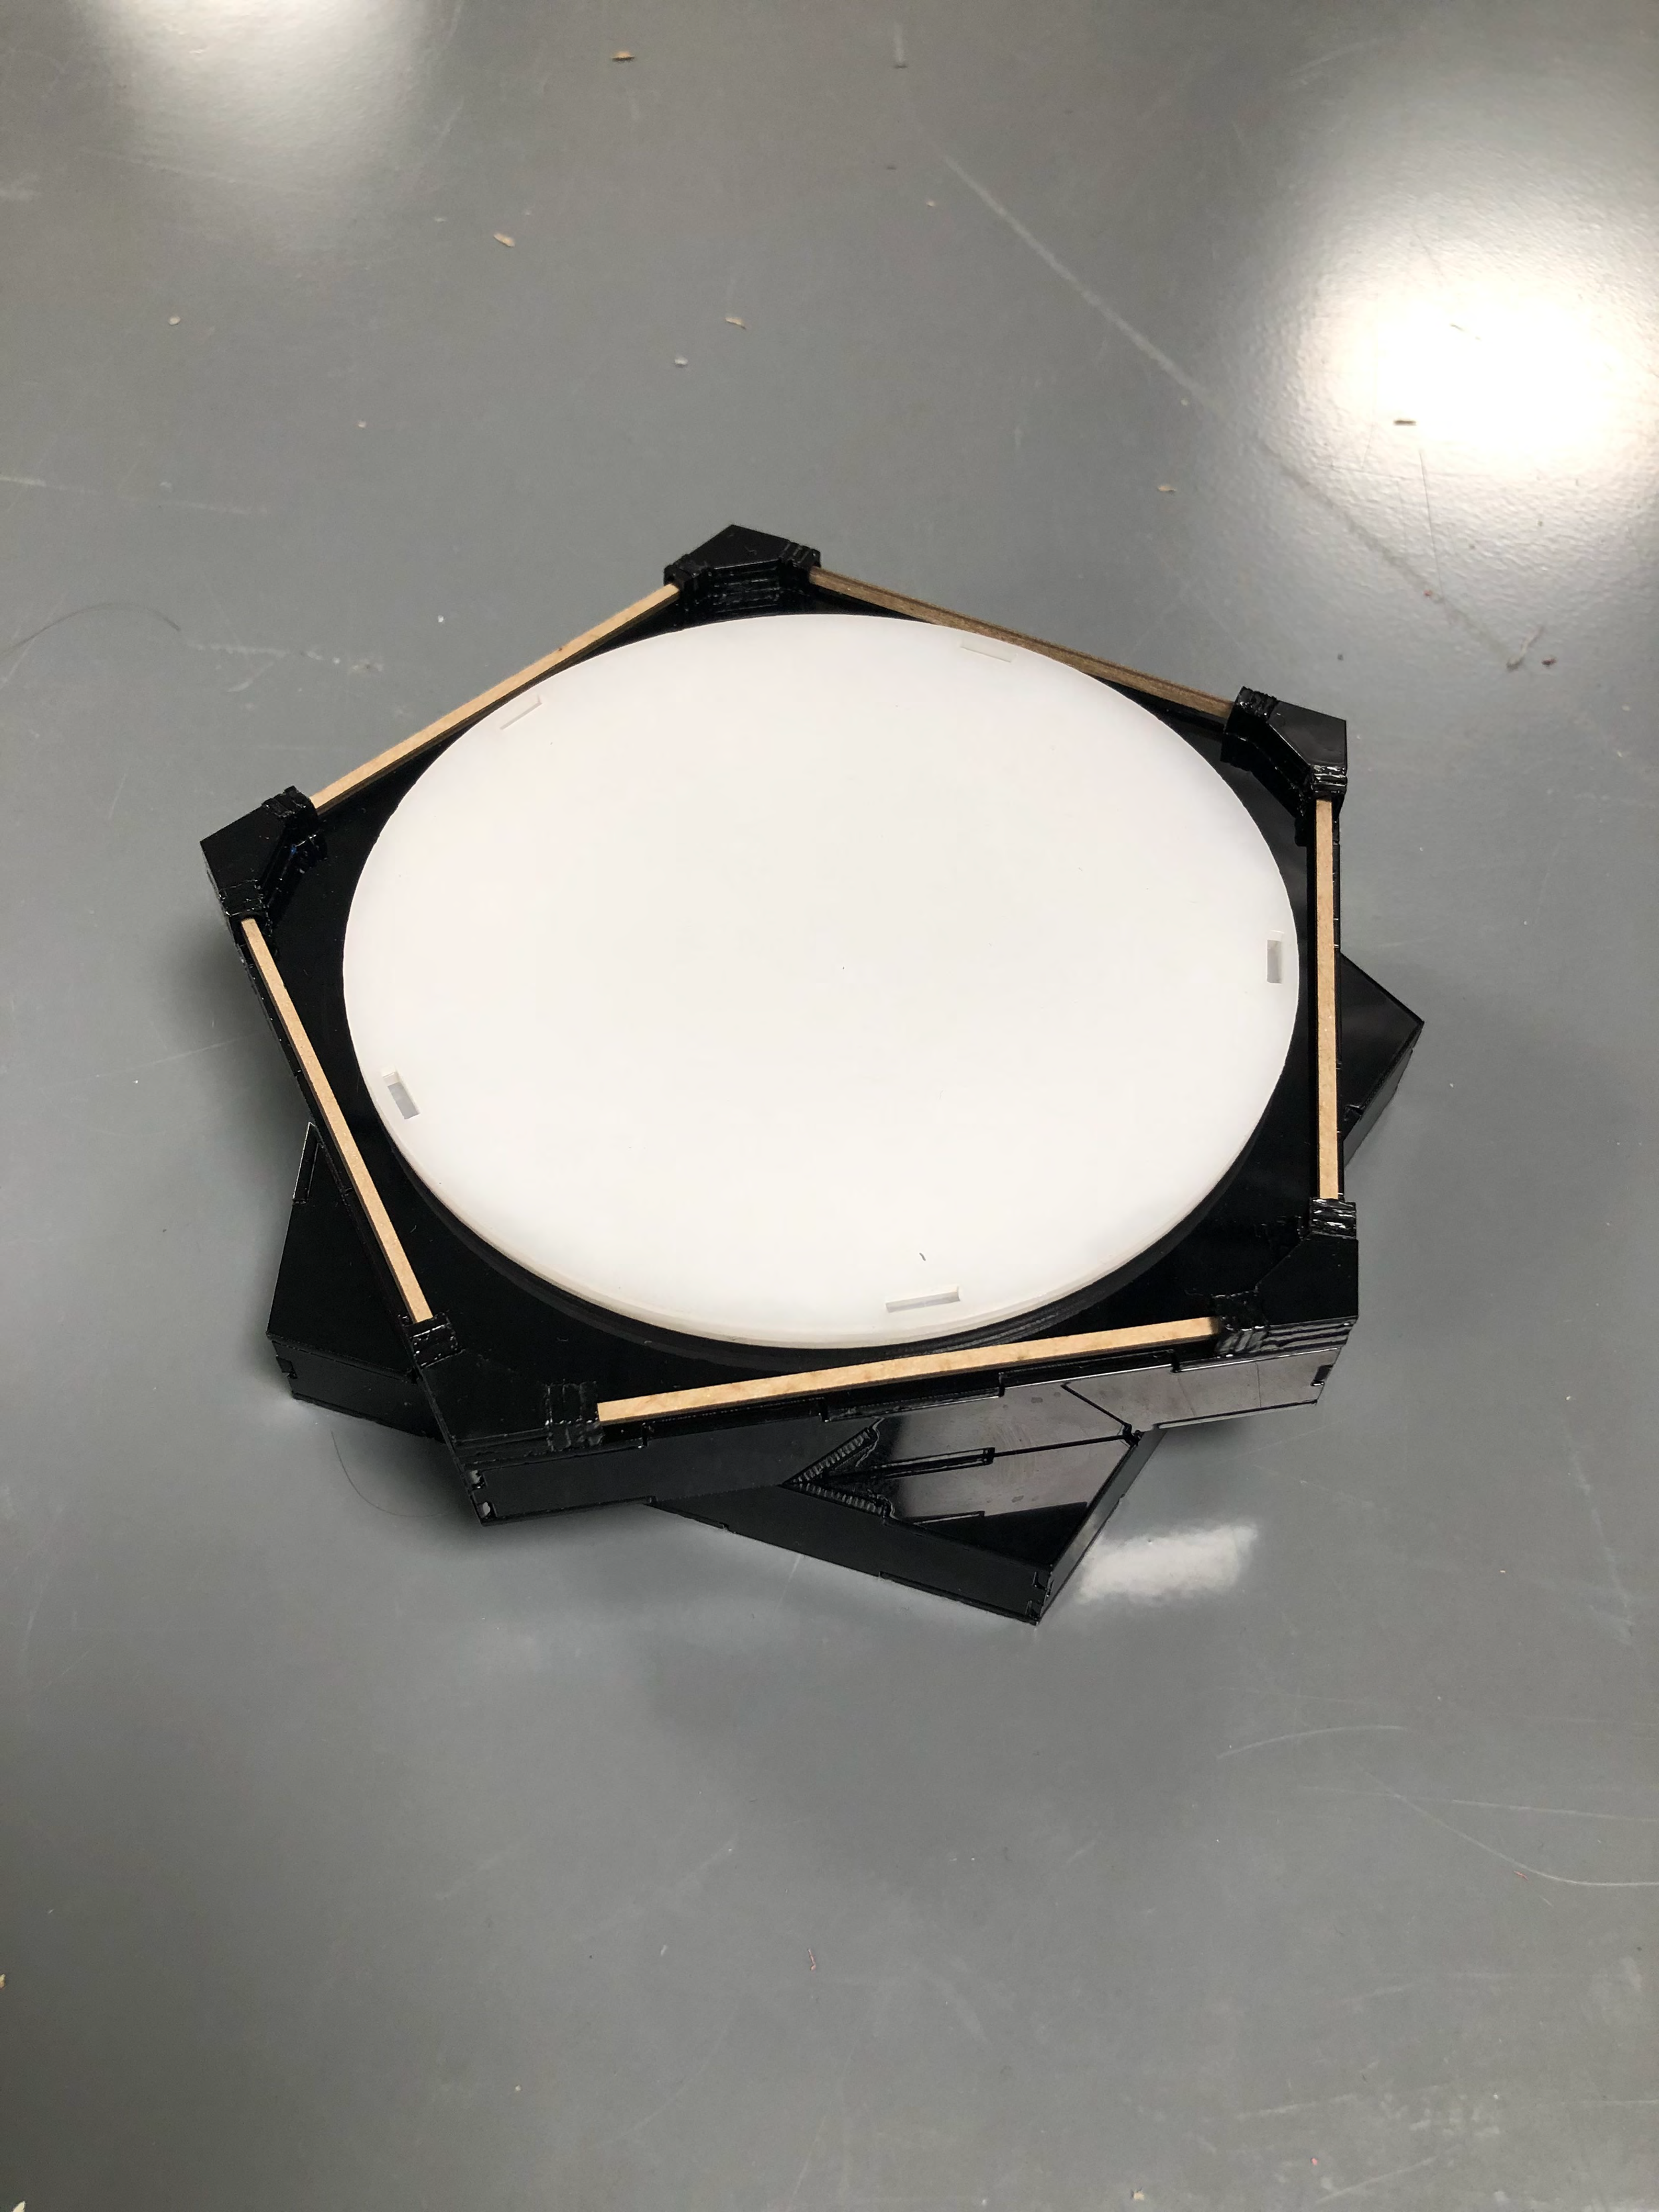
Improve the opening mechanism. Currently, I've used five cardboard sticks to connect the panels to the base of the sake holder, enabling it to open by twisting the base.
This design challenge paved the way for my Aurora Simulator project.
Reflection:
